My First Airsoft Rifle Paint Job

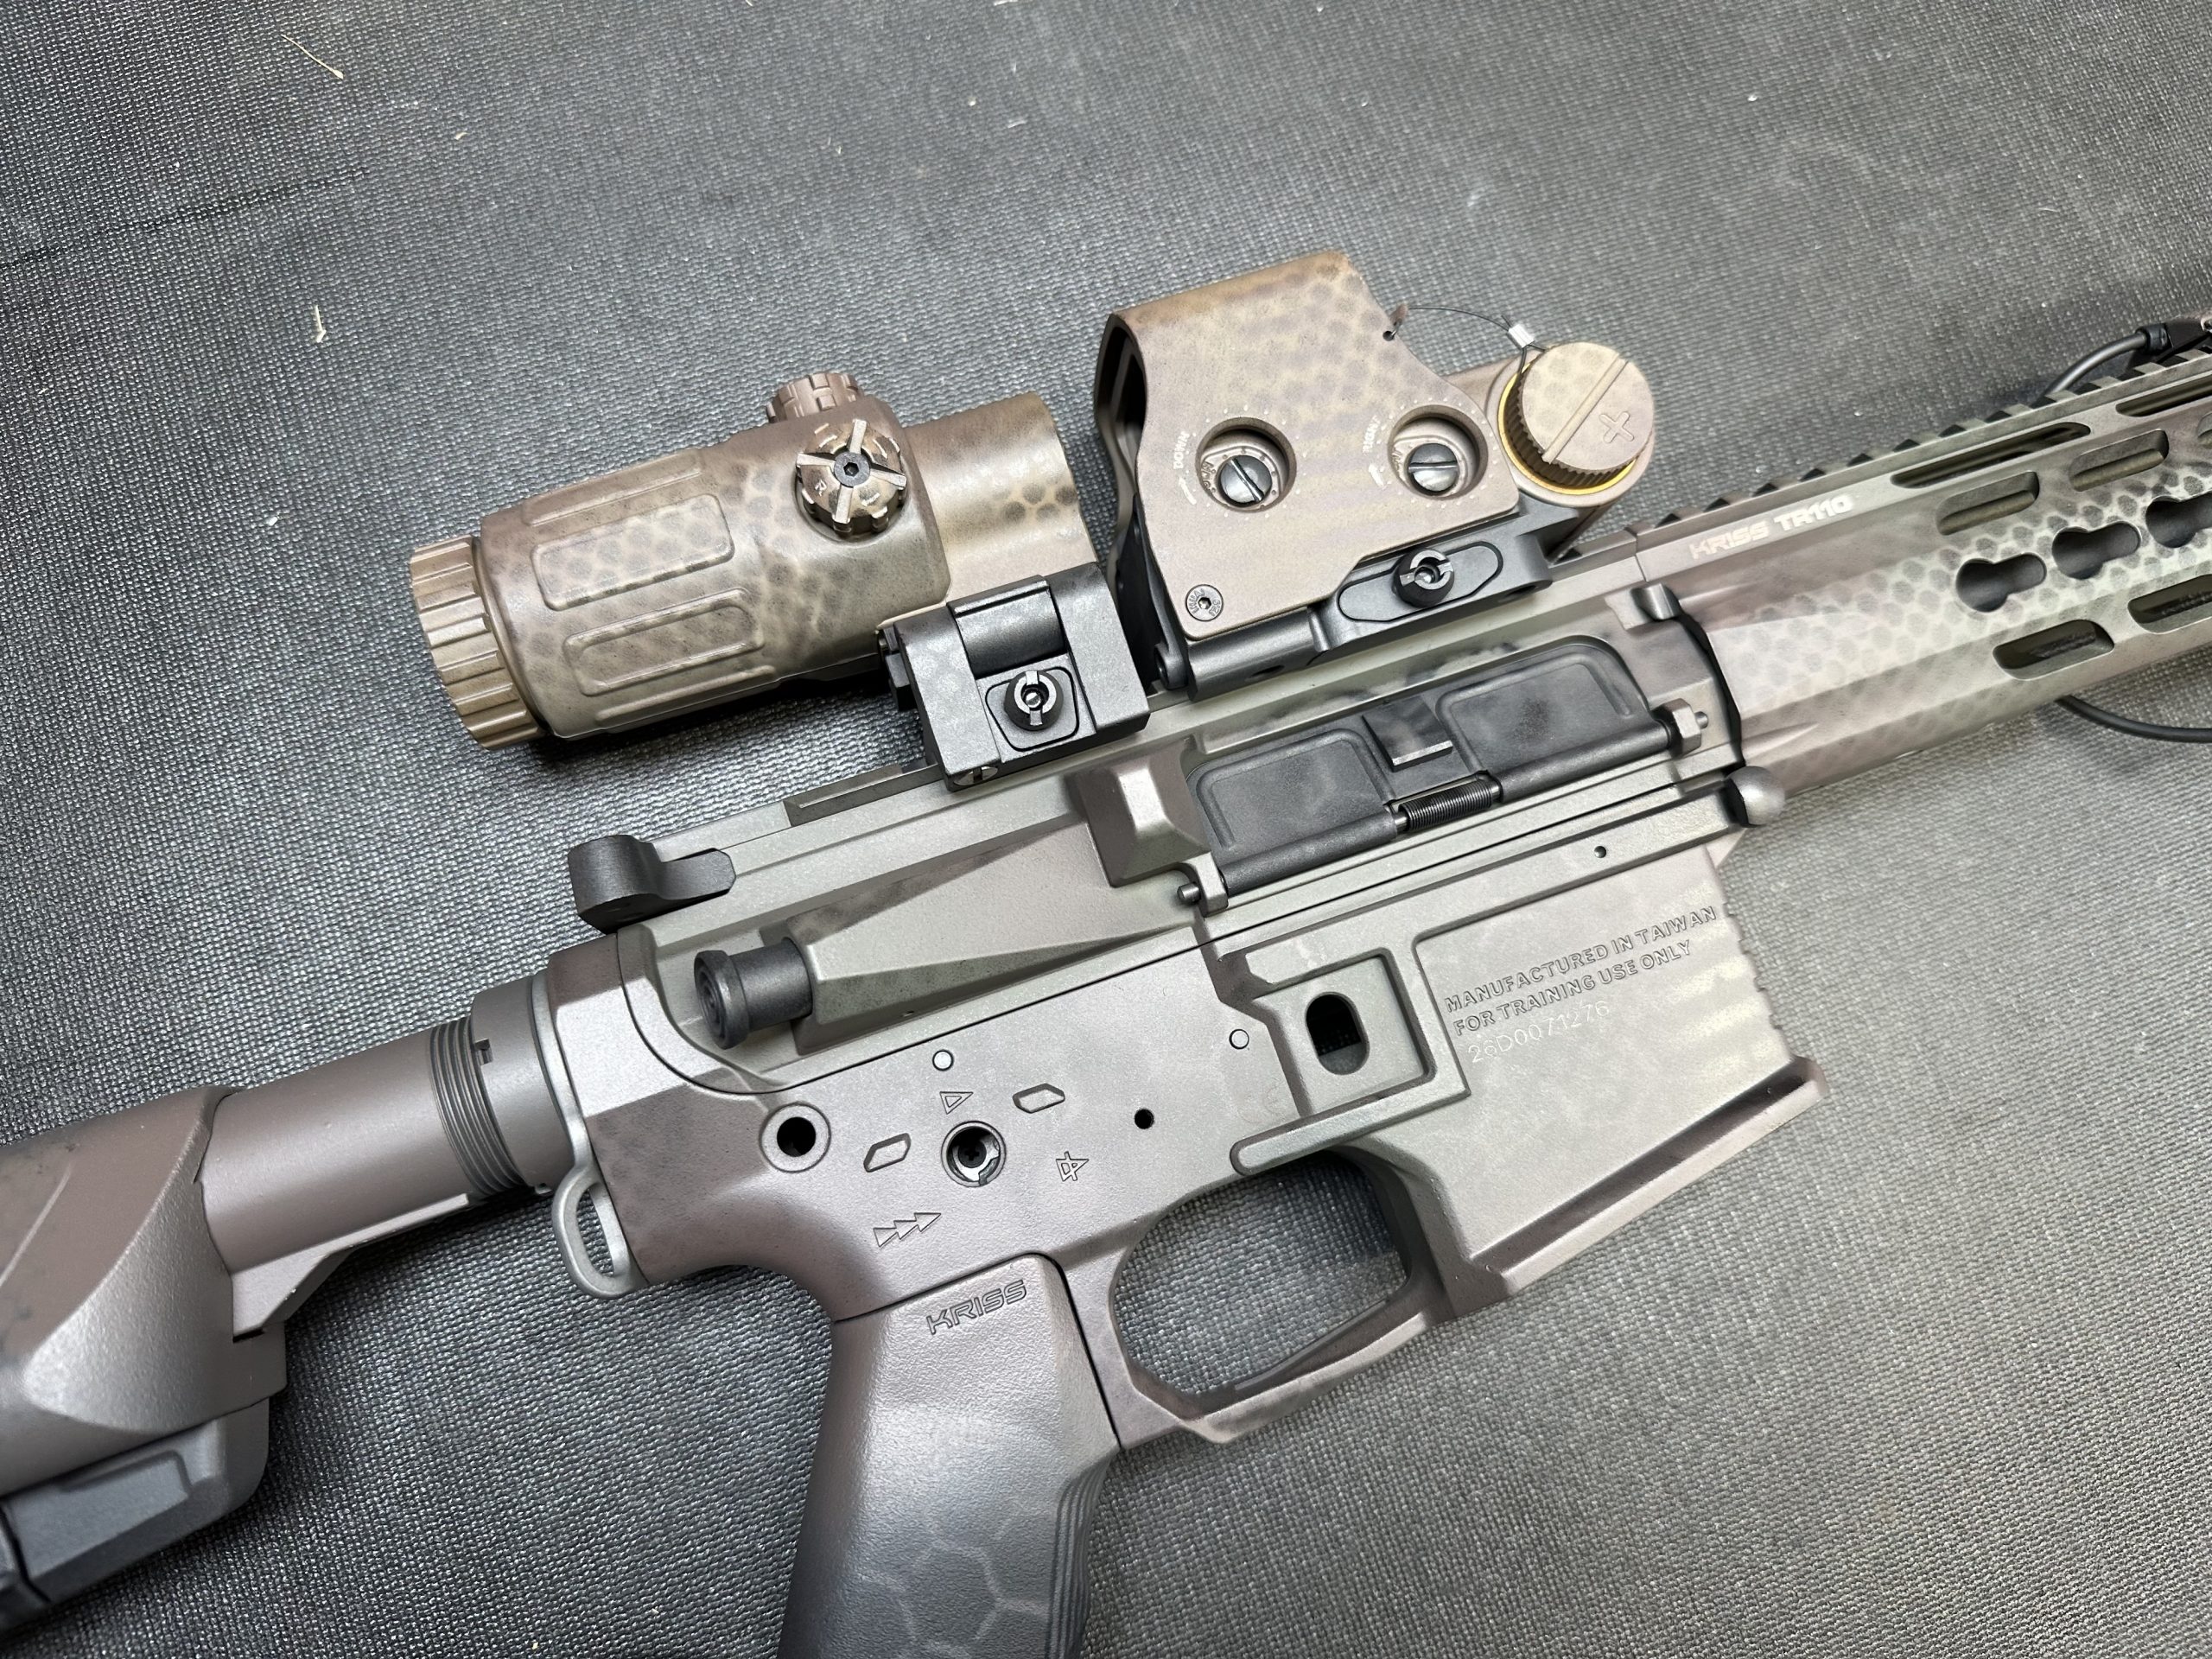
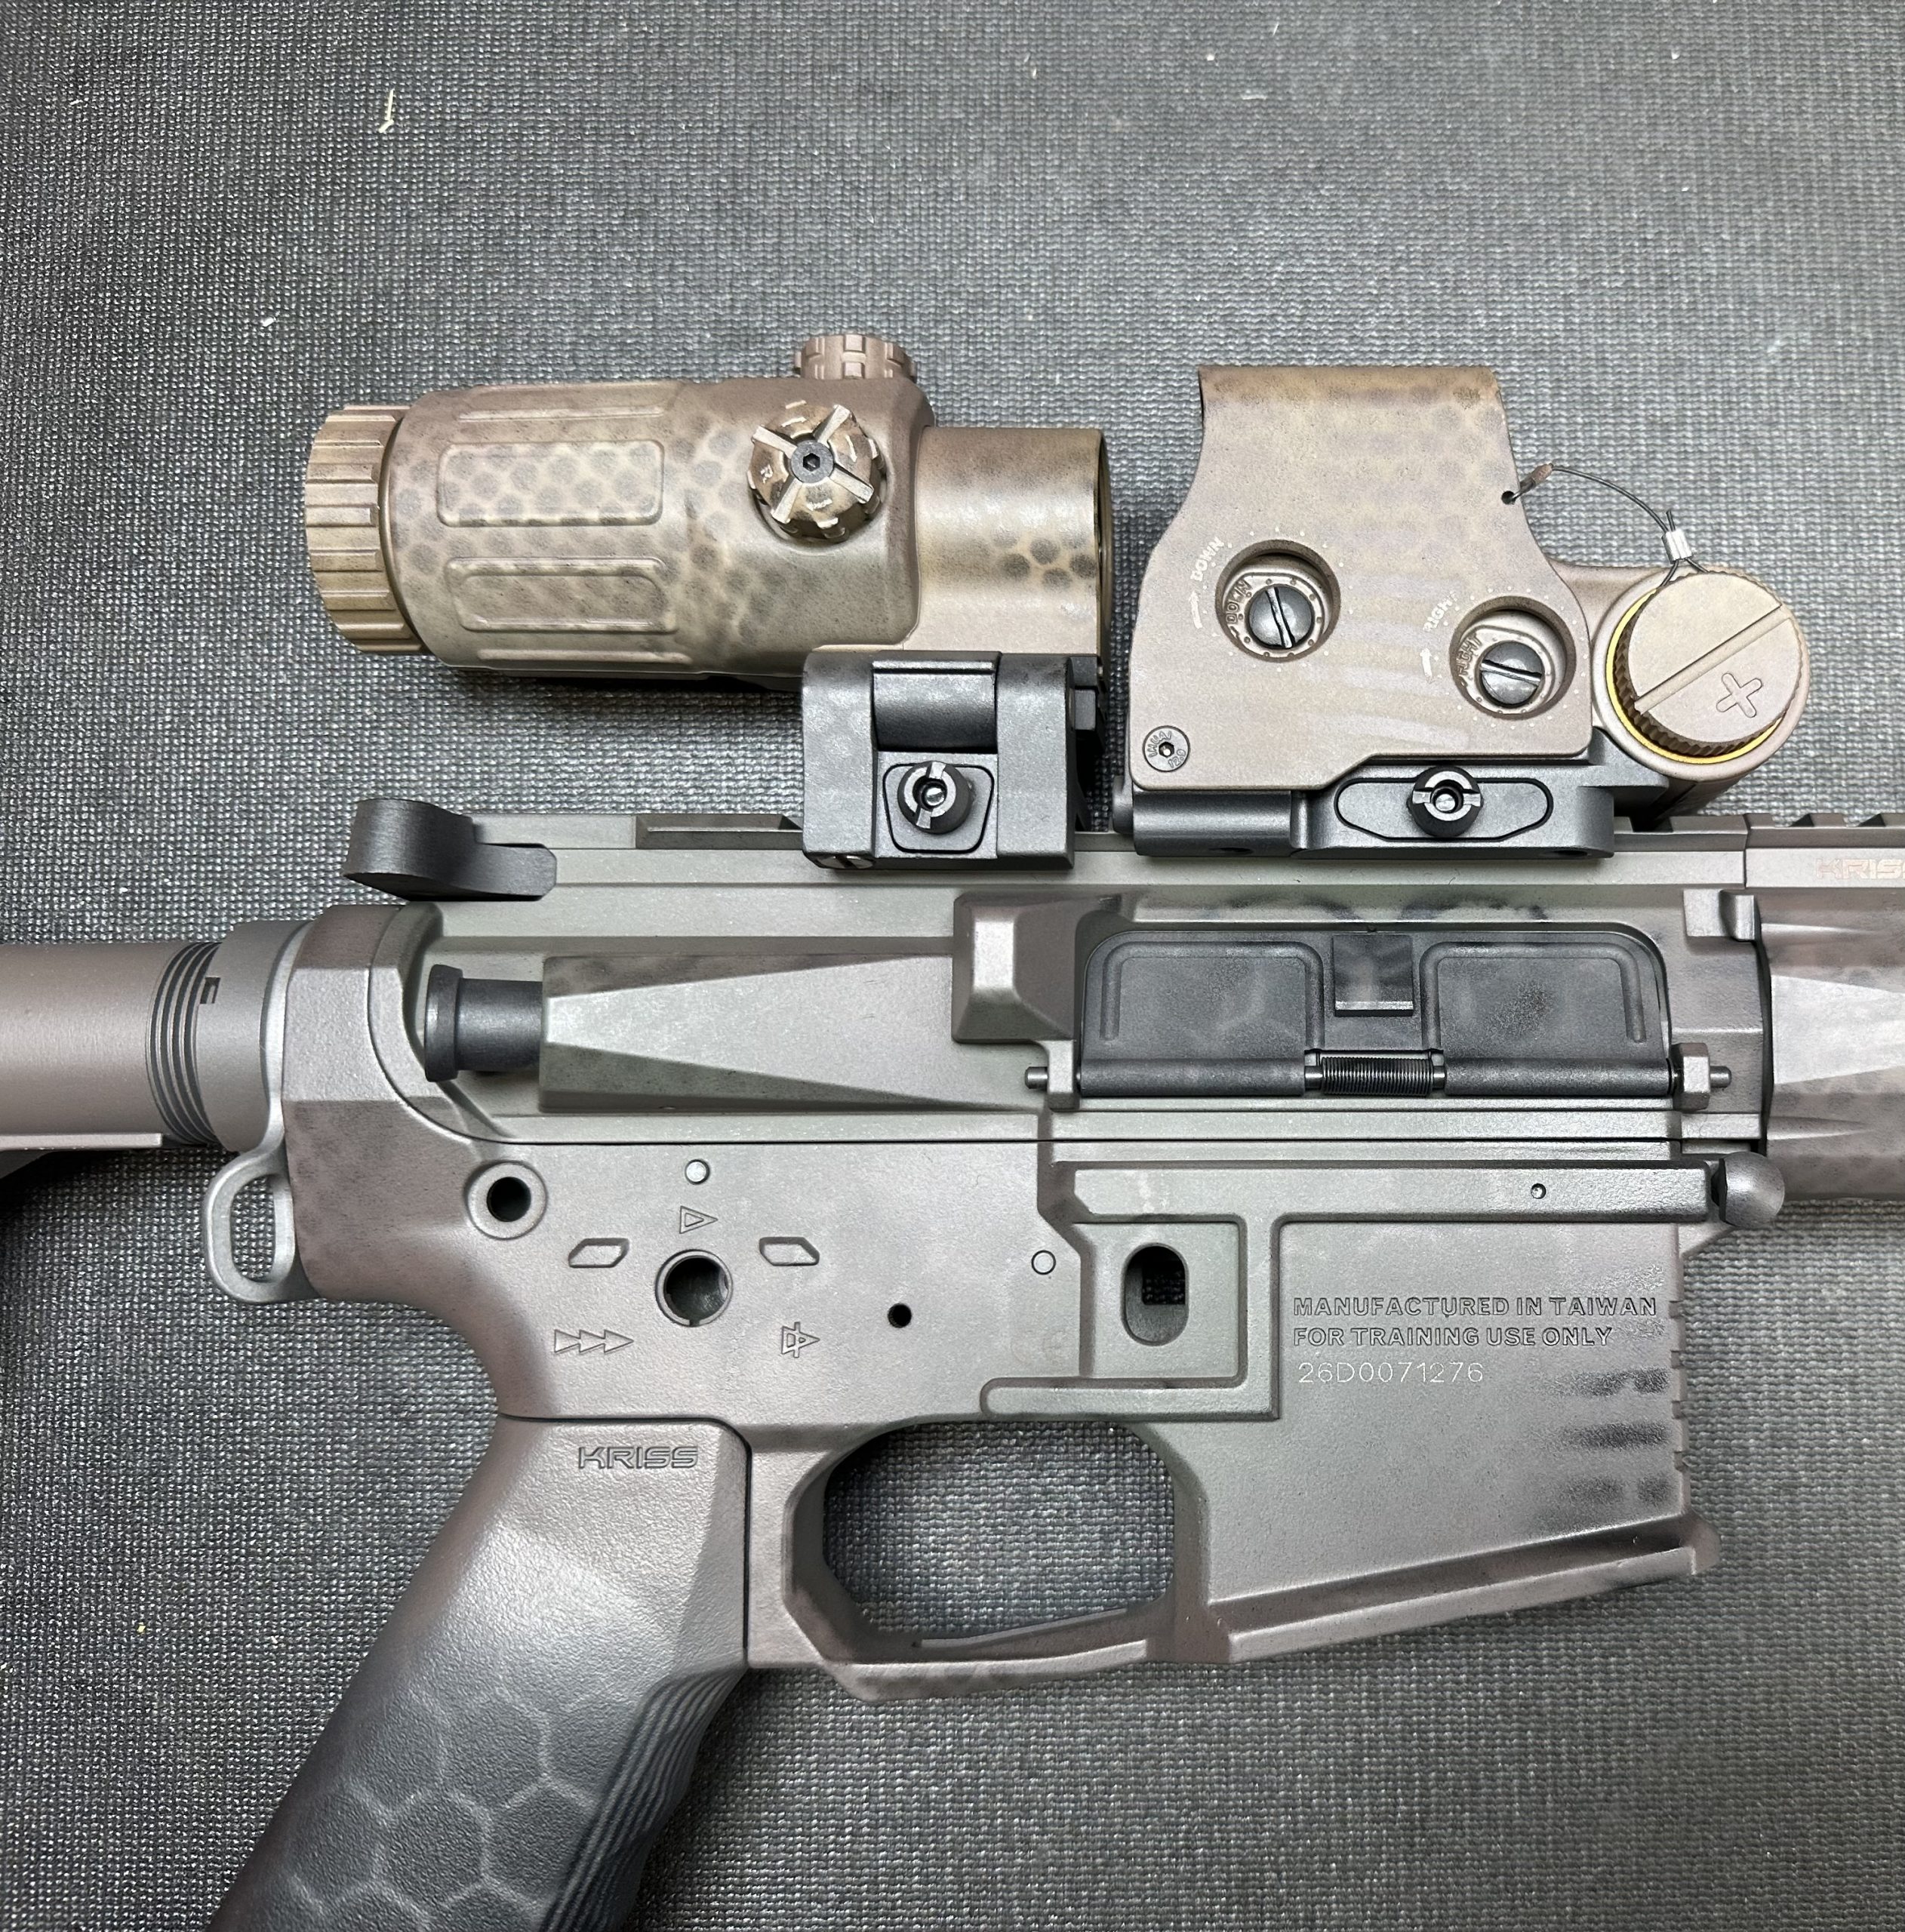
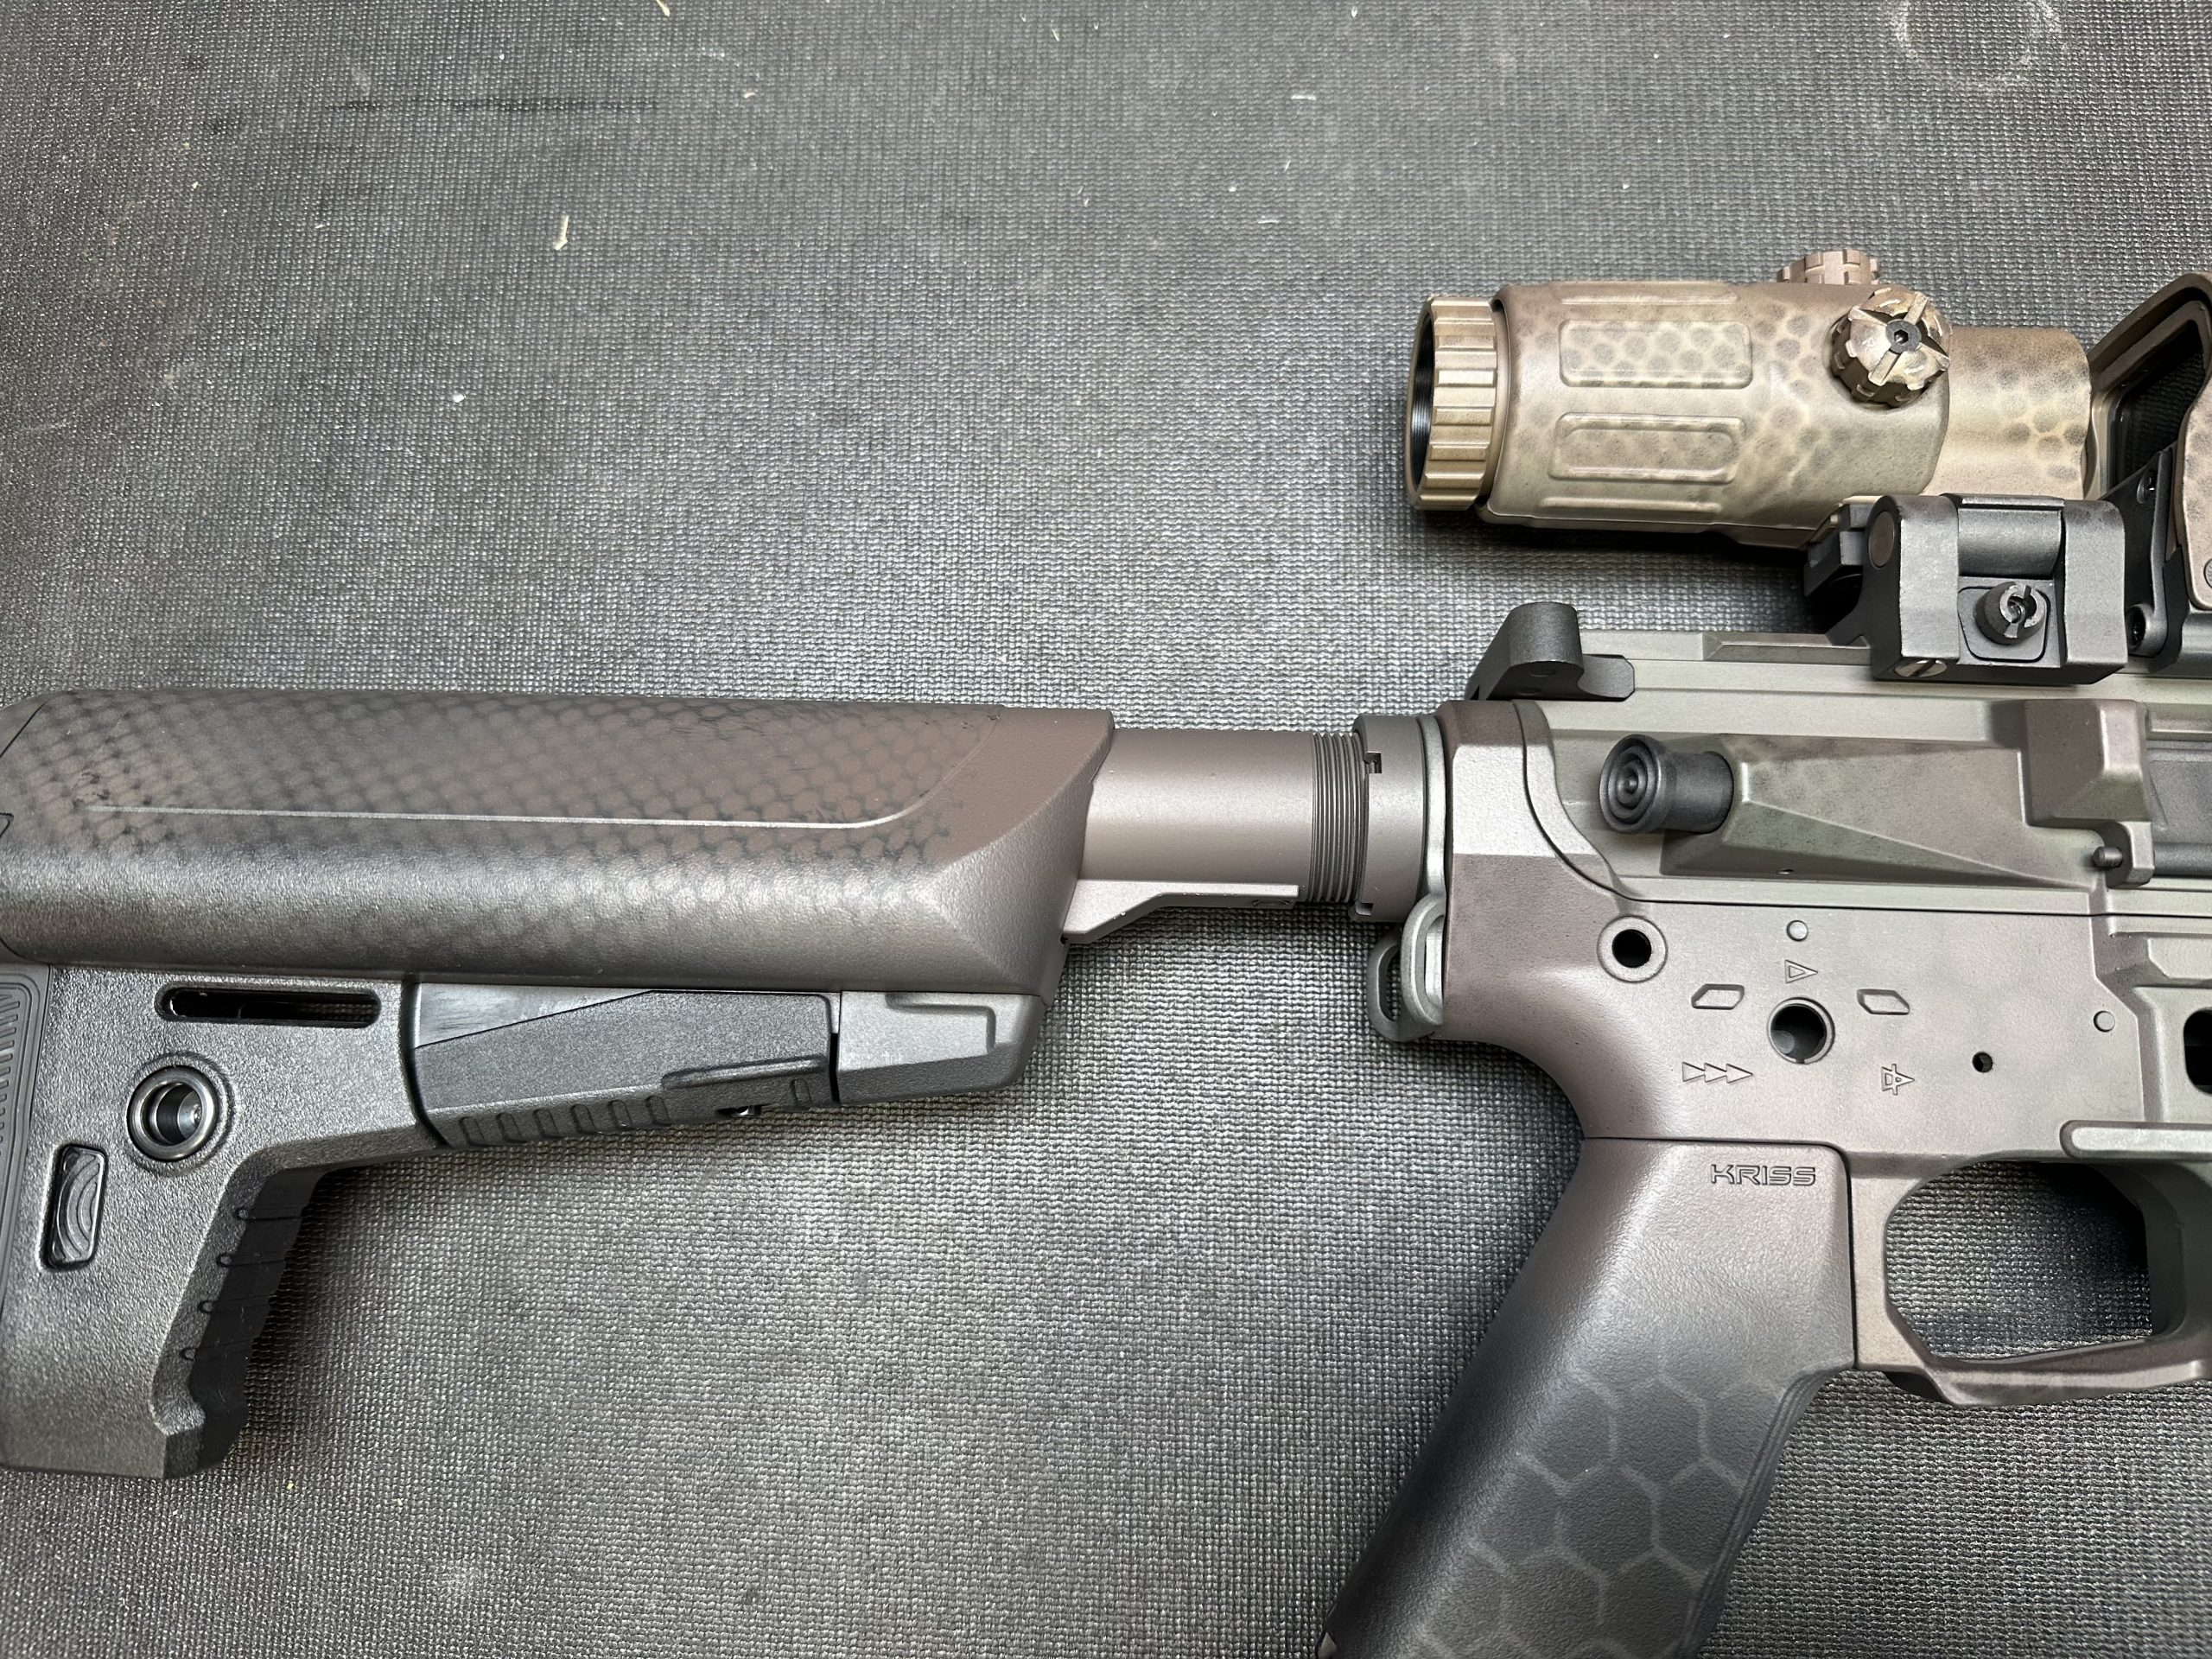
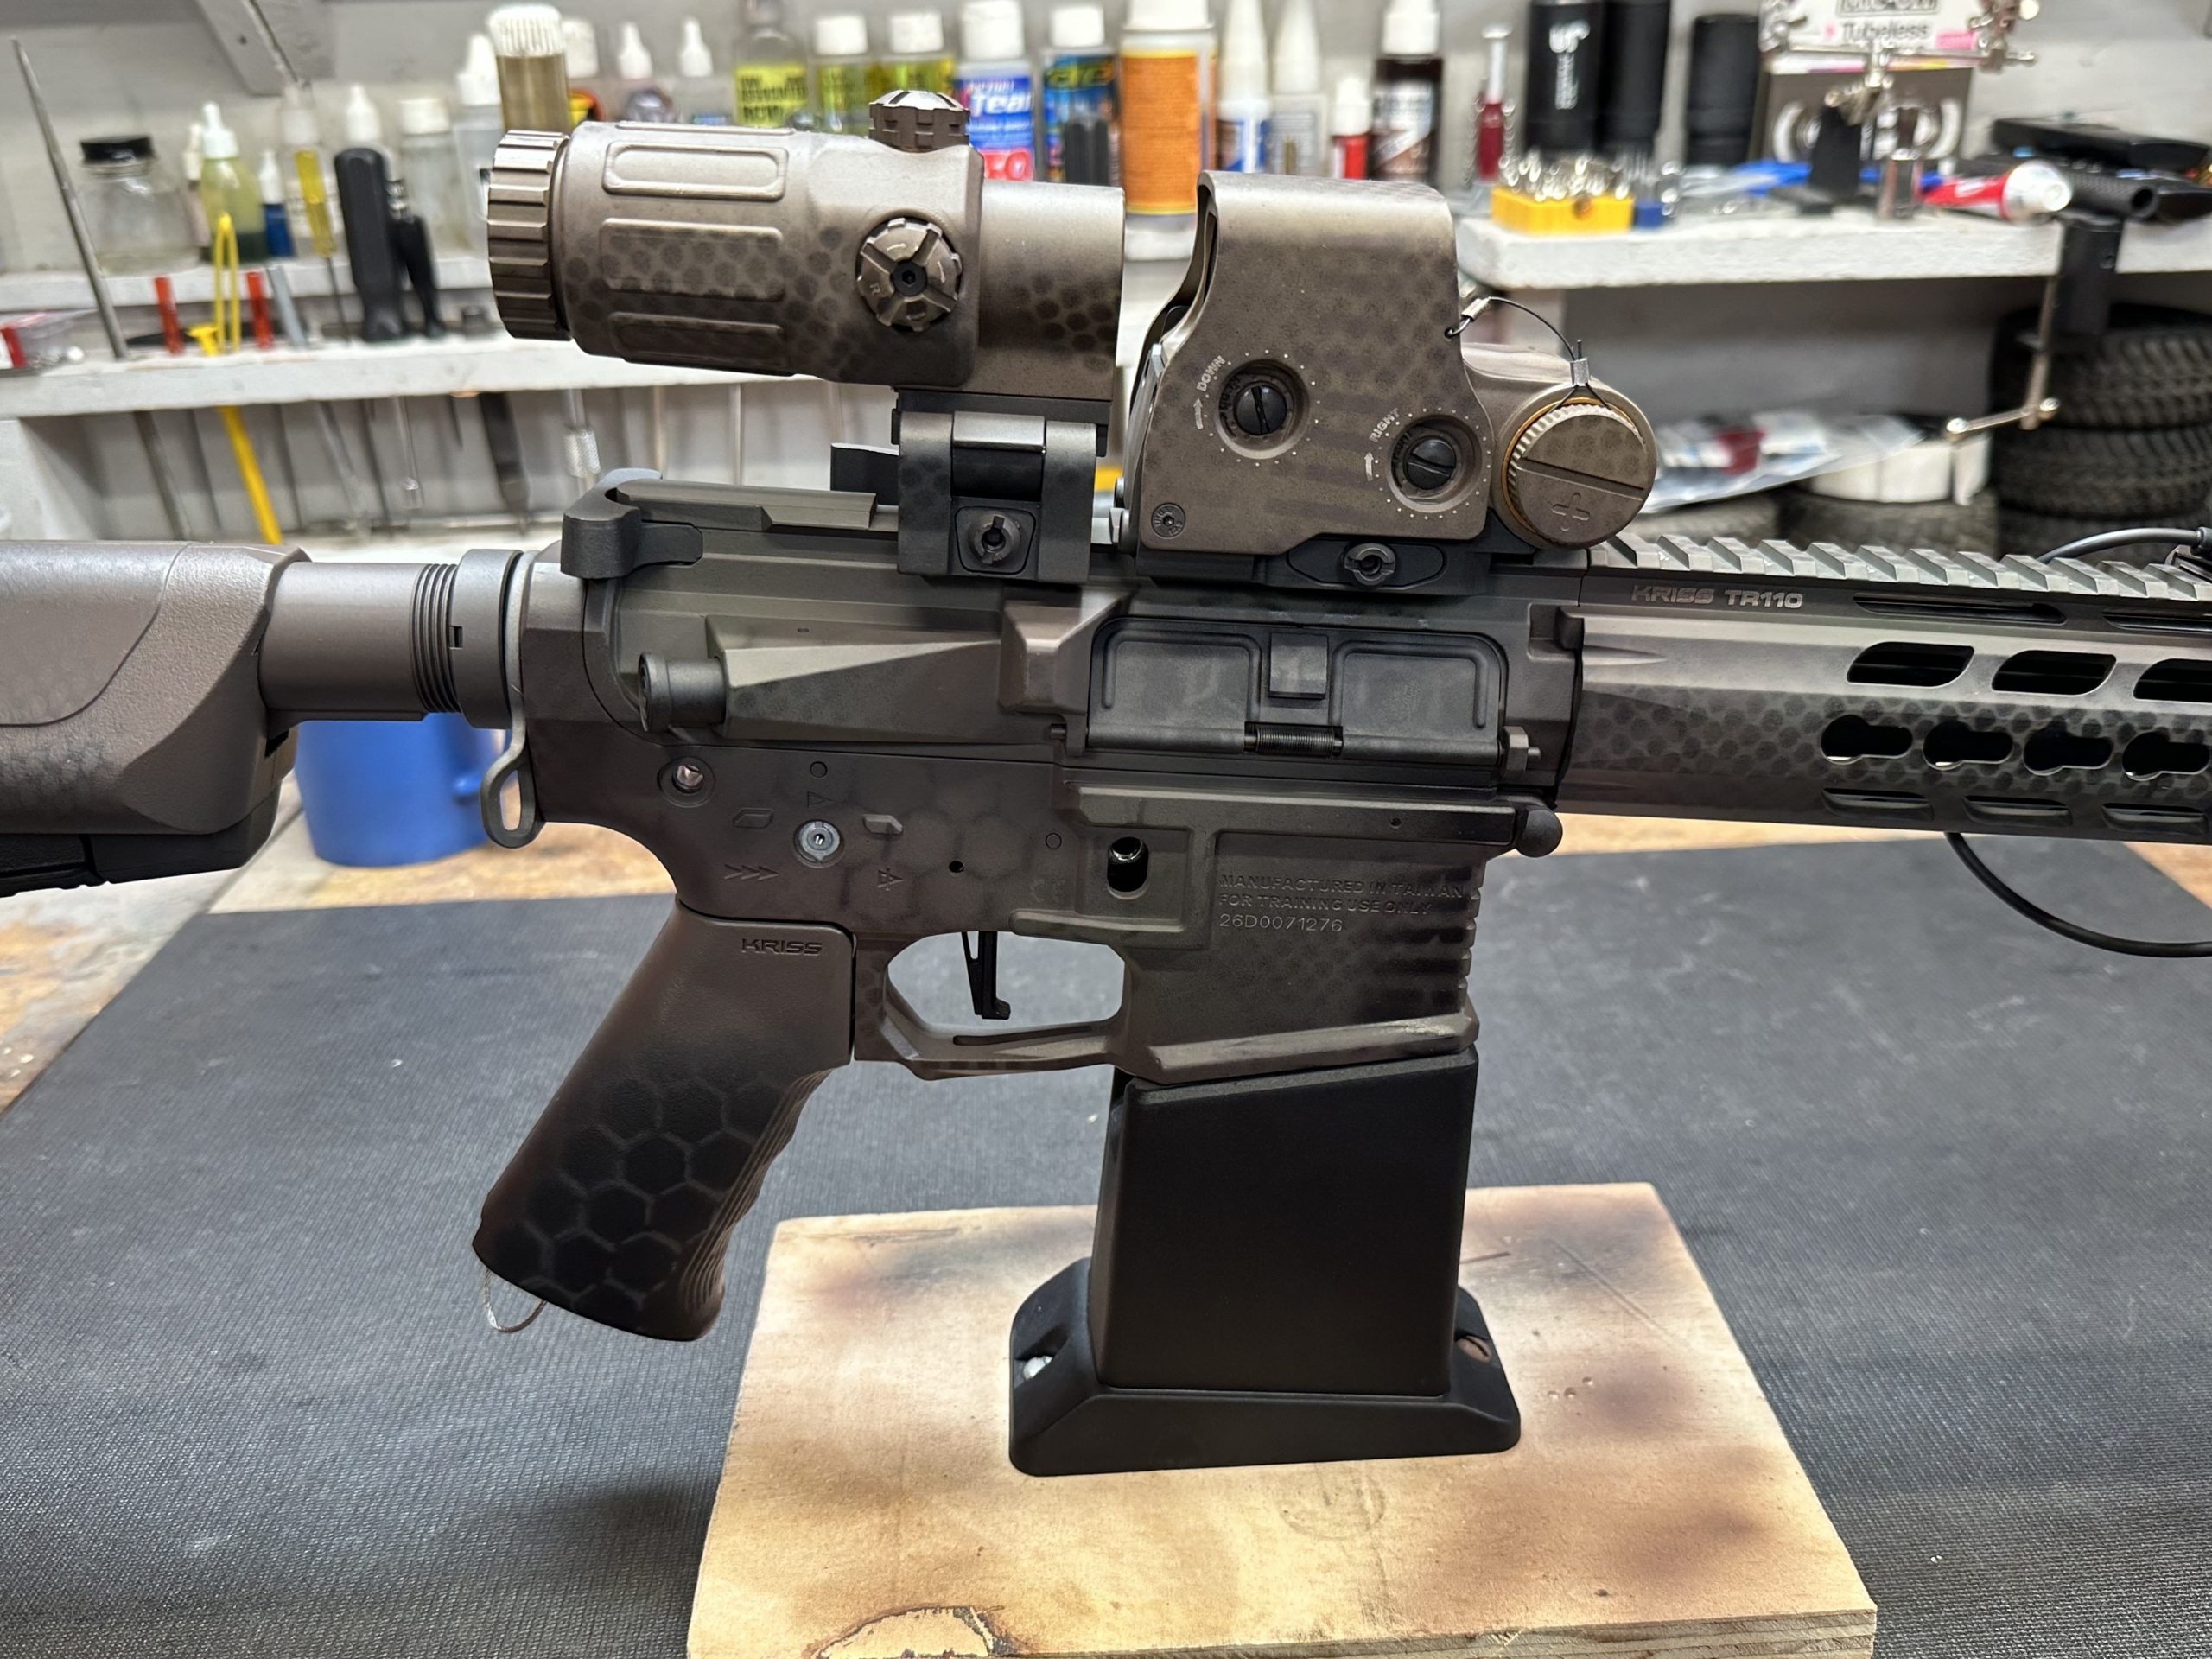
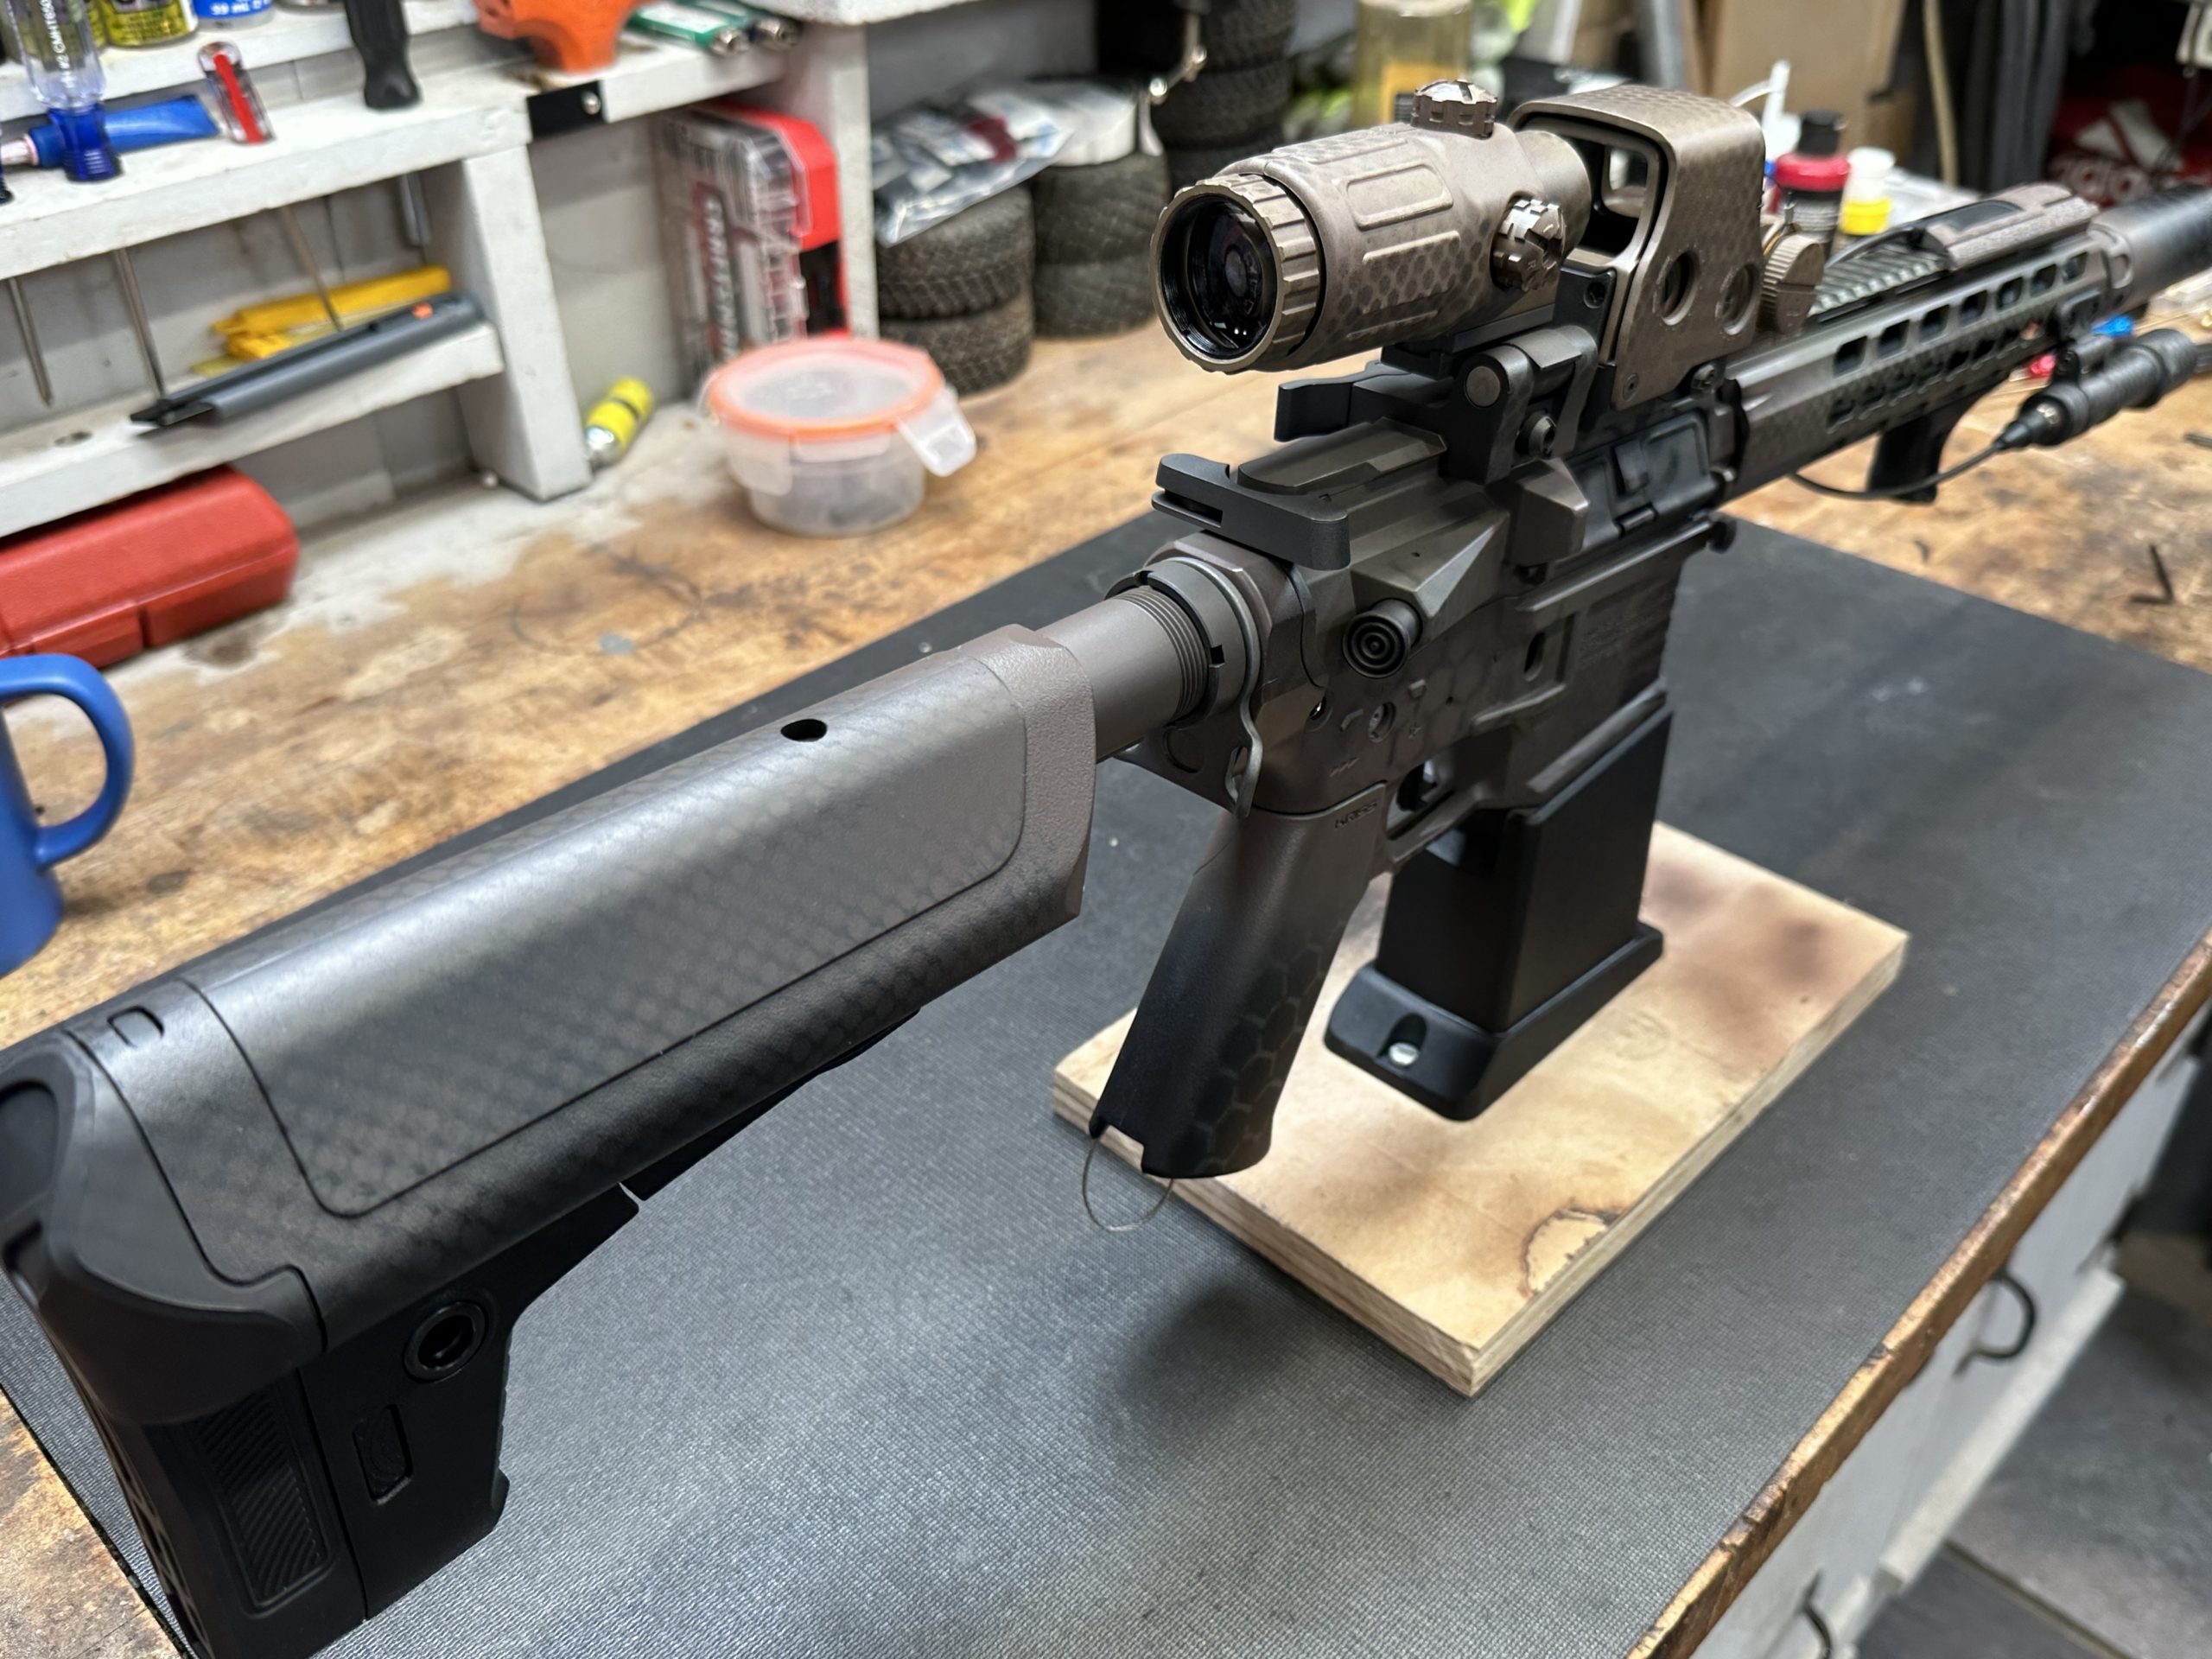
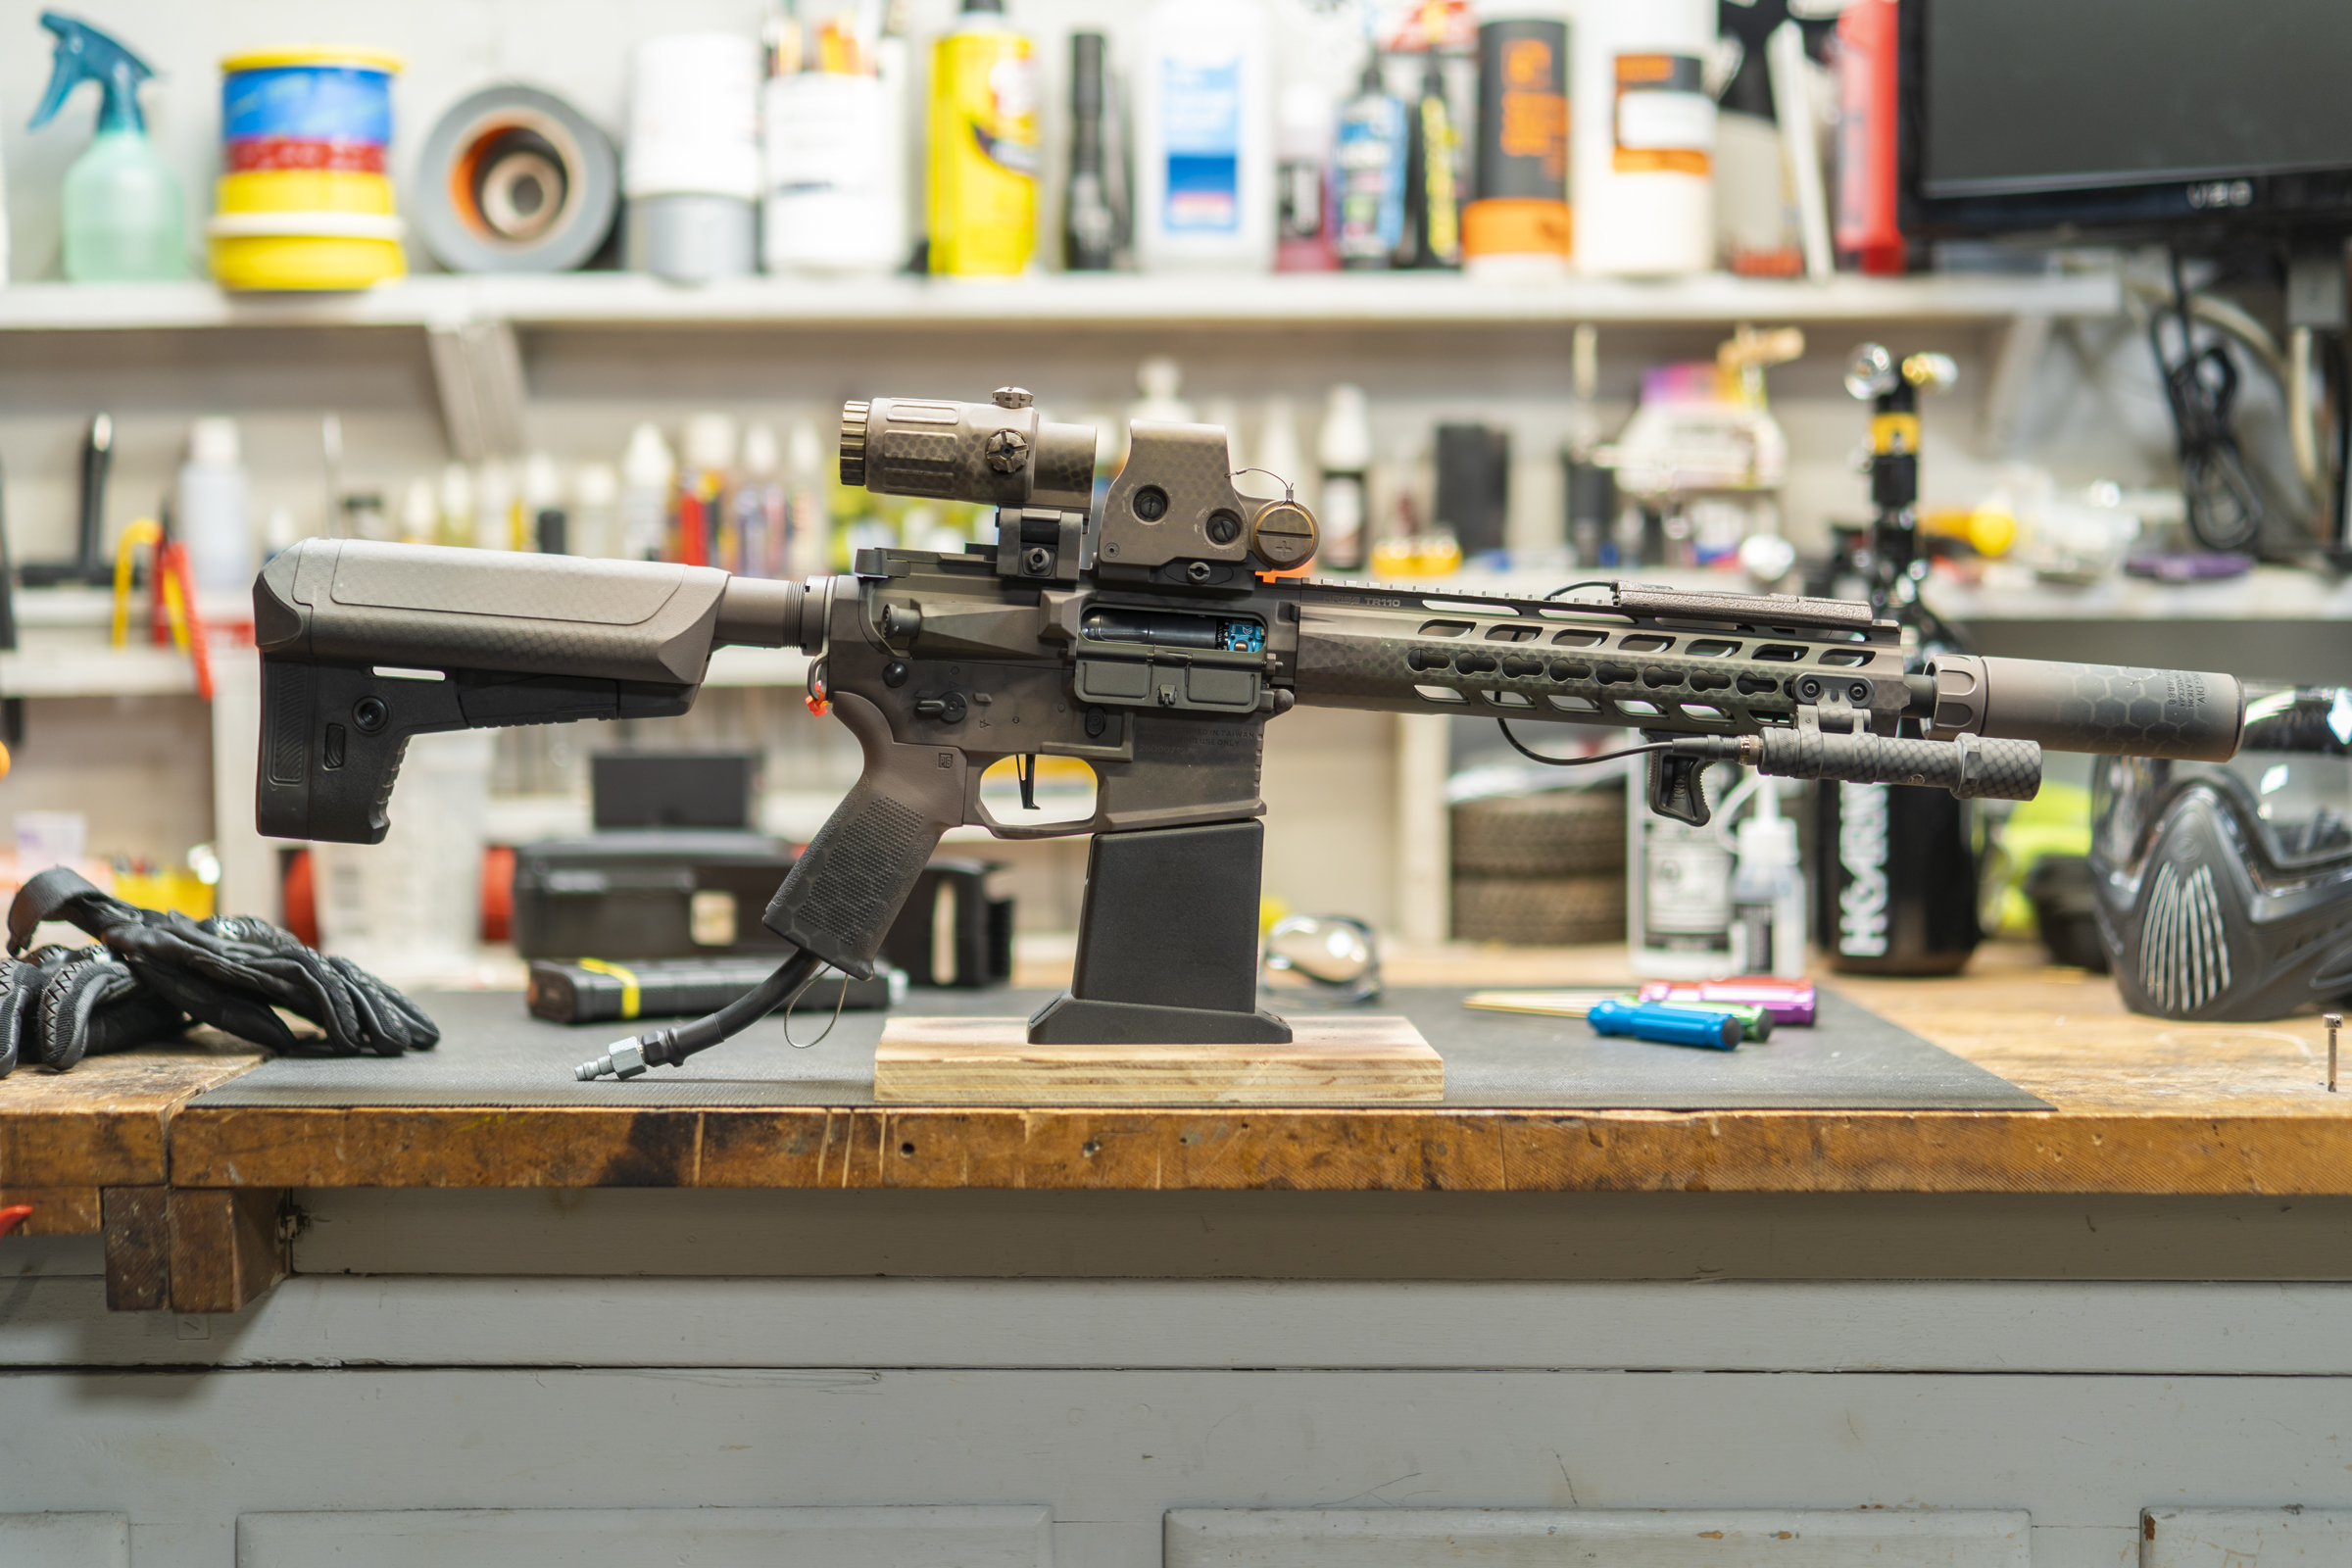
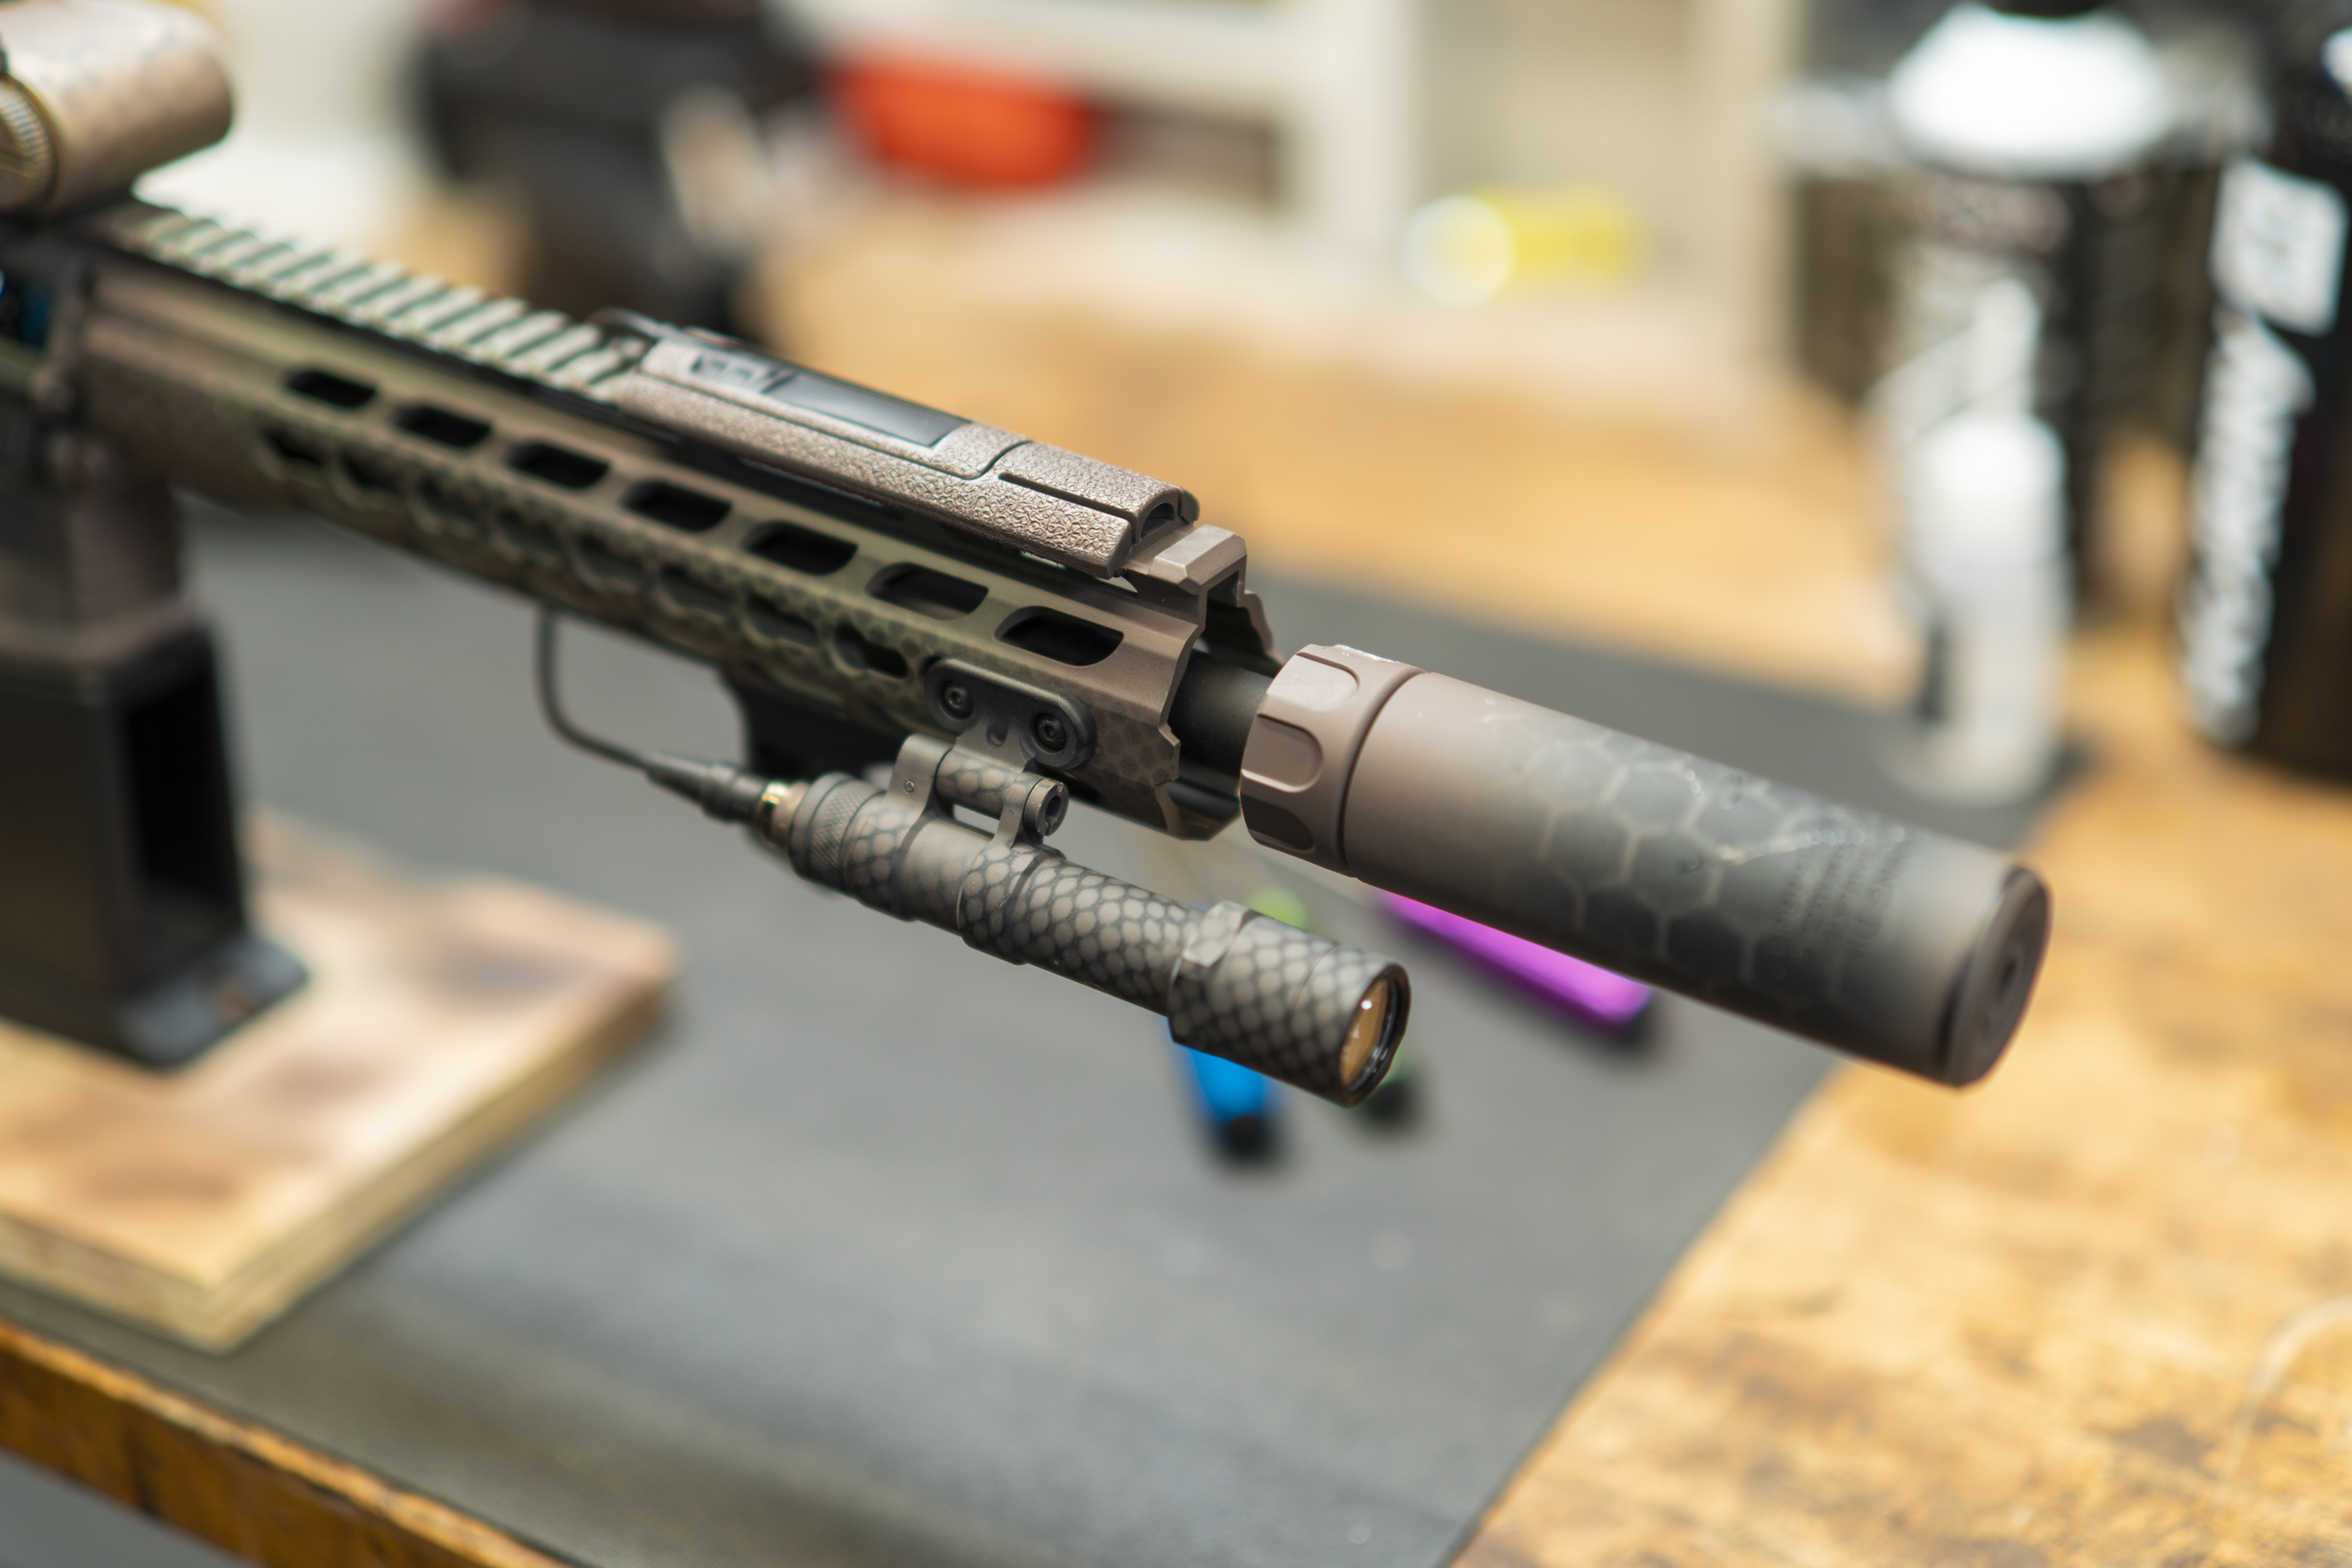
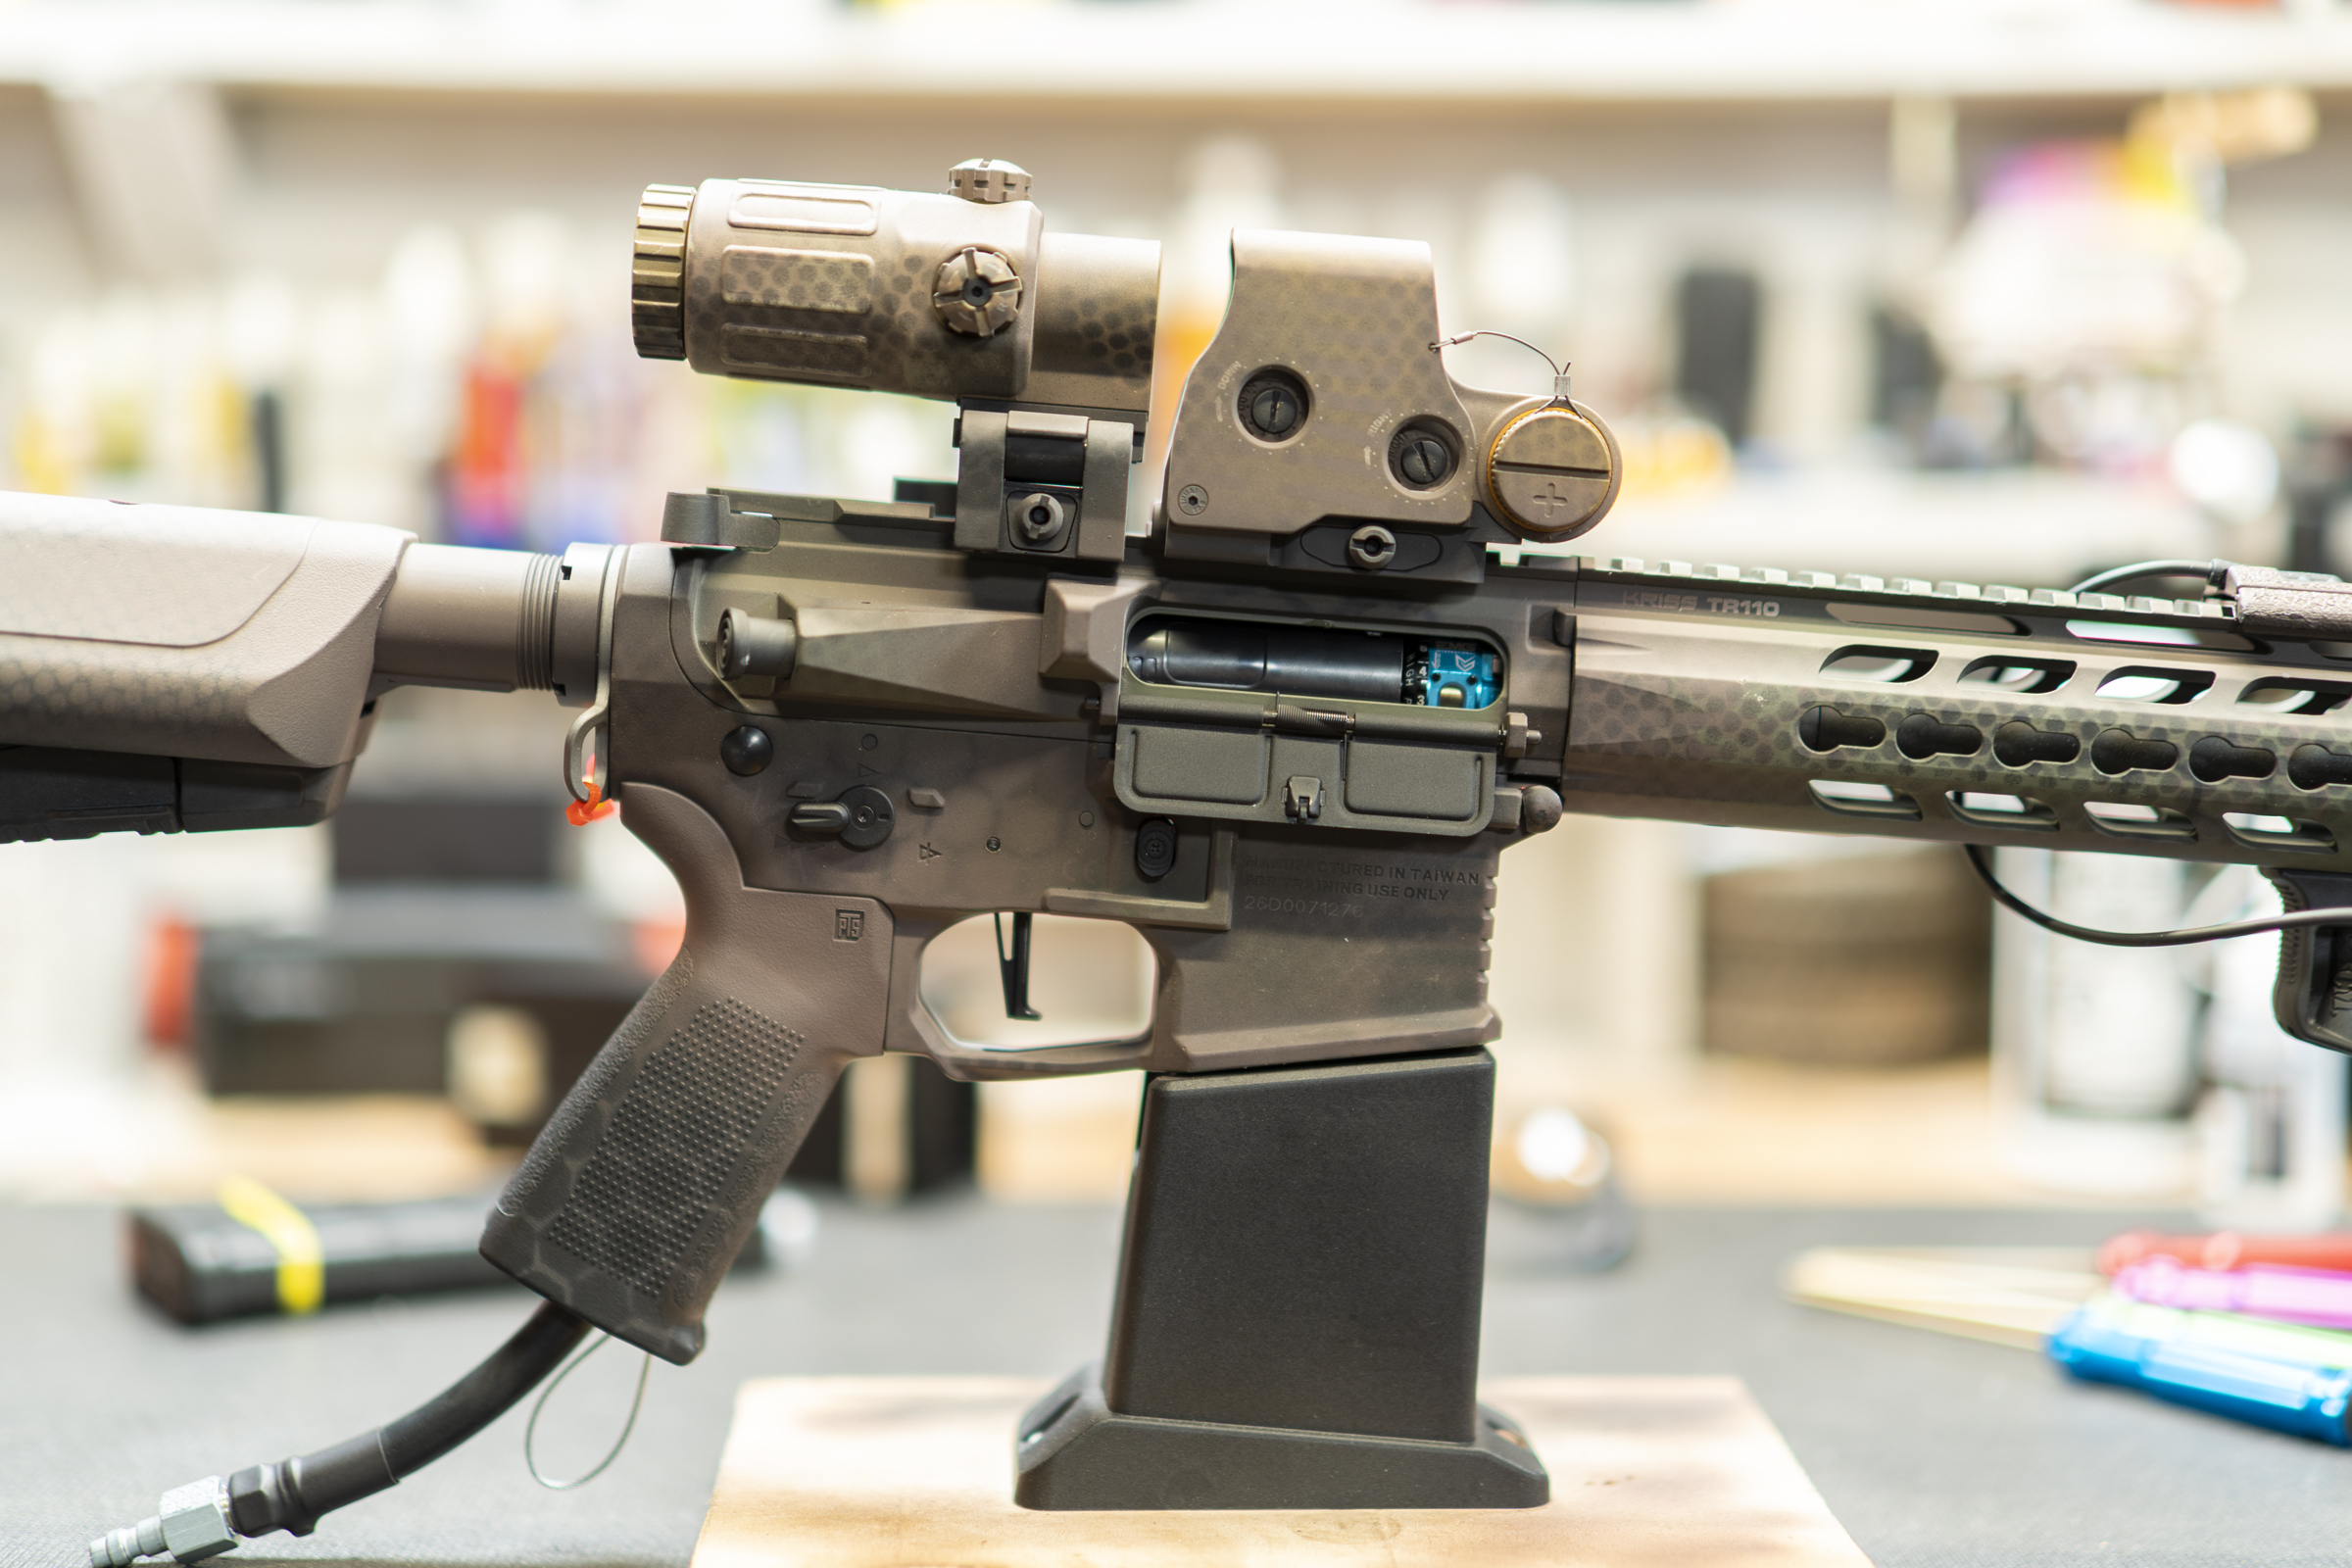
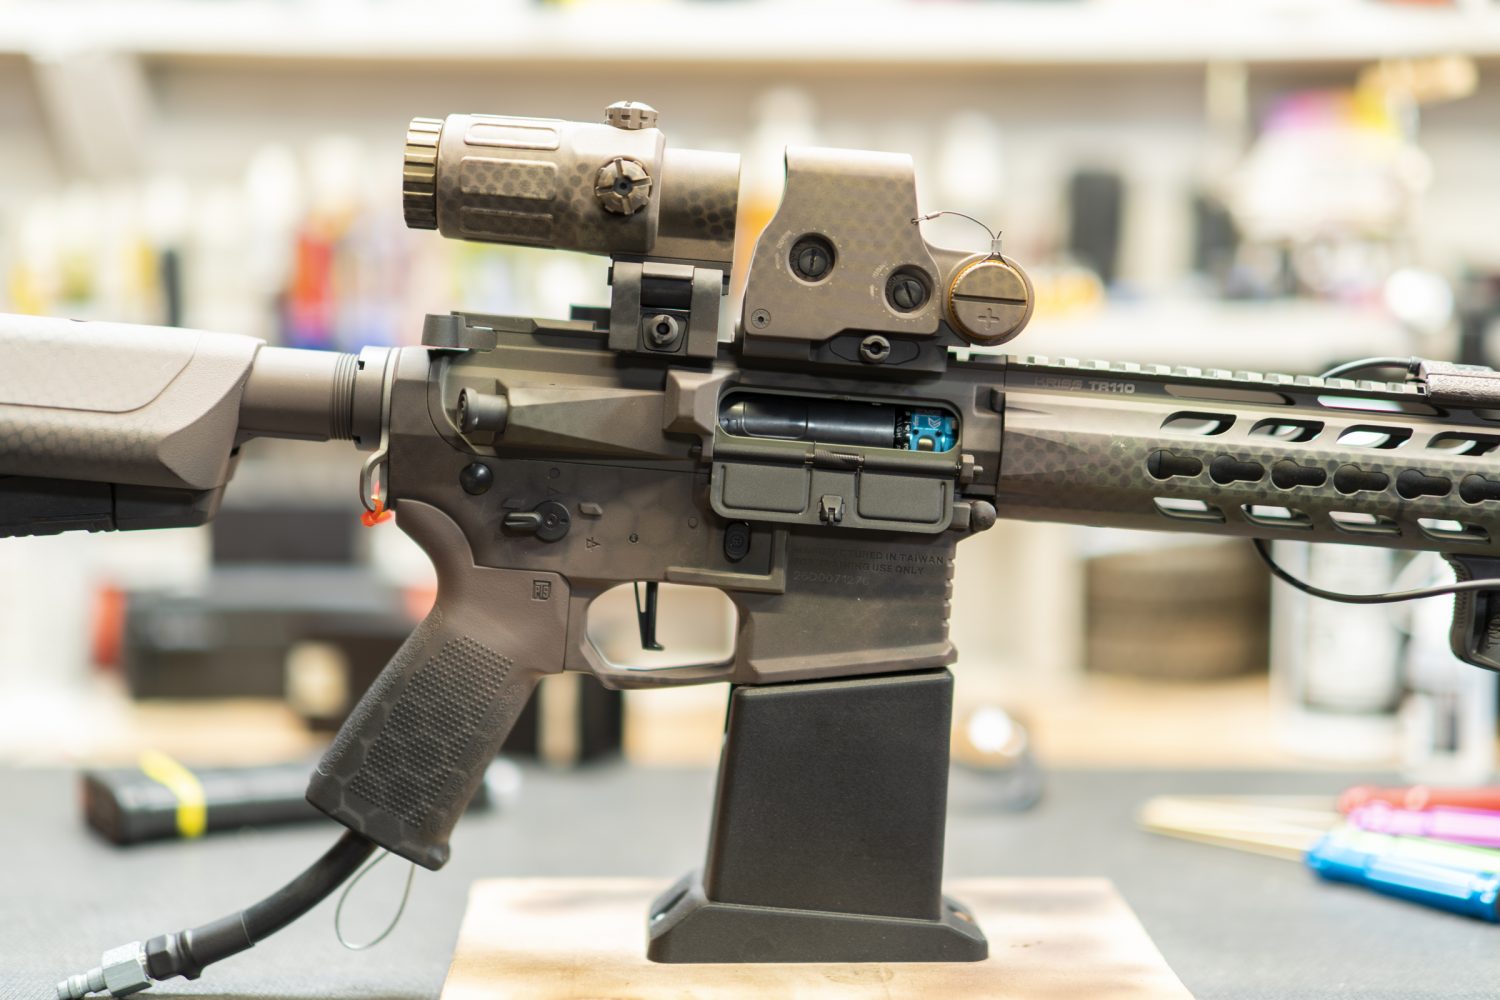
Some of you may have seen my Kythera-Krytac rife build.  If not, check the link for more.  I wanted to share a little bit about the paint job that I did on the build.  There’s really not much to it and there’s not a ton of technique involved but I thought I would at least share a few tidbits of the process to hopefully inspire others to get out of their comfort zone and personalize their rifle, be it real steal or airsoft, and make it your own.

The rifle started out as a Krytac Full Metal Tirdent MKIII CRB Airsoft AEG Rifle in Foliage Green.  I went with the green because I felt it was a great base color for a paint job.  Being my first rifle paint job, it was a gamble because I had no experience to back that up but it was probably a safe bet.

First, you need a few things but before we talk about the specifics you need to decide how you plan to paint. your rifle.  I chose to airbrush my rifle because I have the equipment and have a lot more control and finesse from an airbrush – don’t get me wrong, I’ve seen some amazing “rattle can” jobs as well.  There is at least one thing you should know about airbrushing before you go down that path; the paint is not durable unless you use a durable clear coat to seal it – this means it needs to be an enamel or epoxy style paint like the type that comes out of a spray can or used to paint a car.  However, finding a very matte, clear coat isn’t easy so test the spray can matte clear coats that you find before you seal your rifle.

On hand, I have a collection of Createx Wicked and AutoAir paint colors that I’ve used for years painting various things, include RC car bodies.  For the rifle paint job I chose to create my own color by mixing some yellow, blue and reds to create a brown color and although I feel I hit it out of the park with the color that I created, I doubt I could ever repeat it if needed.  The only other color I used was black.

To help seal the colors, I opted for this matte varnish in the hopes that it would help protect my paint job.  I did test a few enamel matte clear coats but all were way to shiny.  Unfortunately, the varnish doesn’t do much to protect the colors but it’s an awesome matte finish and does add a couple extra layers over the pint job.

Beyond the paint and a place to paint the rifle, you’ll need some other basic supplies, ie: tape, rubbing alcohol, clean cloth and any other supplies you like to use when painting.  In addition to the basic supplies, you’ll need something, like a stencil or a leaf/bush to help create the patterns which will ultimately break up the lines and camouflage the rifle.  I ended up using three different elements to create the patterns.  I picked up two stencils from Amazon and some mesh fabric from a local art supply store.

Although not super important because we aren’t creating artwork here, I’ve always been a big proponent of having a space, void of wind, when painting.  So much paint is wasted when the wind is blowing while painting.  Here you can see my DIY paint booth, which I use in the basement.  Generally, I try not to spray enamels down here due to the odors but since I have the exhaust fan hooked up to the top of the cardboard box spray booth, I am able to paint with just about any type of paint.

Prep work is always important when painting.  I generally use rubbing alcohol to strip away any oils that came from my hands when handling the rifle and try my best to use latex gloves when possible to avoid more oils.  Painters tape or some sort of tape that is easily removable is also key.  I taped up the outer barrel, the red dot lense, etc.

I chose to paint the rifle with all of the accessories attached so that the paint scheme was consistent overall, however, each piece could be painted individually if that’s your jam.

When painting with the fabric mesh, I found that using cable-ties to secure the mesh around the rifle and up against the surface helps create consistent patterns.  More often than not, I generally held the stencil or the fabric on the rifle by hand and did a few passes of the airbrush to create the effect.

Here’s a few process images from the paint job

Again, the important thing to remember is that this is not a precise science. This should be very loose so that you create soft edges to break up the hard lines of the rifle.

If you have any questions about the process or techniques, don’t hesitate to send me a comment.  Good luck with your builds!

About the Author

Leave a Reply

Your email address will not be published. Required fields are marked *

You may also like these