
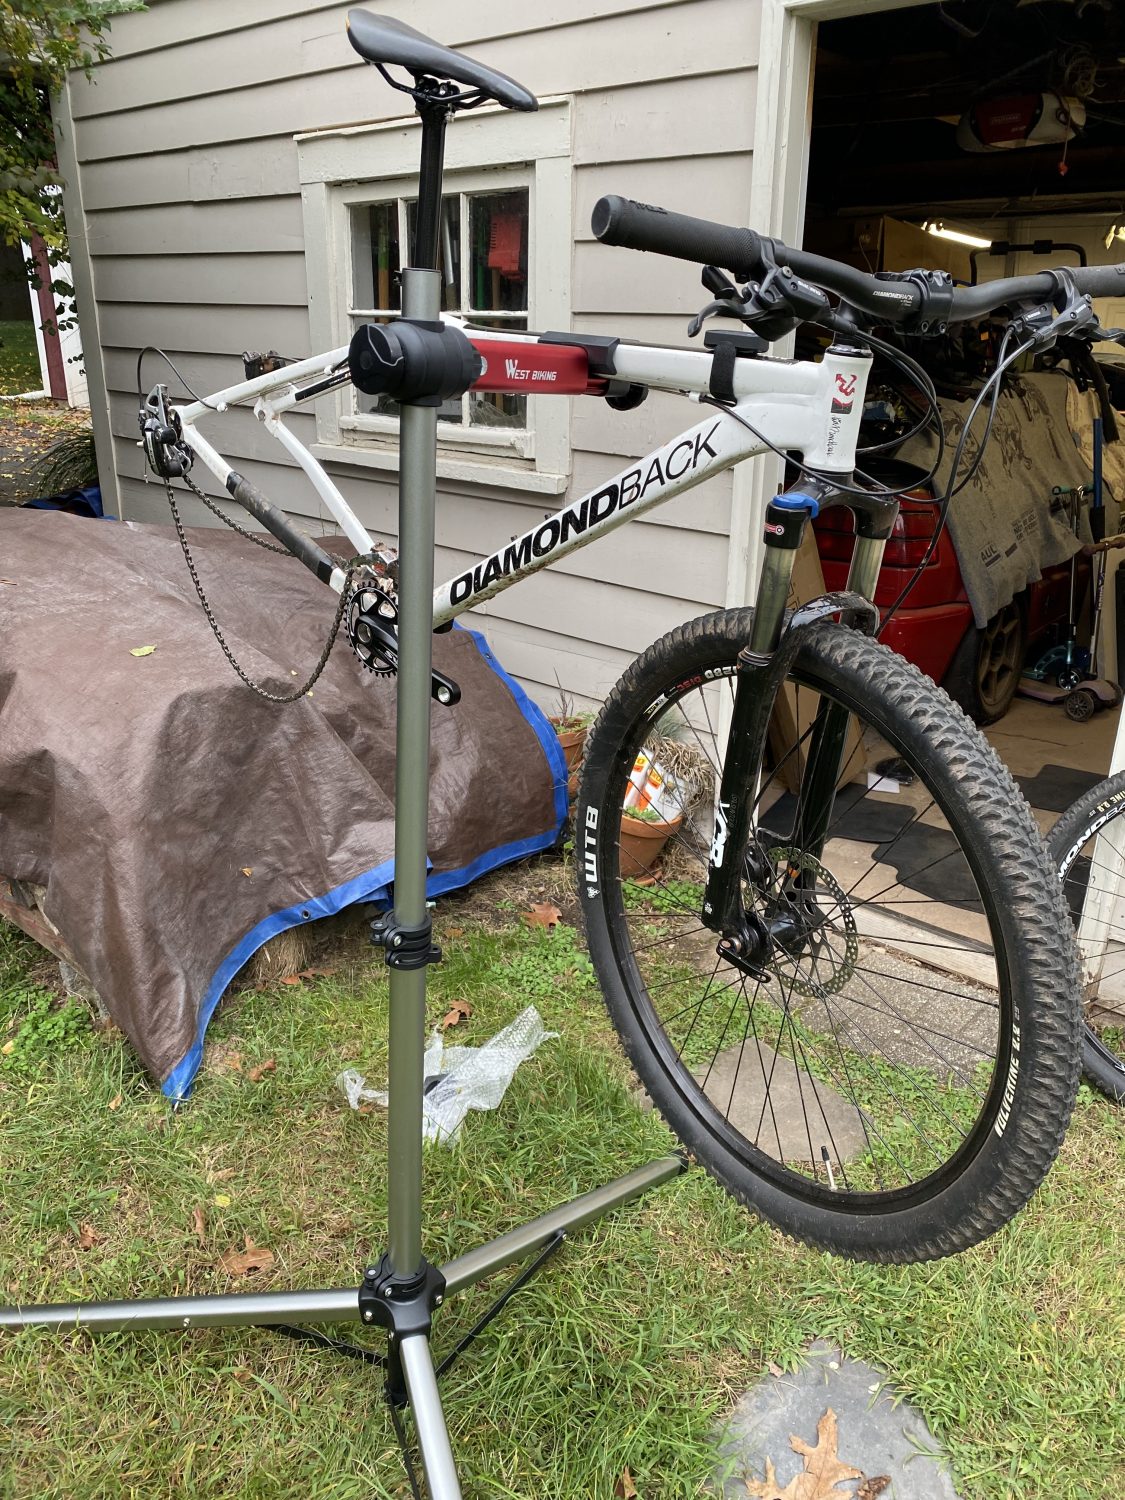
A brief backstory to help paint a picture of the madness. I went on my very first mountain bike ride on June 6, 2021. I had had an off-the-shelf DiamondBack hardtail sitting in my garage years in advance of this ride but had only ever used it for family bike rides locally or while camping. A buddy of mine, Steve, had asked me a few times prior if I wanted to do a mountain bike ride with him and his buddies and I had always declined. I wasn’t interested and moreover, I was a bit worried these “mountain bike guys” would push me way beyond my skill level, not to mention my lung capacity. Eventually, I agreed and on June 6, 2021, only Steve and I showed up for the ride; all the other real MTB guys bailed. Steve was semi-experienced but was rocking a vintage, titanium “hardtail” mountain bike with clamp-style brakes so he wasn’t really set up to be doing anything crazy. We had a good ride and did some “nar” but it was really mild compared to what was to come. Needless to say, I got hooked and wanted more.
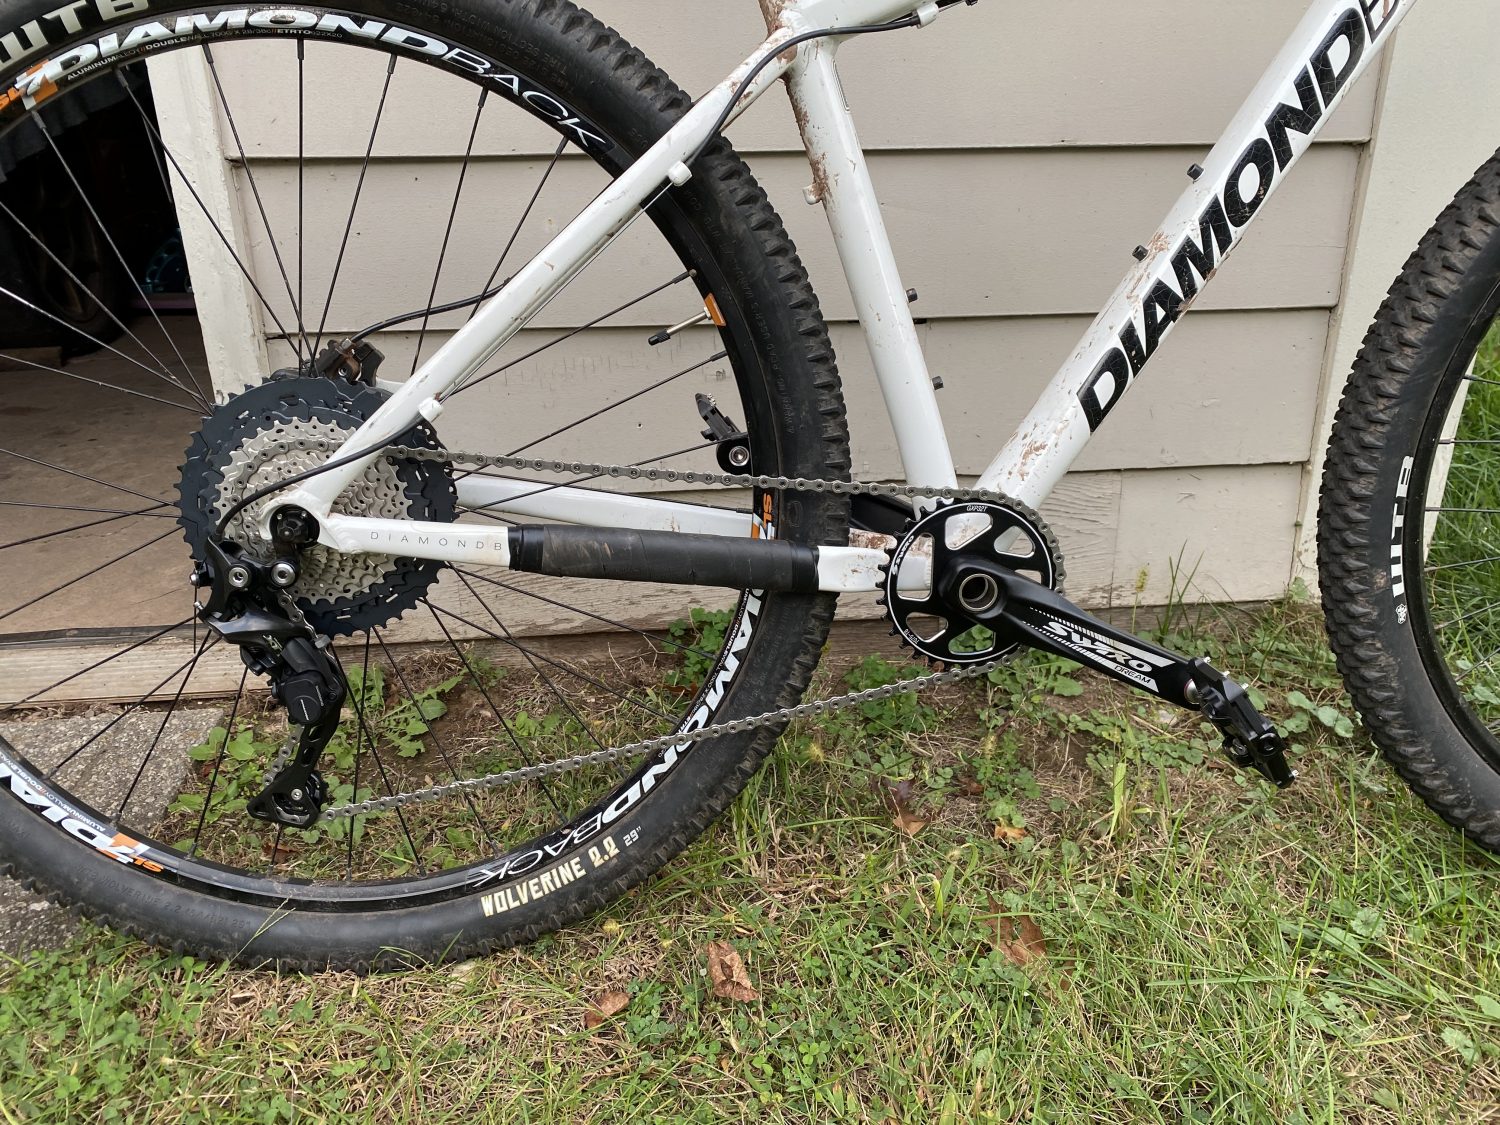
My 2013 DiamondBack Overdrive, which I bought new for $550, which seems like a steal in 2023, had a 3X drive train, hydraulic disc brakes (thankfully), a spring-loaded front fork setup, and not much more. Me being me, after doing some research, needed to make some changes to make the DiamodBack more respectable/ridable so I took advantage of the cheap gear on AliExpress and picked up a Deore M4100 gear/shifter set to make my bike a 1X10 drivetrain. I paired it with a VUNDO Direct Mount 170mm Single Speed Mountain Bike Crankset from Amazon and was ready for the trails.
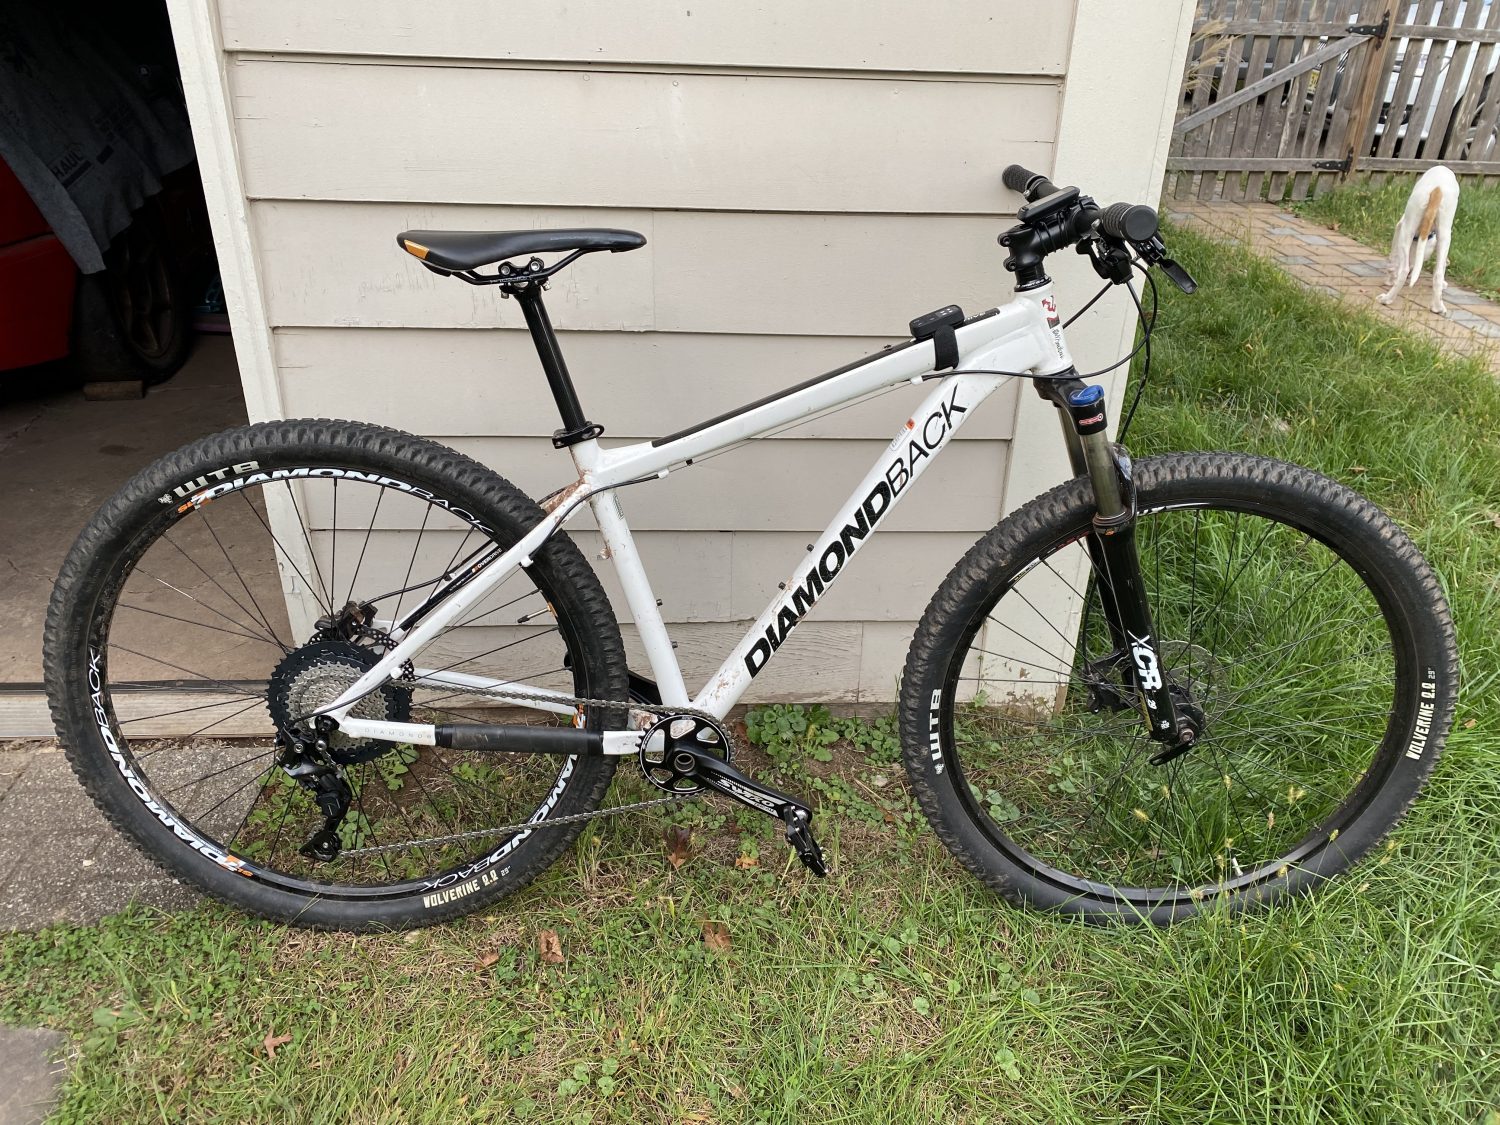
Fast forward a few months, and after a few additional upgrades like tubeless tires, grips, pedals, a carbon fiber seat post (it was free), and several successful rides on the DiamondBack, it was time to get me a full-sus MTB. Being the frugal guy… OK, the cheap guy that I am, I shopped around for an affordable option but wasn’t finding something that included all of the components that I wanted. After doing a ton of research and creating several different spreadsheets to compare the costs of an off-the-shelf bike with lesser components or building my own with components that I wanted, I opted to go DIY.
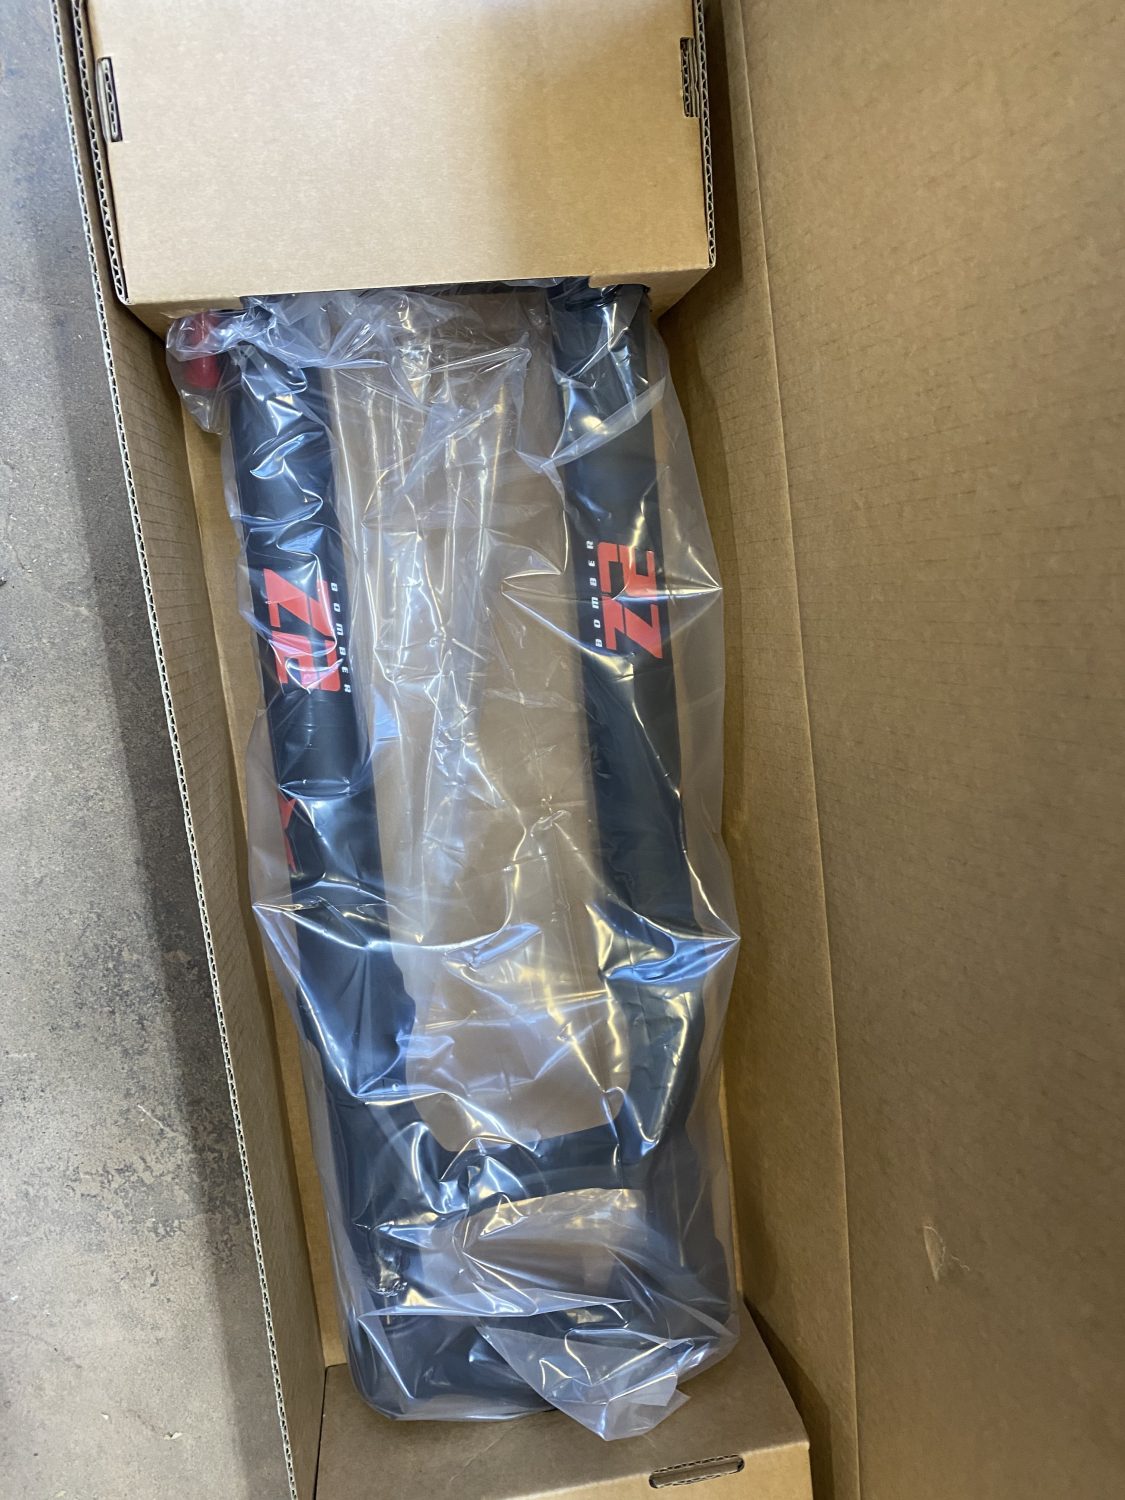
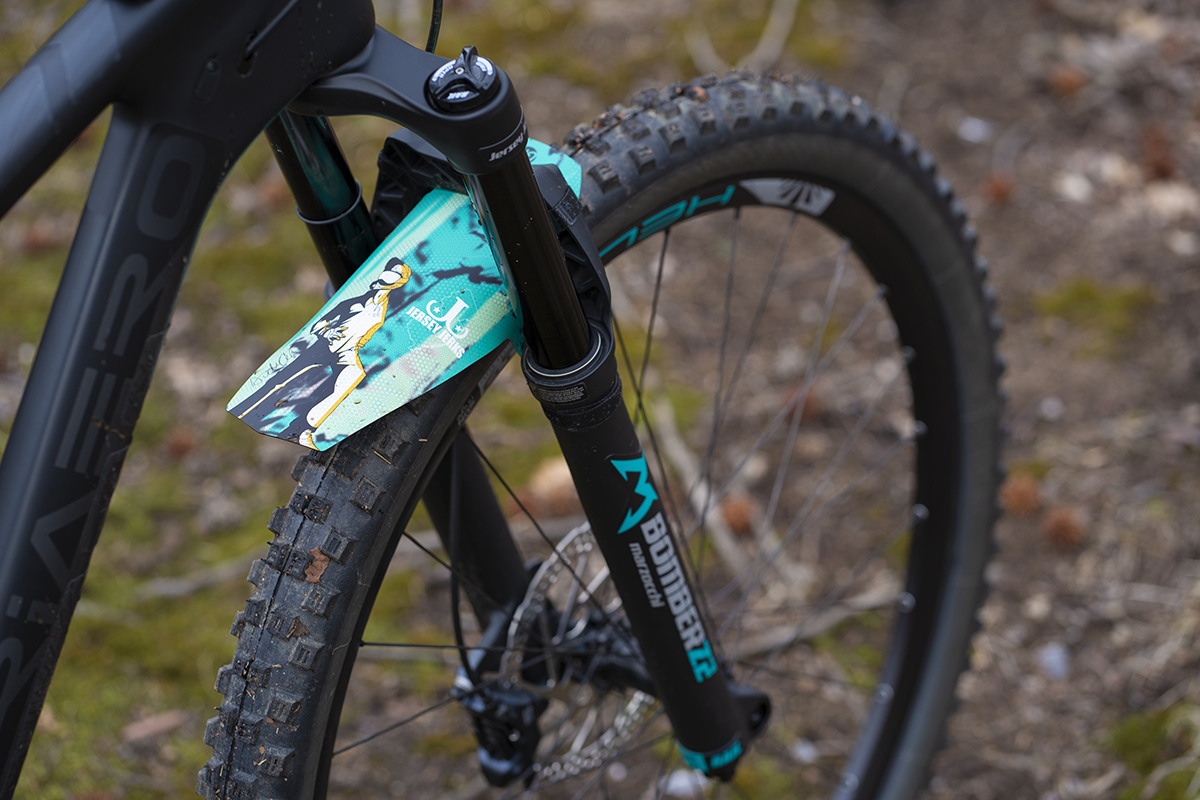
Enter the Chinese carbon MTB frame world. Ugh, where to begin? So much negativity on the internet with the Chinese carbon frames. I really wonder how many of the negative reviews come from actual users of the products. Either way, I ended up settling on the 130mm P1, trial frame from iCan. Their reputation seemed solid, I wasn’t able to find many negative reviews that had any merit, and in general, they had a local USA representative that was responsive. Before I knew it I had ordered a Chinese carbon frame and was deep in research on everything else that I needed. First up, was the Marzocchi Bomber fork. Lovely.
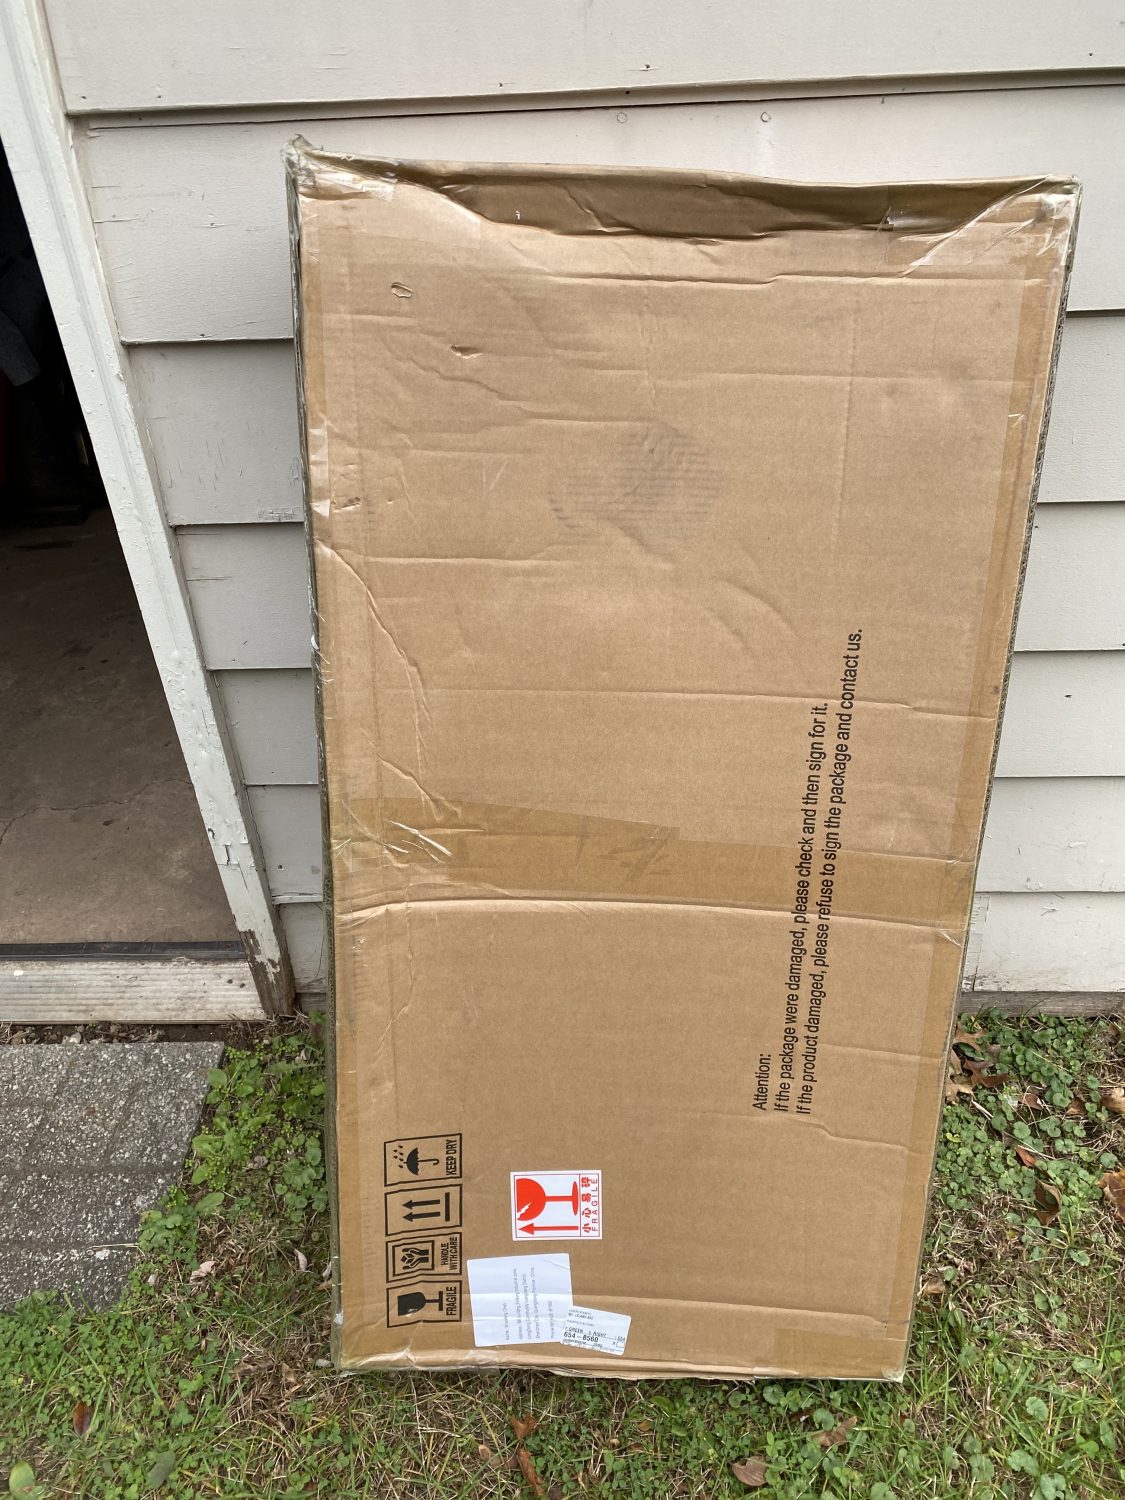
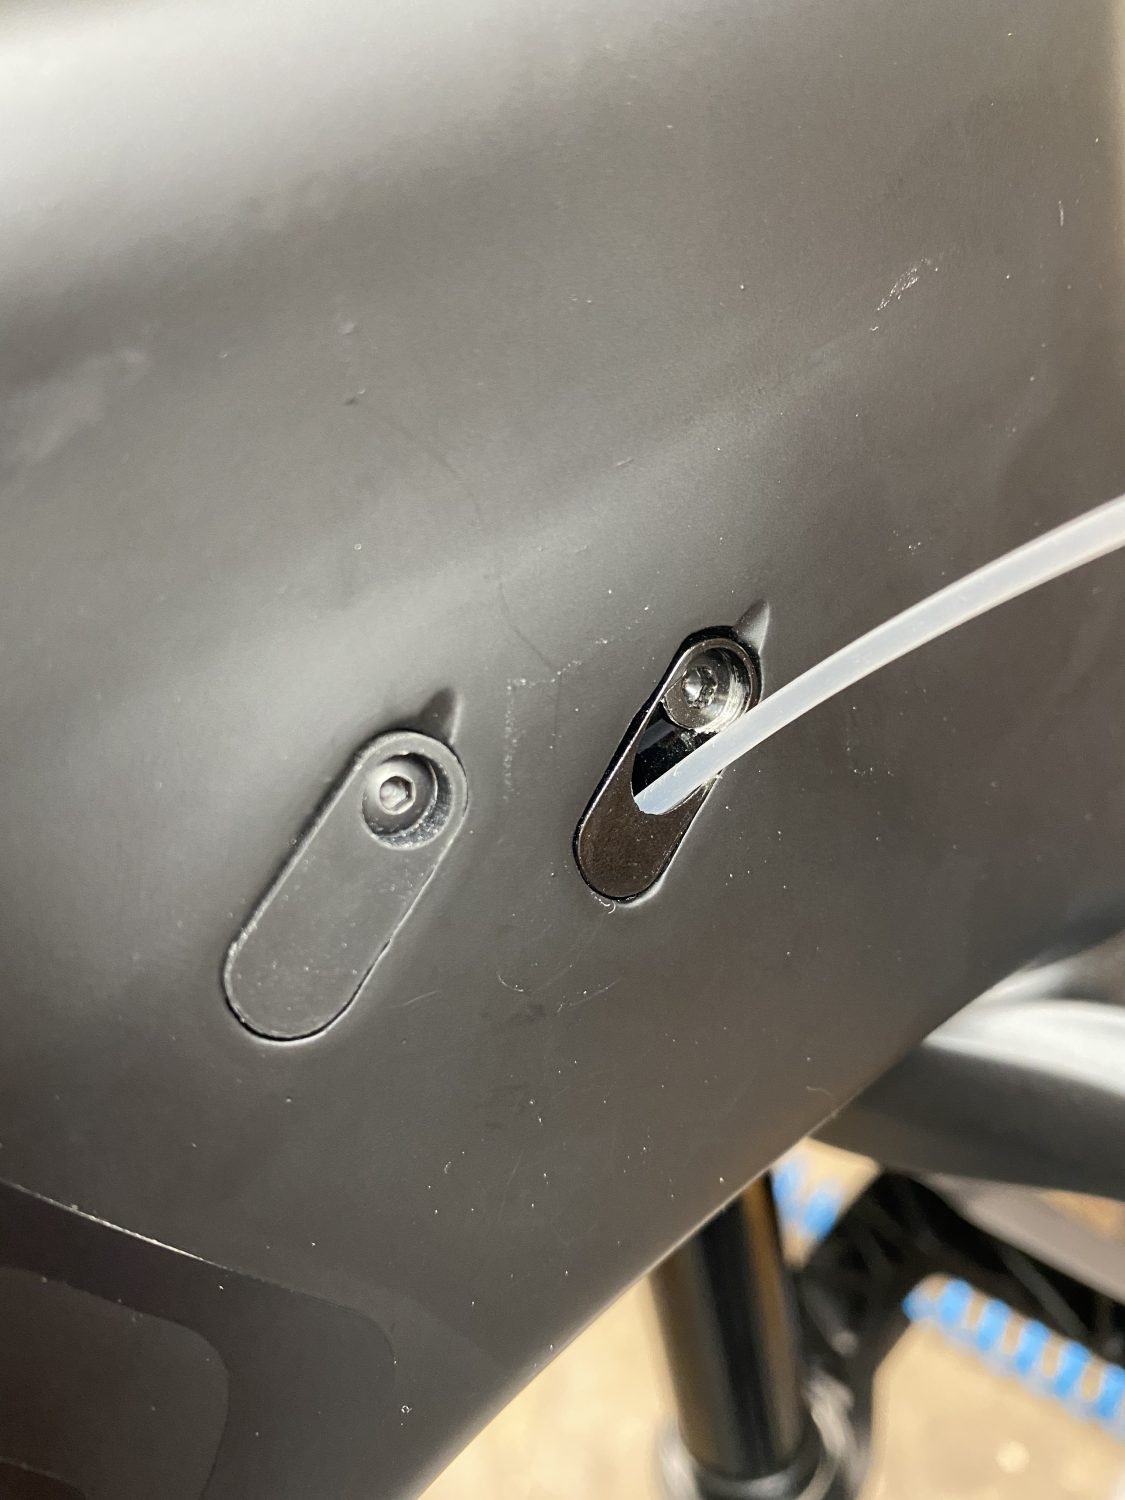
The frame arrived in a cardboard box, packed relatively well, though the box certainly looked like it came from China. The frame was unscathed and looked more or less like it should. The finish was fine, although not super consistent. It came with all of the hardware they had promised, ie: rear axle, rear drop out, etc. Thin plastic tubes were routed throughout the frame so that you can pull brake/shifter cables through.
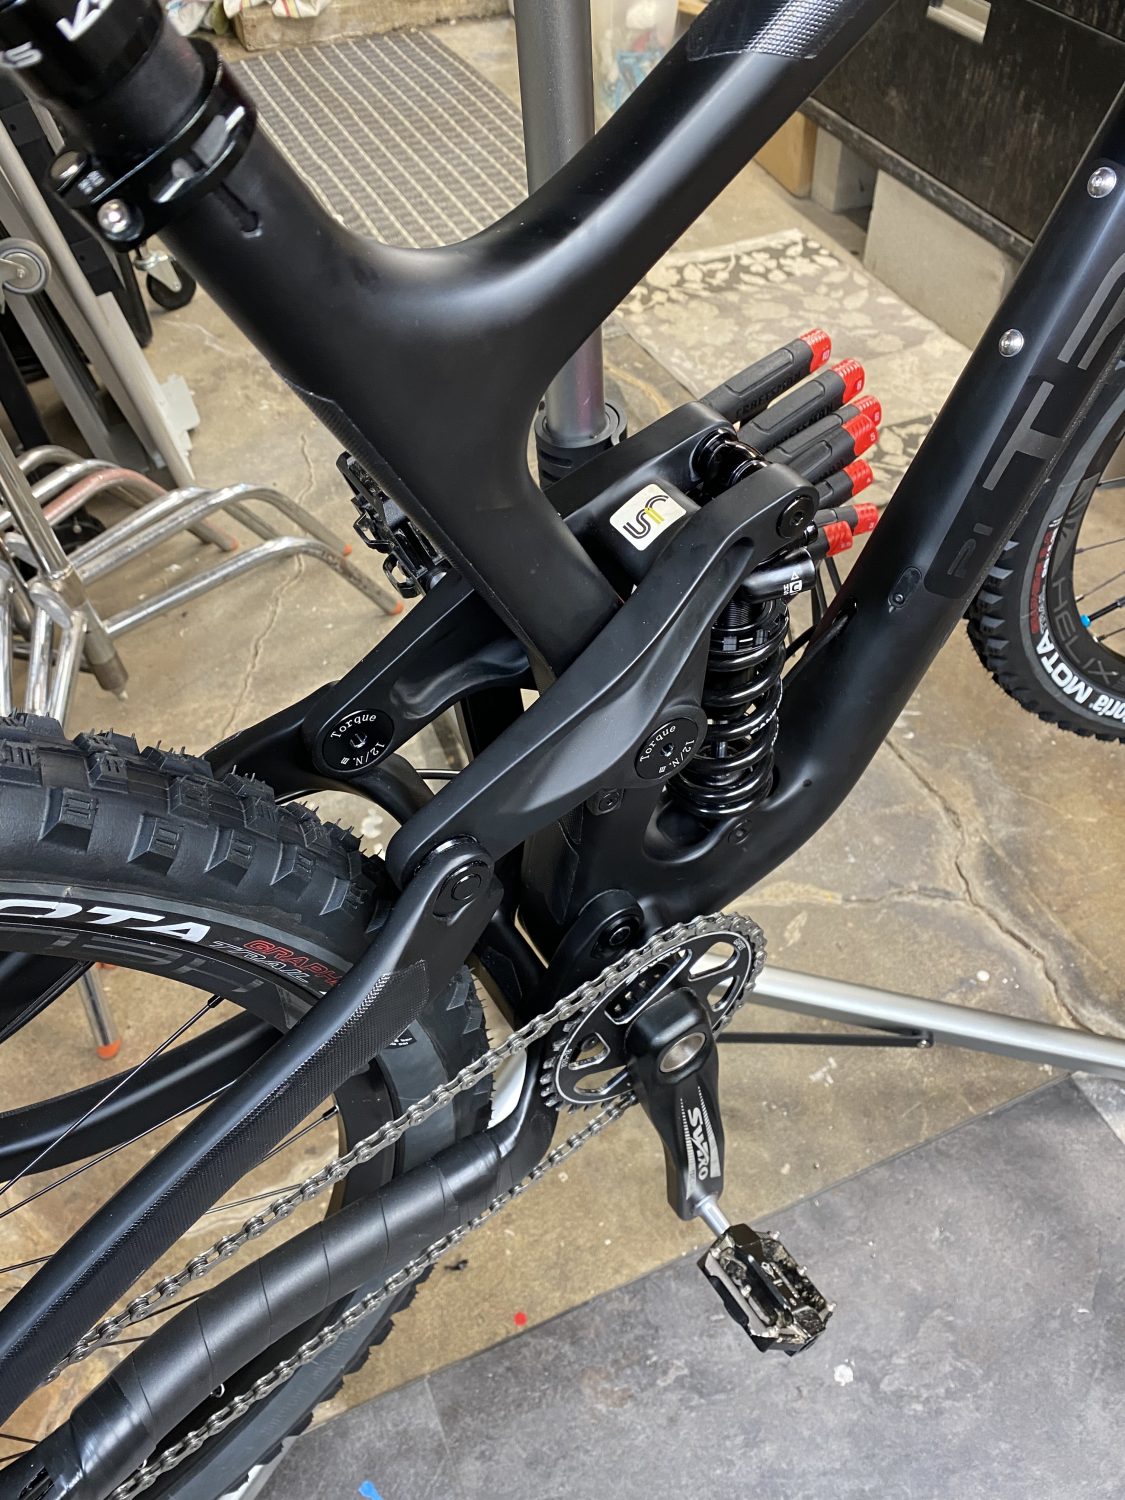
I did have one minor issue with the rear shock mount. The spacing between the two mounting points wasn’t the same. I didn’t know any better so I had to reach out to the shock manufacturer and ask about two different size spacer-hardware kits and they advised me that the opening between the two mounting points should be the same. With that knowledge, I used a flat file to open up one of the mounting points so that it matched the other.
The next step was to secure the rest of the parts list; the dropper post, the brake calipers, the rotors, the wheels, the head, stem, bars, crank, pedals… OMG so many parts to source and confirm compatibility. About half of which I sourced from AliExpress, due to nothing being available in the US during the pandemic, but some did get sourced locally. Here’s the list of my build components and the links (unfortunately, some of the links are no longer valid so I will do my best to find similar parts):
- AliExpress
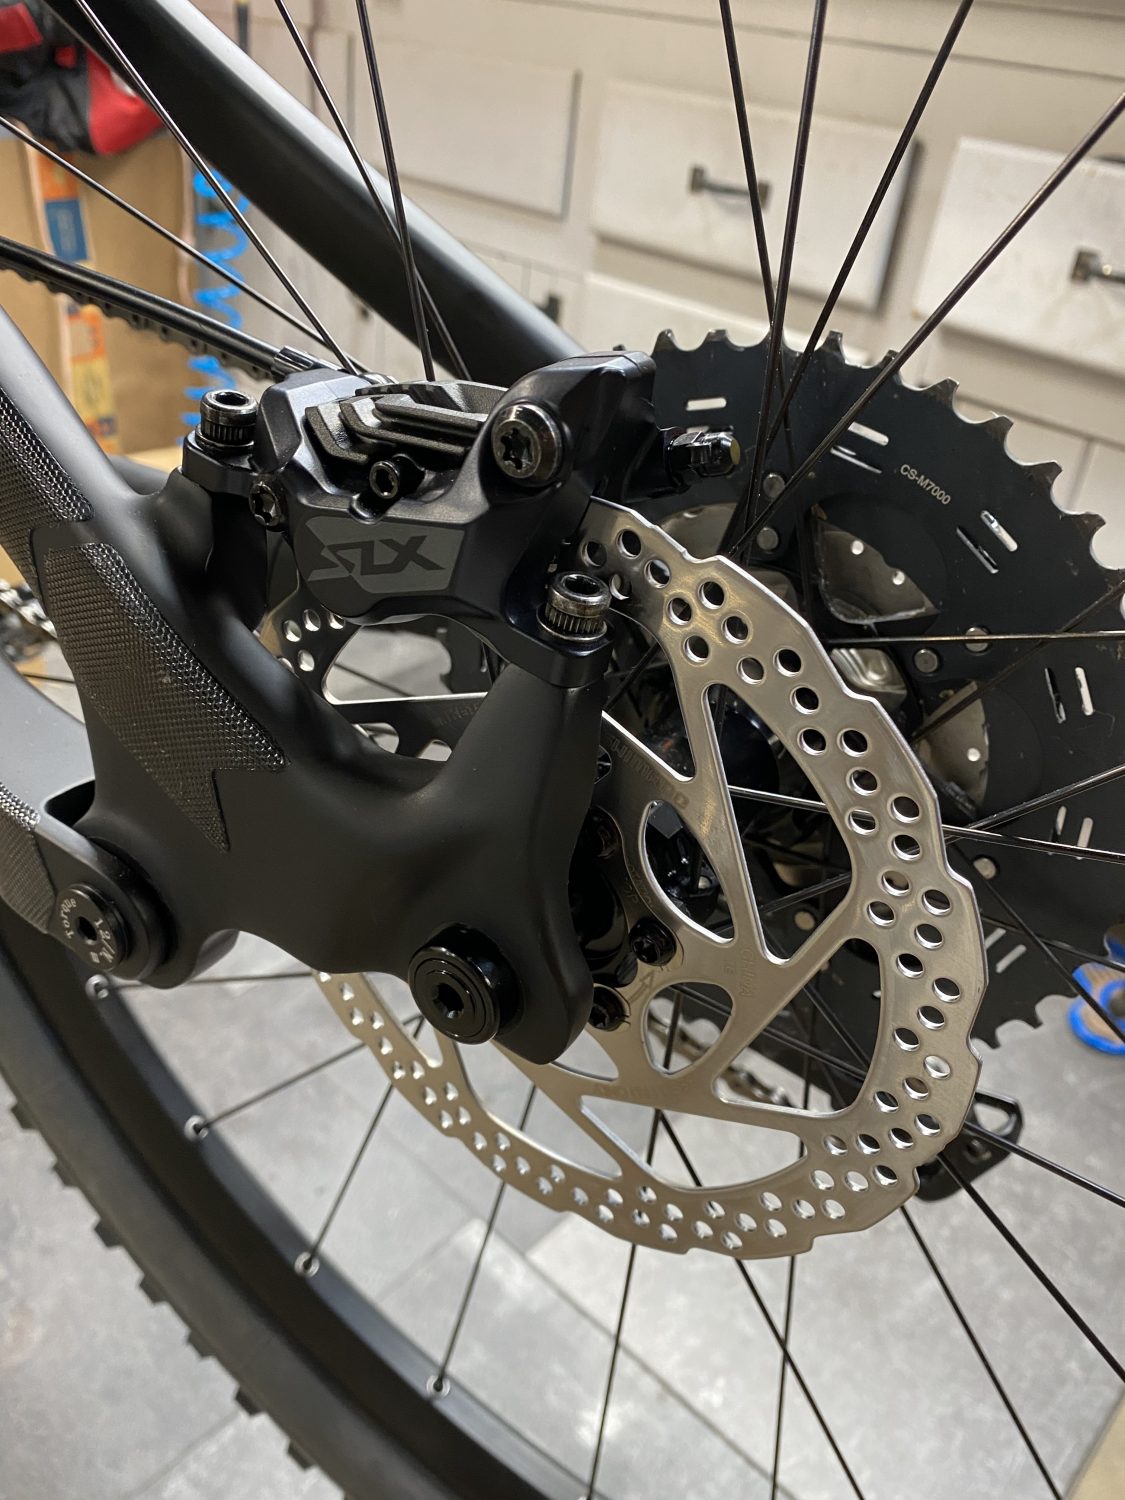
- SHIMANO SLX M7100 Hydraulic Brake groupset M7100
- SHIMANO DEORE SM-RT56- 6-Bolt – Disc Brake Rotor – 180/160 (180/front & 160/rear)
- KS E20/E20-i travel125mm with remote control MTB dropper seat post
- MRP AMg V2 Alloy Chain Guide 26-32T 32-38T ISCG-05 Black (this was added later after the initial build)
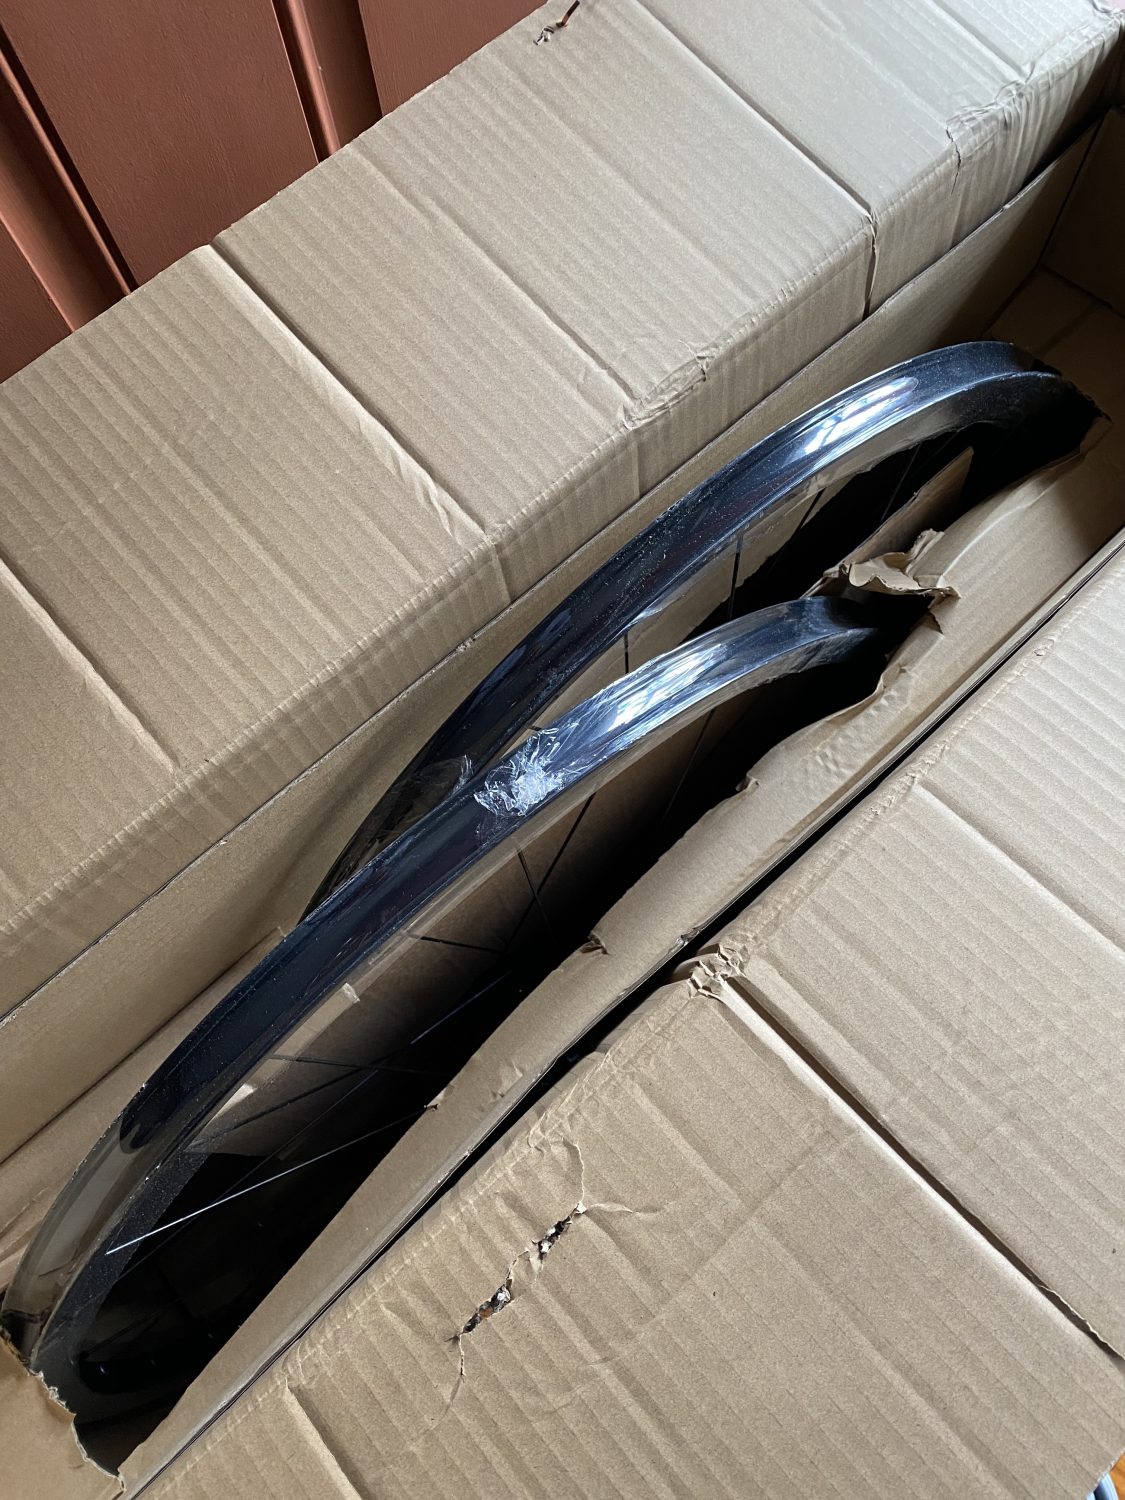
- Wheelset 29inch SunRingle Helix TR27 SL Tubeless Rim with Venfort hubs (not the original set I purchased but very close)
- SHIMANO DEROE SLX FC M7100 Crankset 32T 170MM HOLLOWTECH II (this was added later after the initial build)
- MAXXIS MINION DHR/DHF Tubeless TR EXO Bike Tire (these were added later after the initial build)
- Within the US
- CANE CREEK DOUBLE BARREL SPRING V2
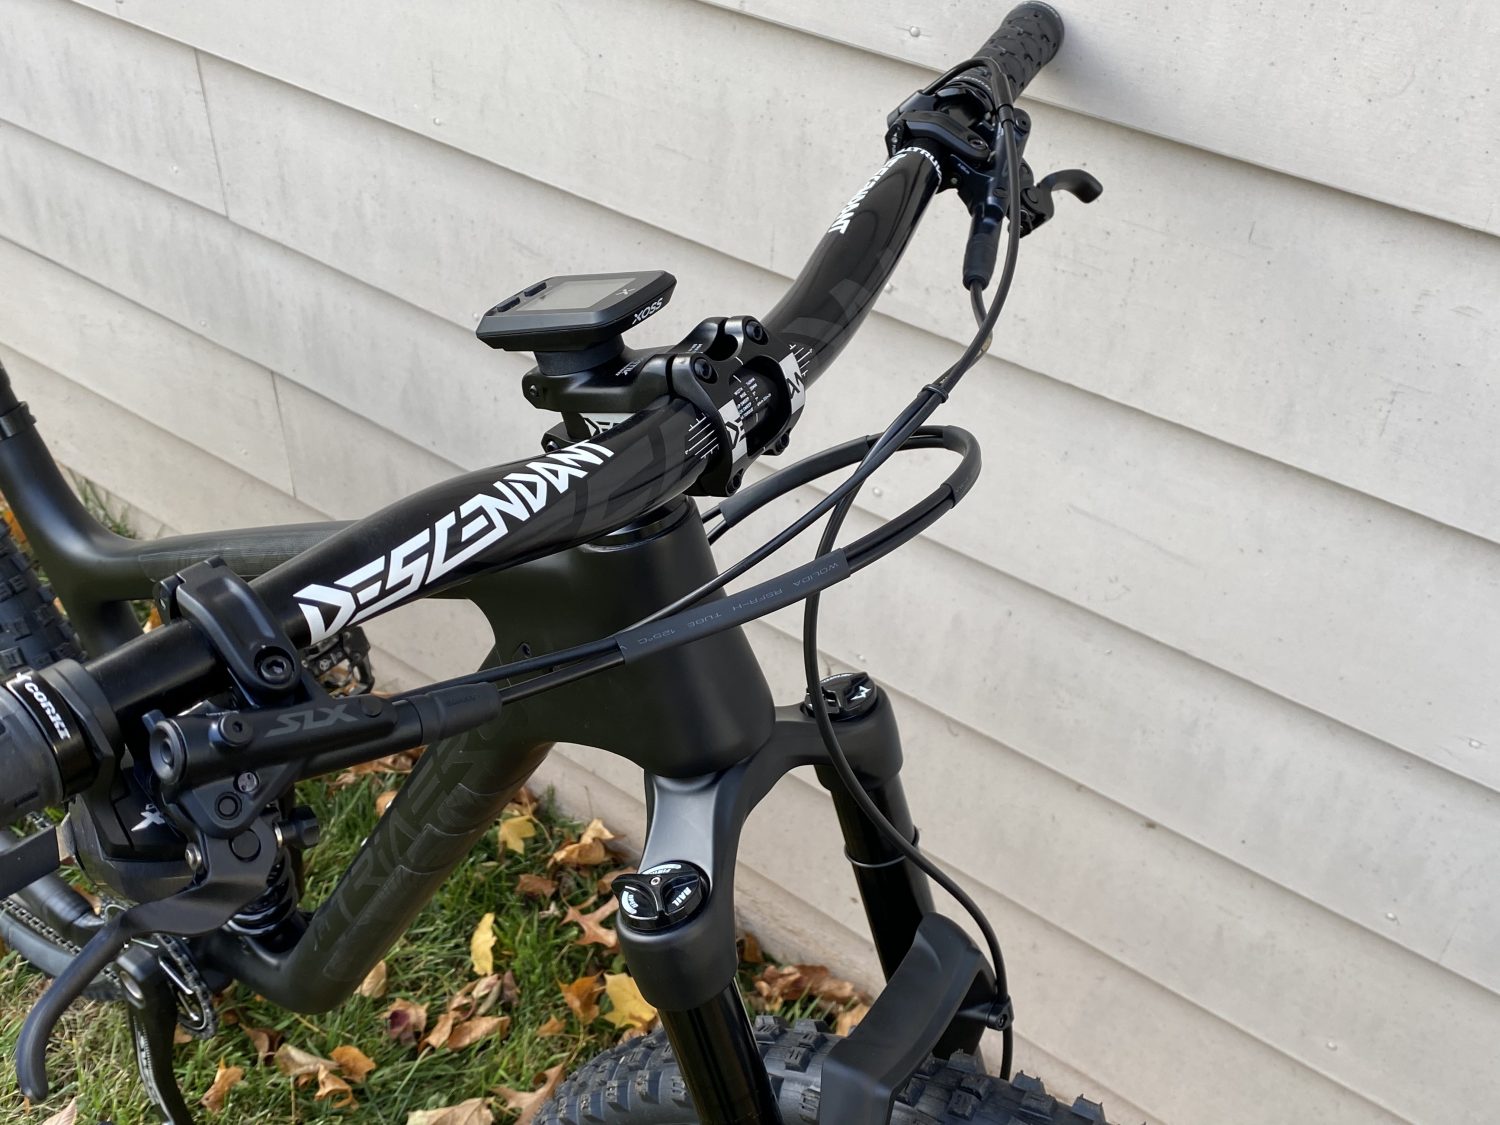
- TruVativ Descendant 760mm Wide 20mm Rise 31.8mm Clamp Handlebar
- Truvativ Descendant 60mm 31.8mm Clamp 1-1/8″ Stem Black
- KOOTU Road Bike Saddle (finally replacing it with a Ergon saddle)
- Cane Creek Coil IL G2 Rear Shock
- Shimano SLX CS-M7000 Cassette 11-46 T
- corki Mountain Bike Grips Lock On
- Vittoria Mota Mountain Bike Tires (part of the original build)
- FIFTY-FIFTY Mountain Bike Pedals (after trying a few different clipless pedals, I landed on these for trail rides. I keep the clipless on my downhill bike)
- All Mountain Style AMS High Impact Frame Guard Full
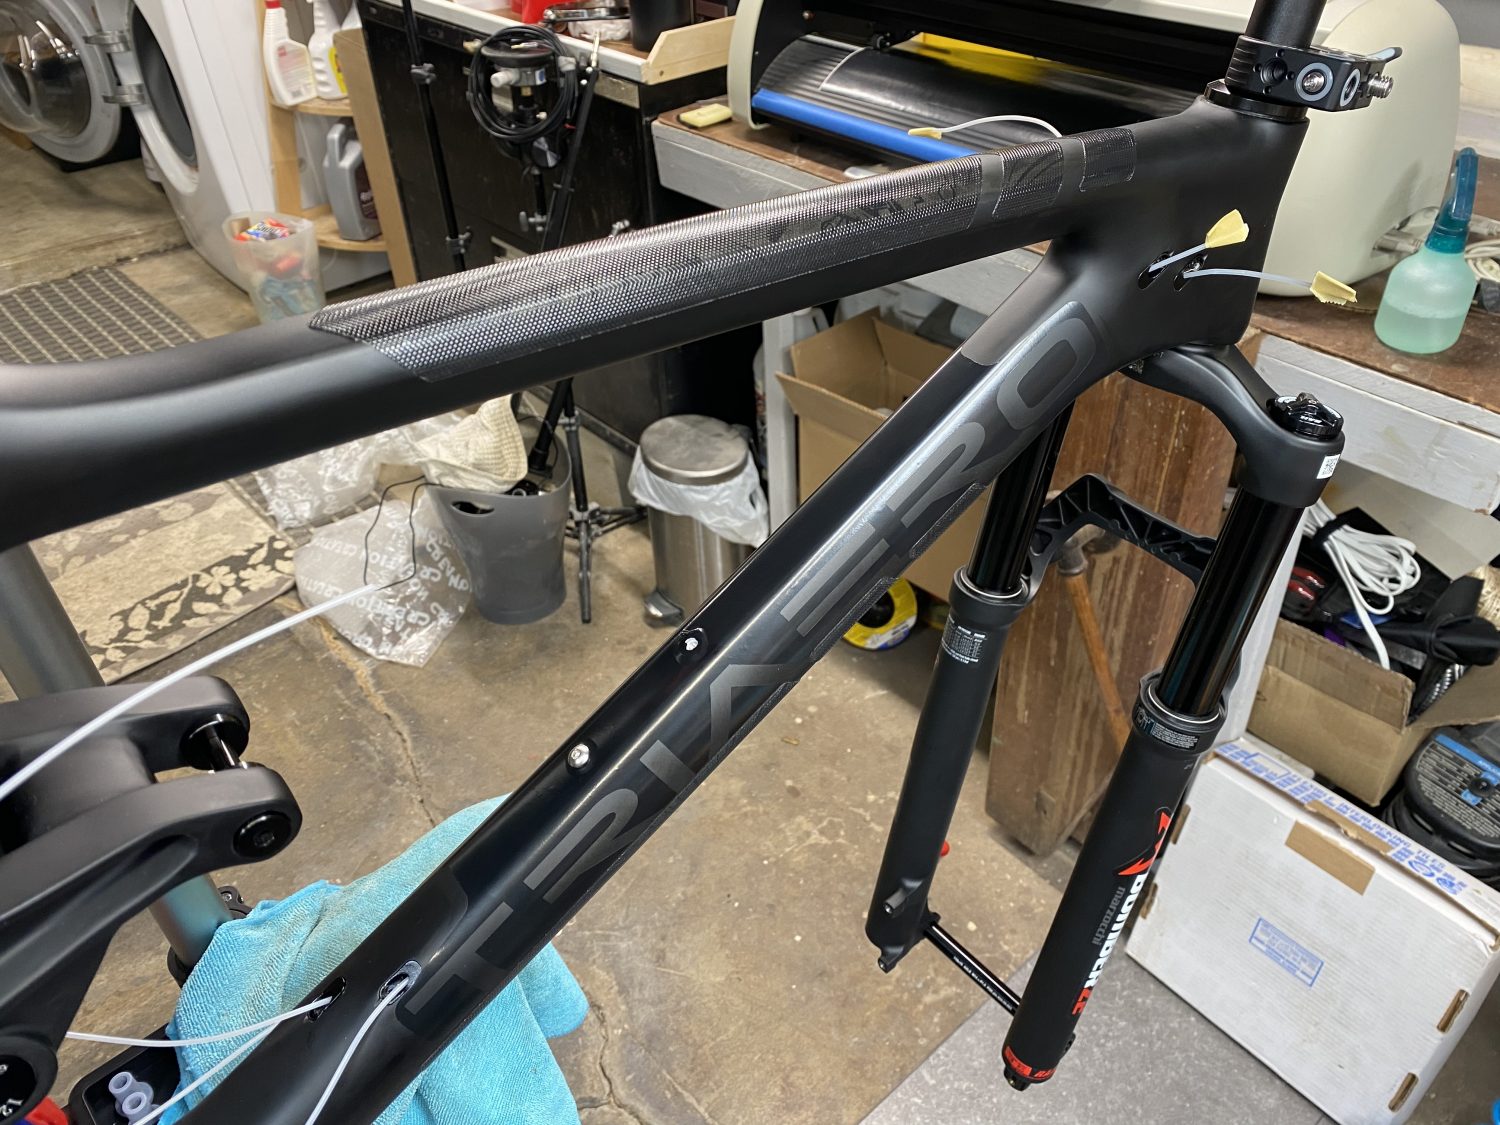
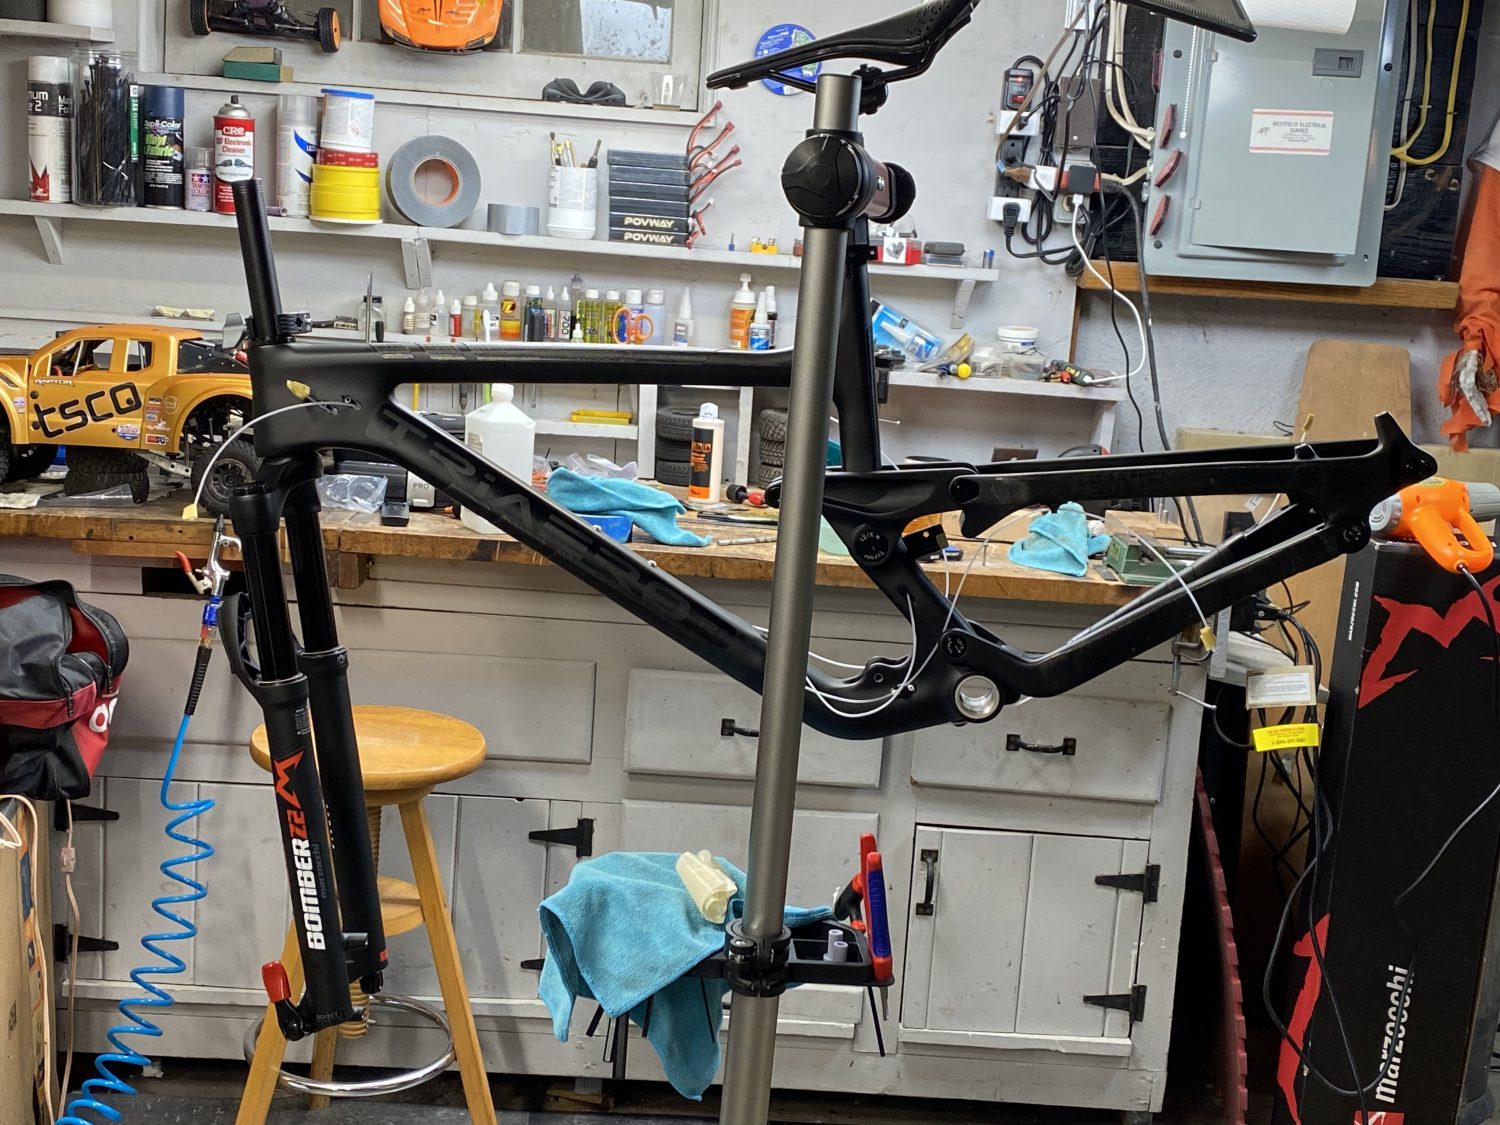
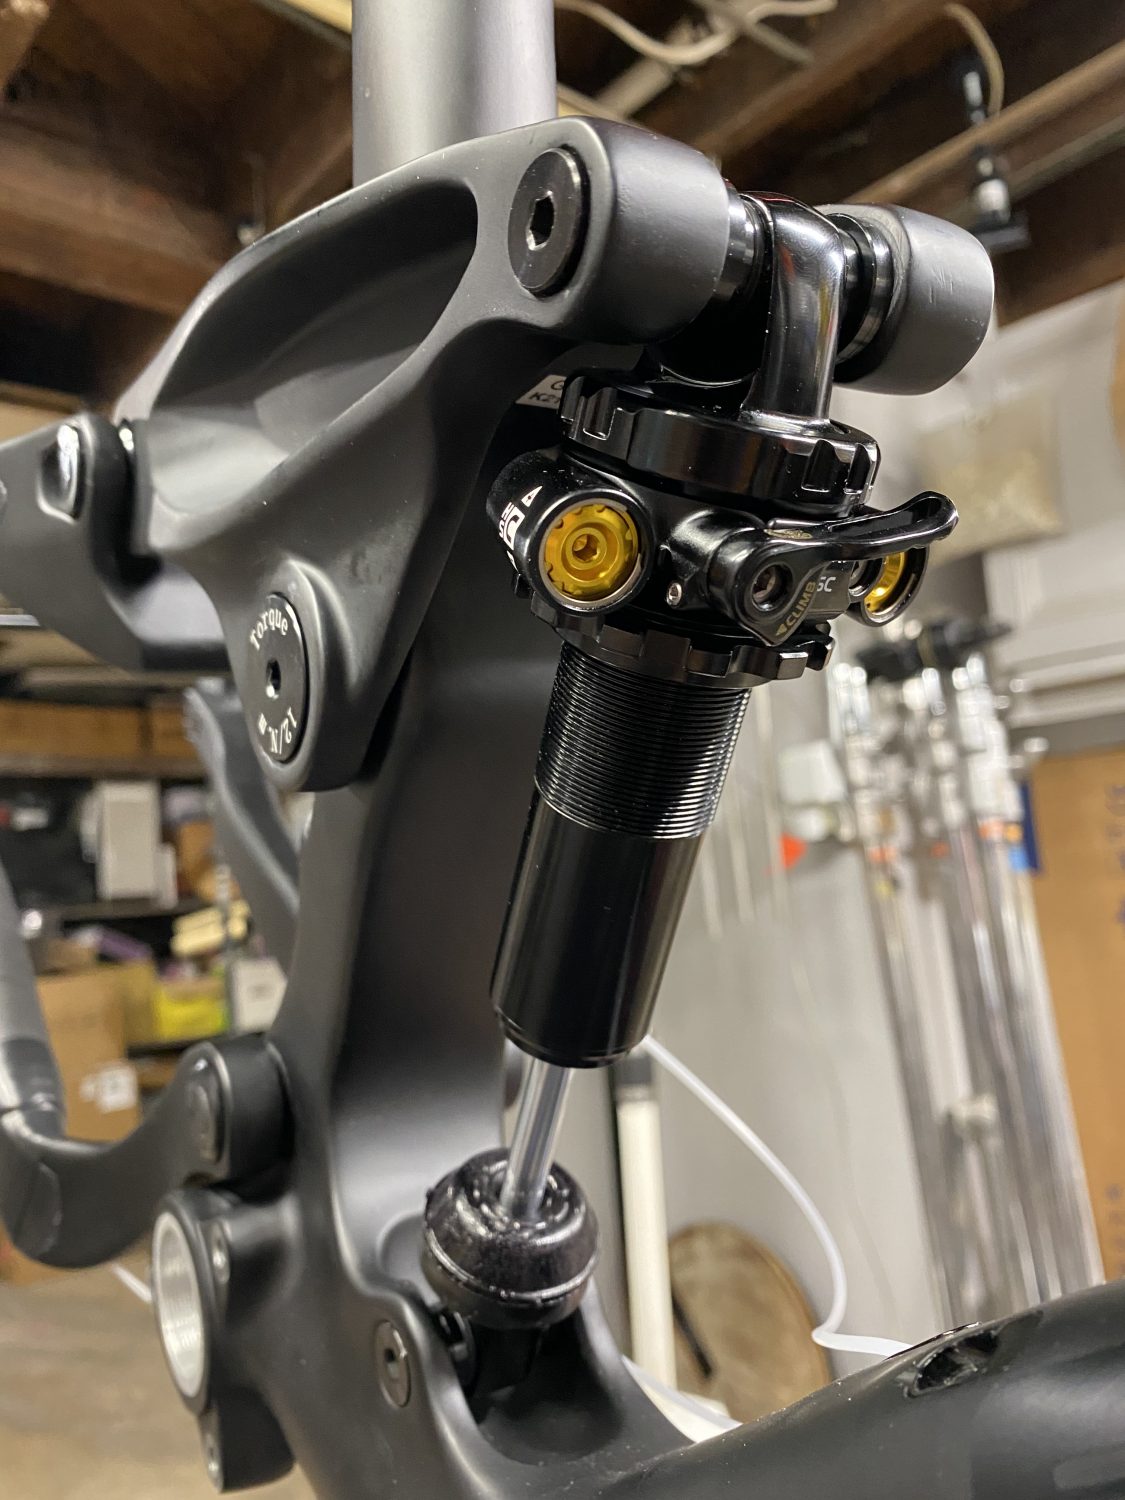

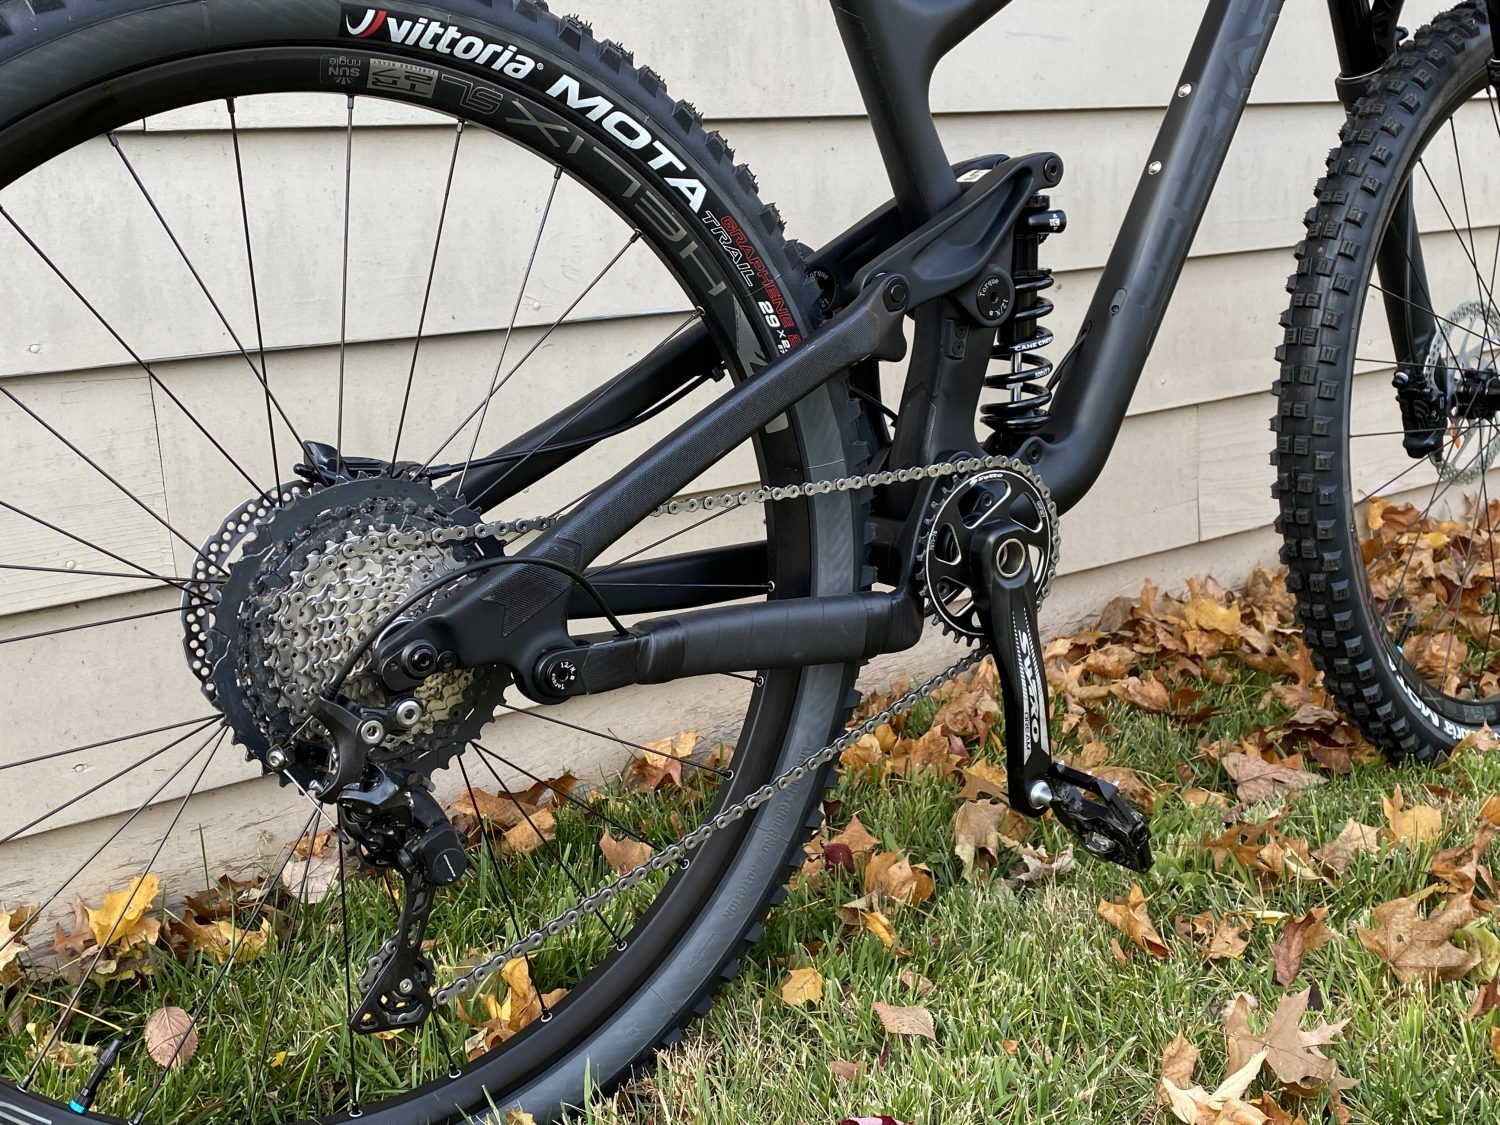
As parts started to flow, it was only a matter of time before I was riding this new Chinese carbon, full-suss MTB… not so fast said the MTB gods. Originally I picked up a Marzocchi rear coil shock but found out real quick that the reservoir contacted the frame so I had to quickly pivot and return said Marzocchi for the Cane Creek. Every other component seemed to install without issue and as I got closer to a complete bike, I got more and more excited to get it out on the trails.
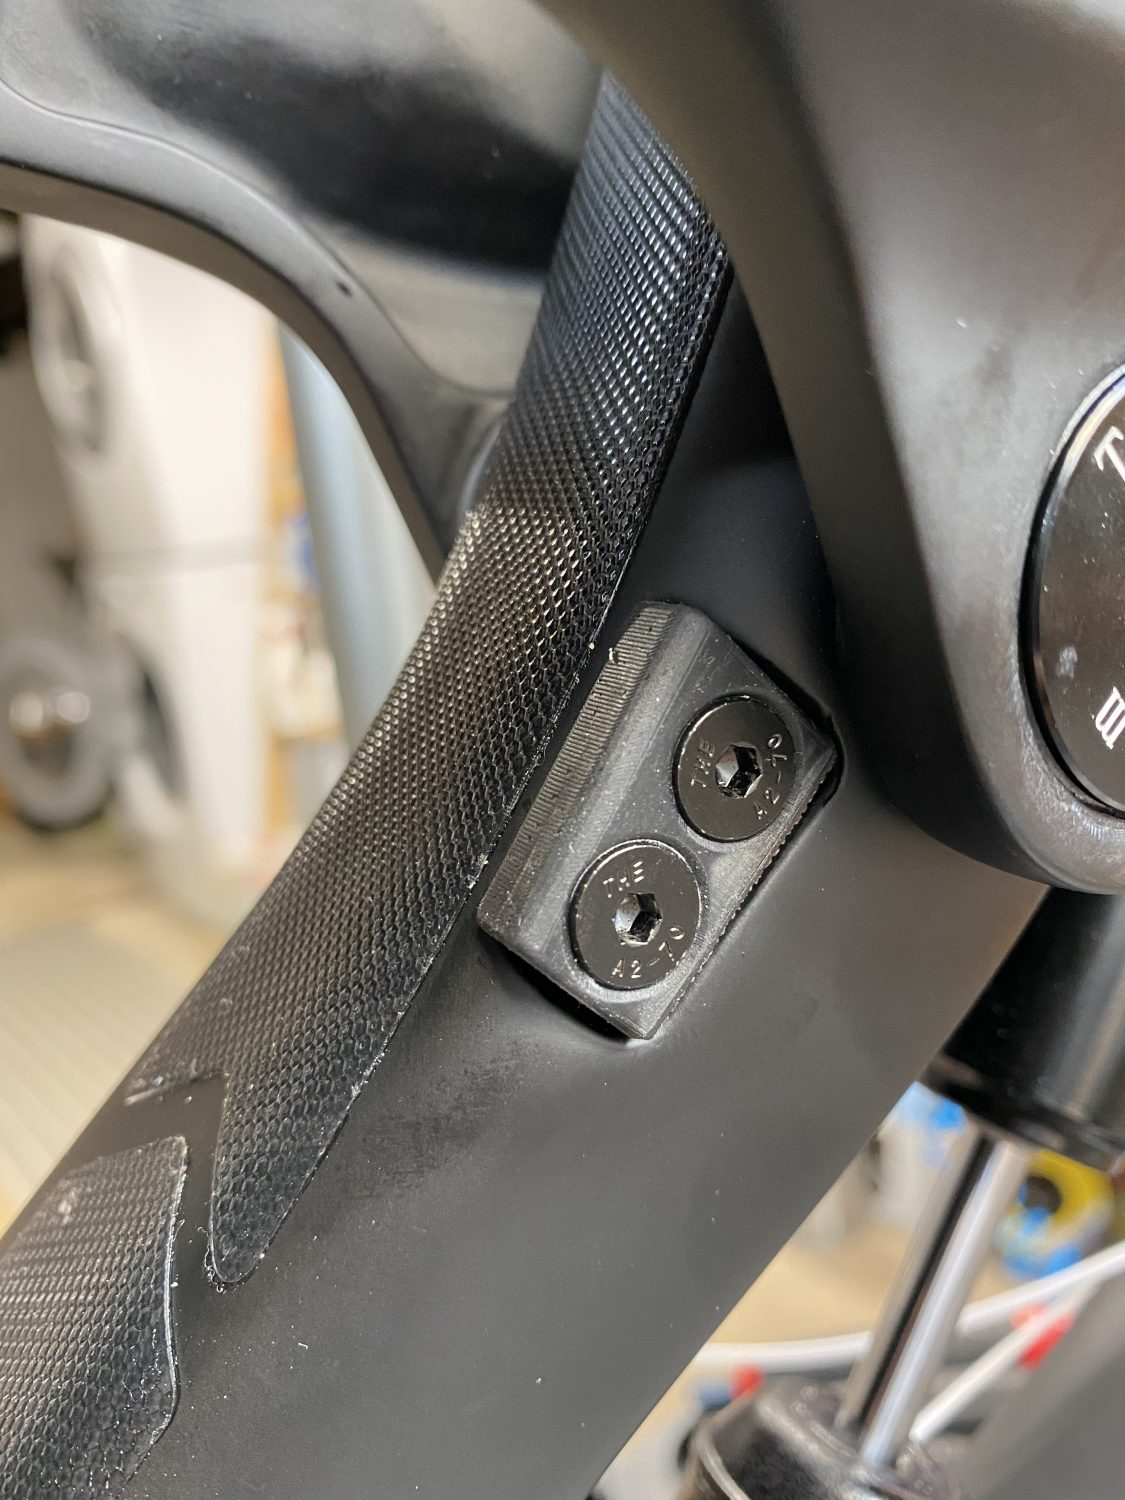
As the bike started to come together, I took some time to create some 3D-printed parts that I thought would help clean up a few things. I created a plug for the internal routing holes. I also created a filler piece for the front derailleur mounting point.
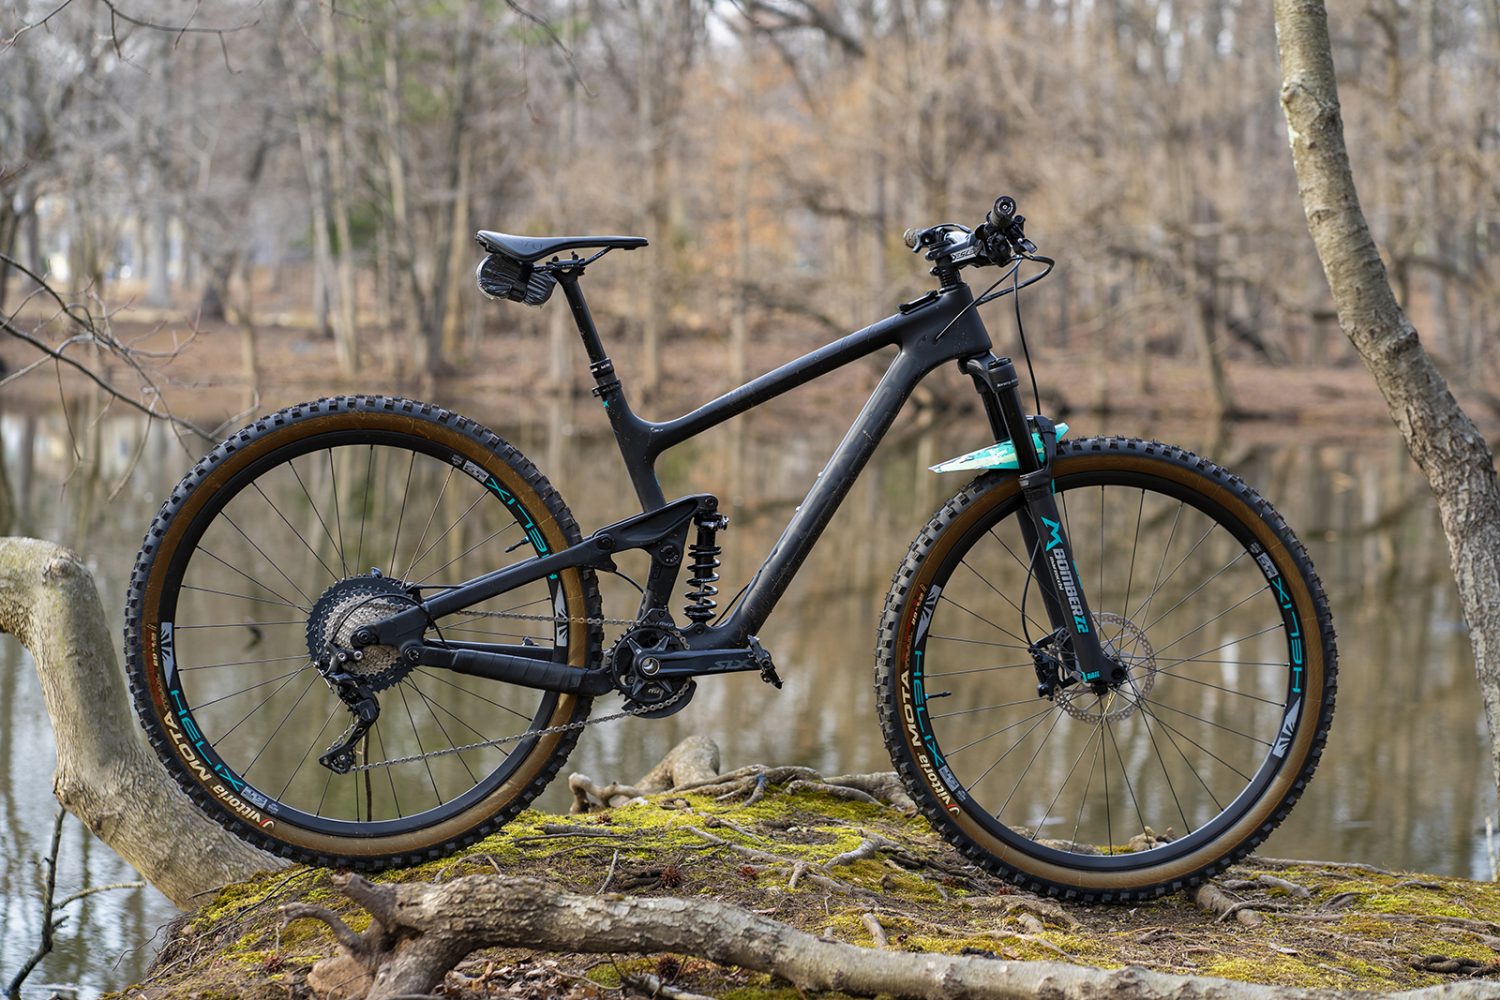
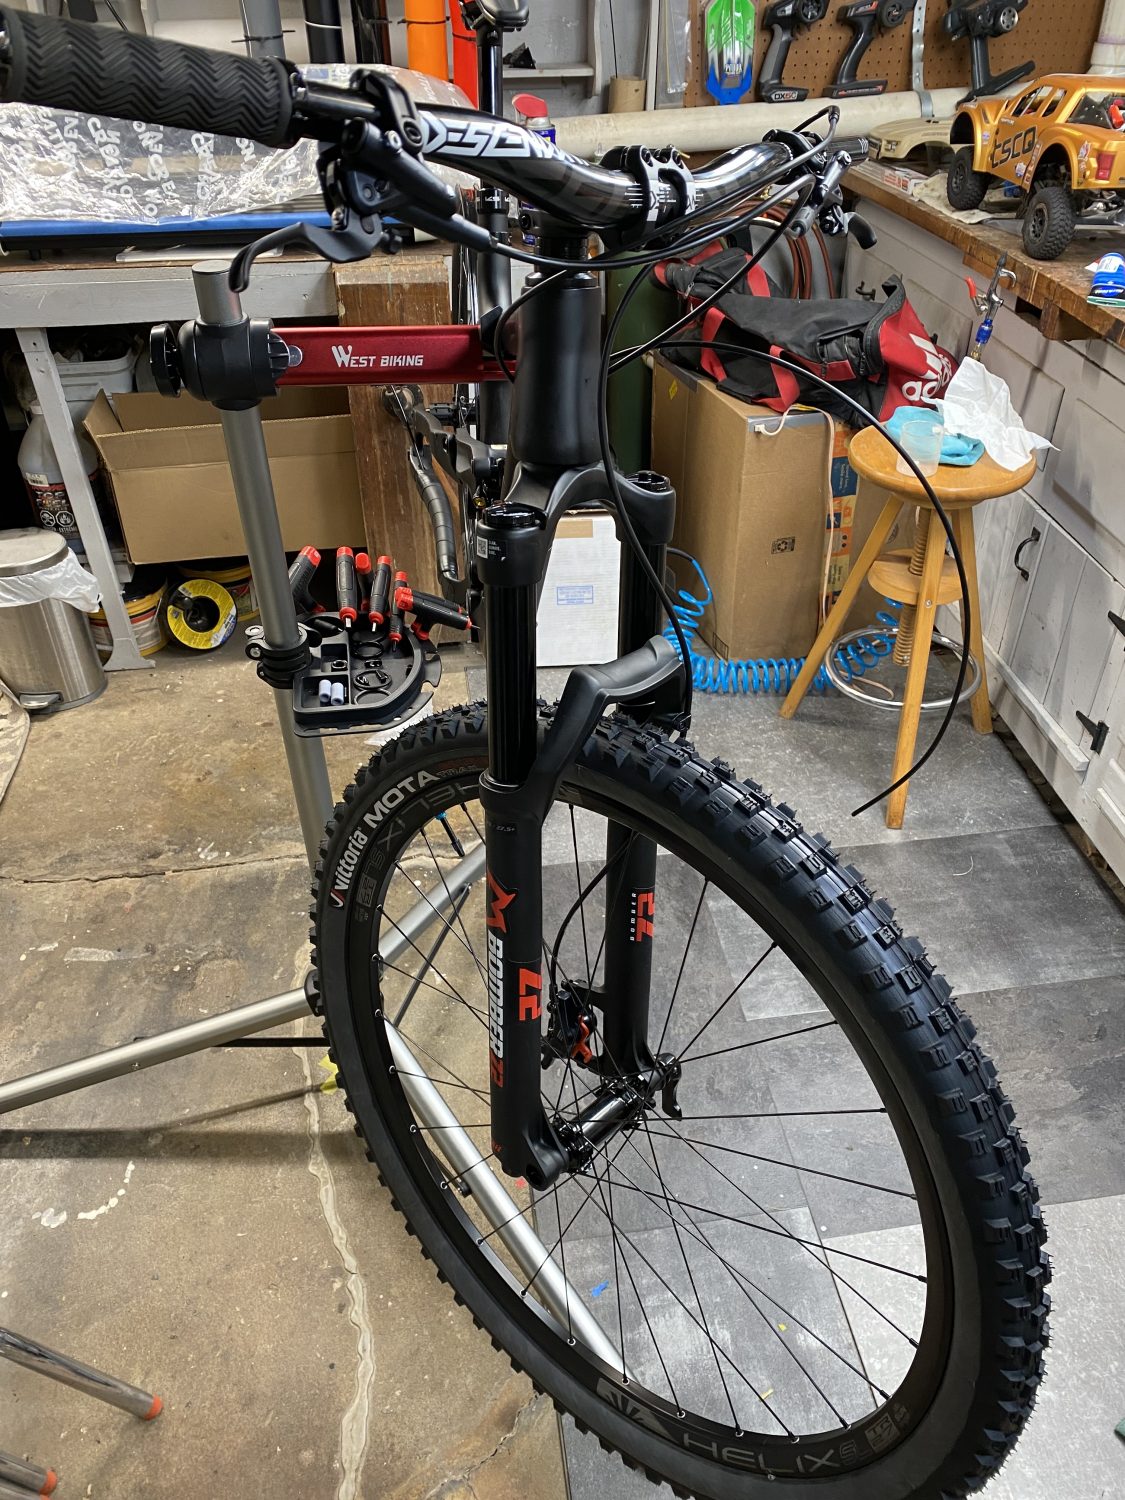
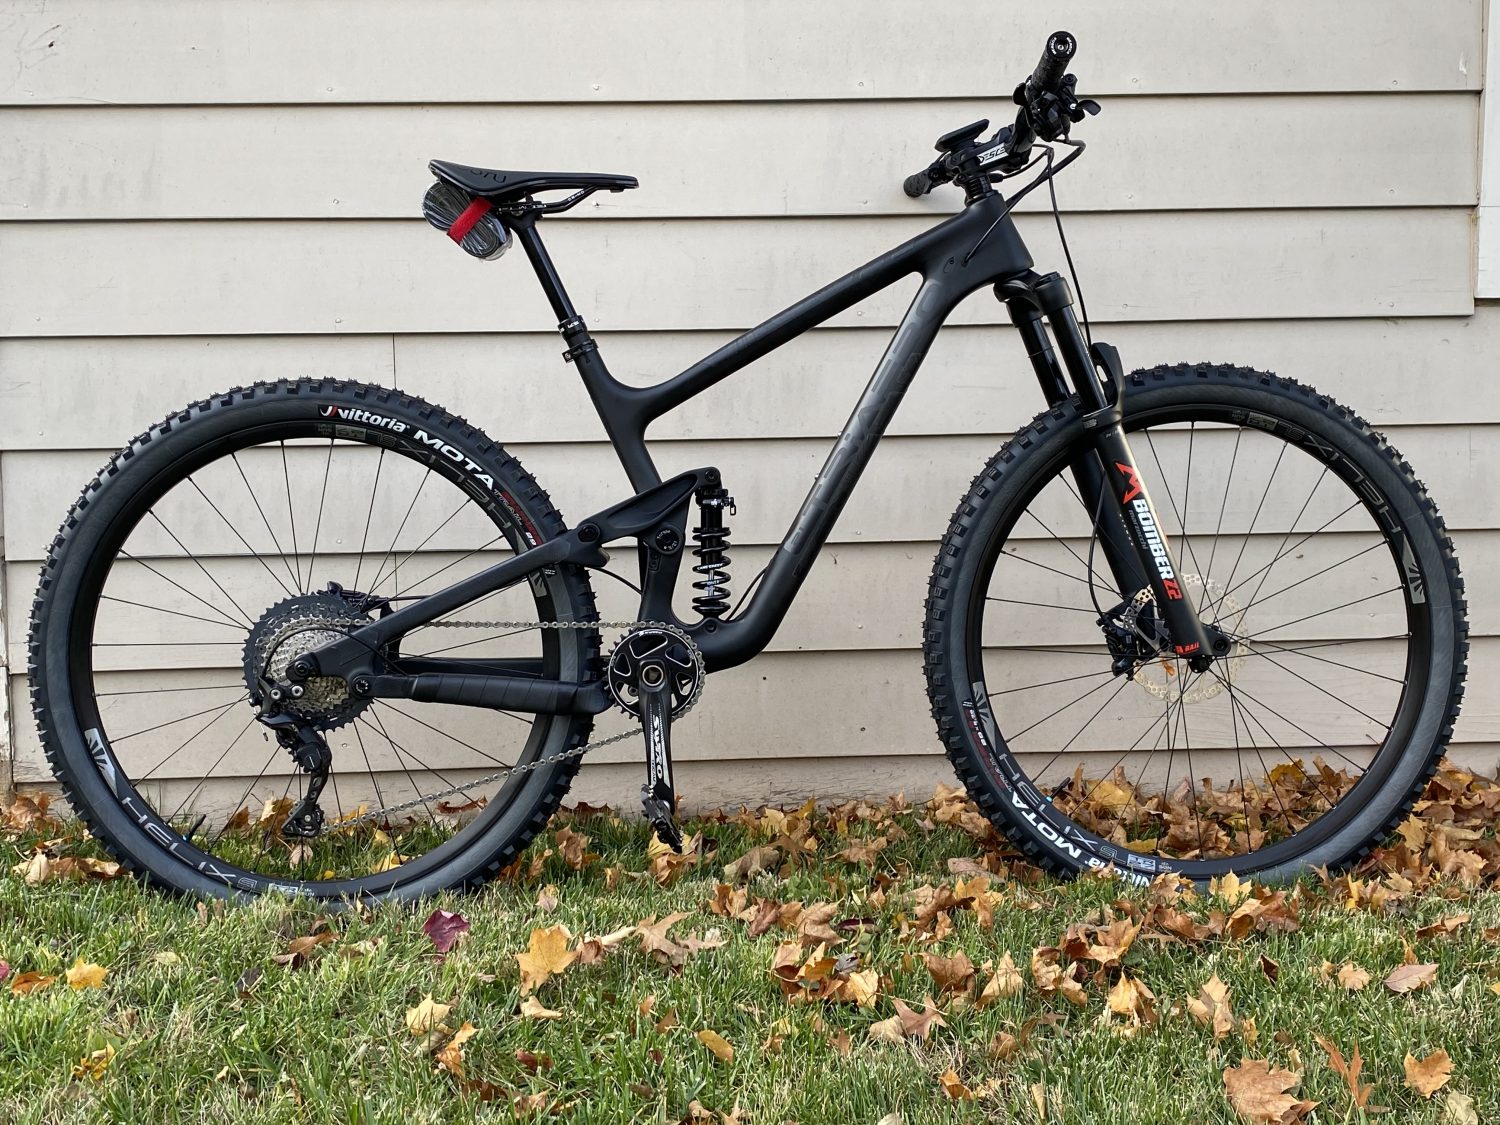
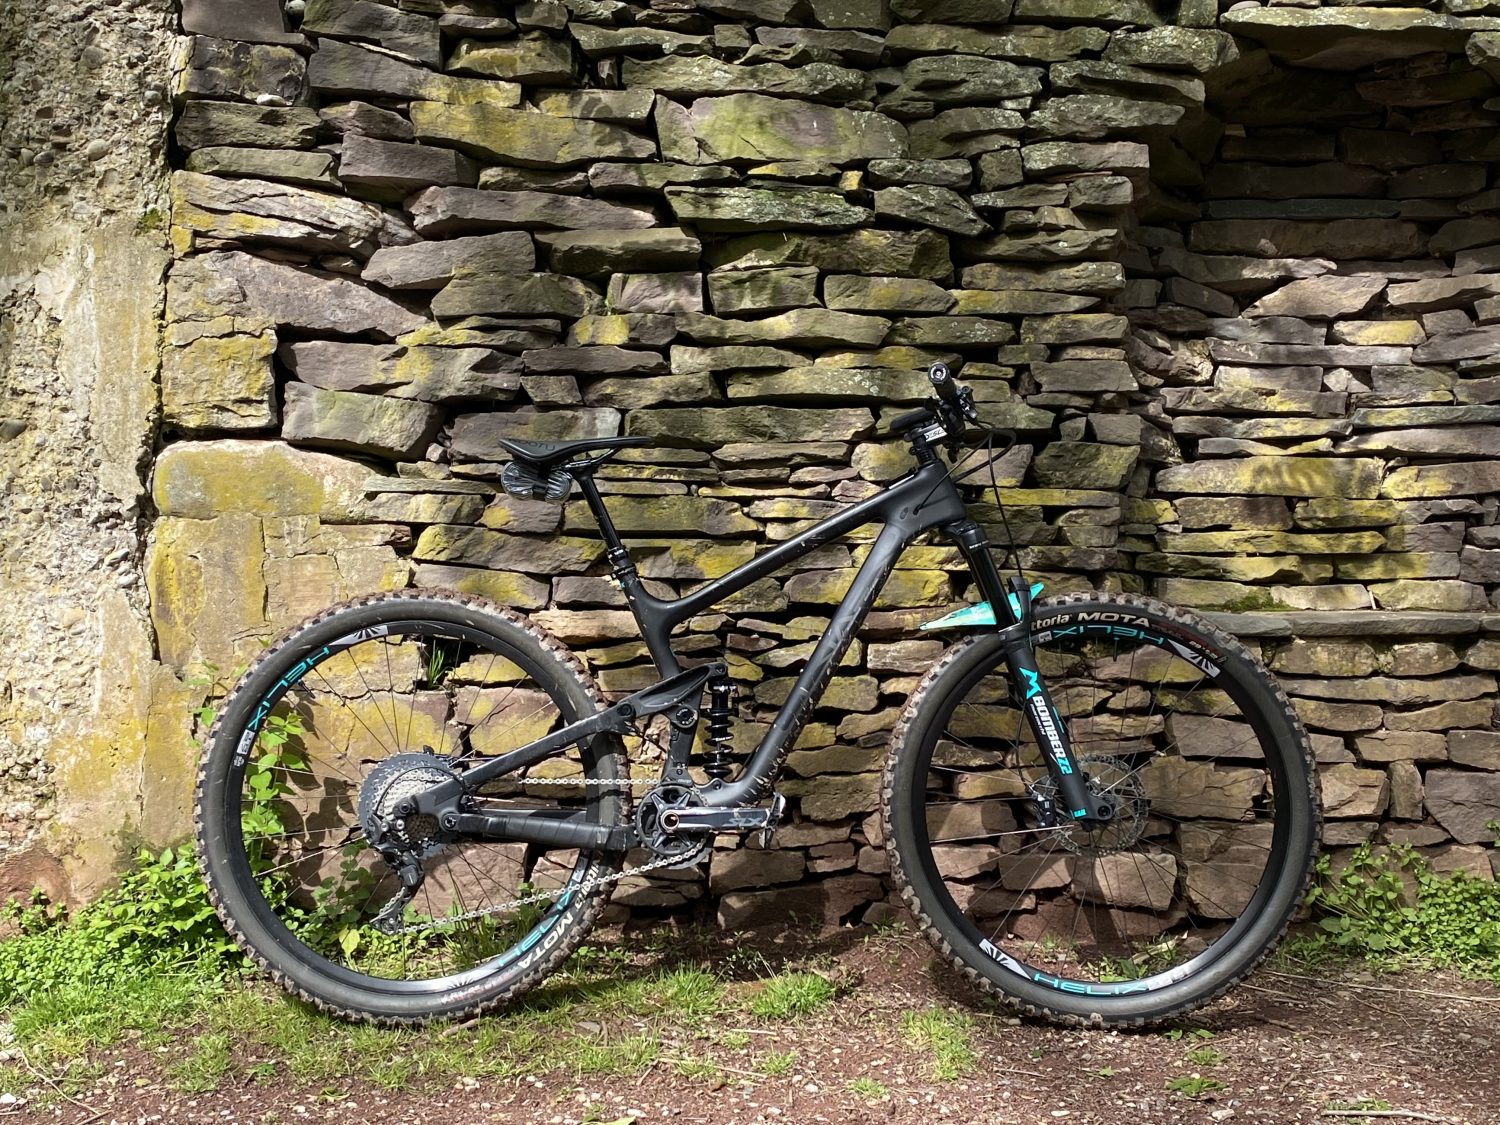
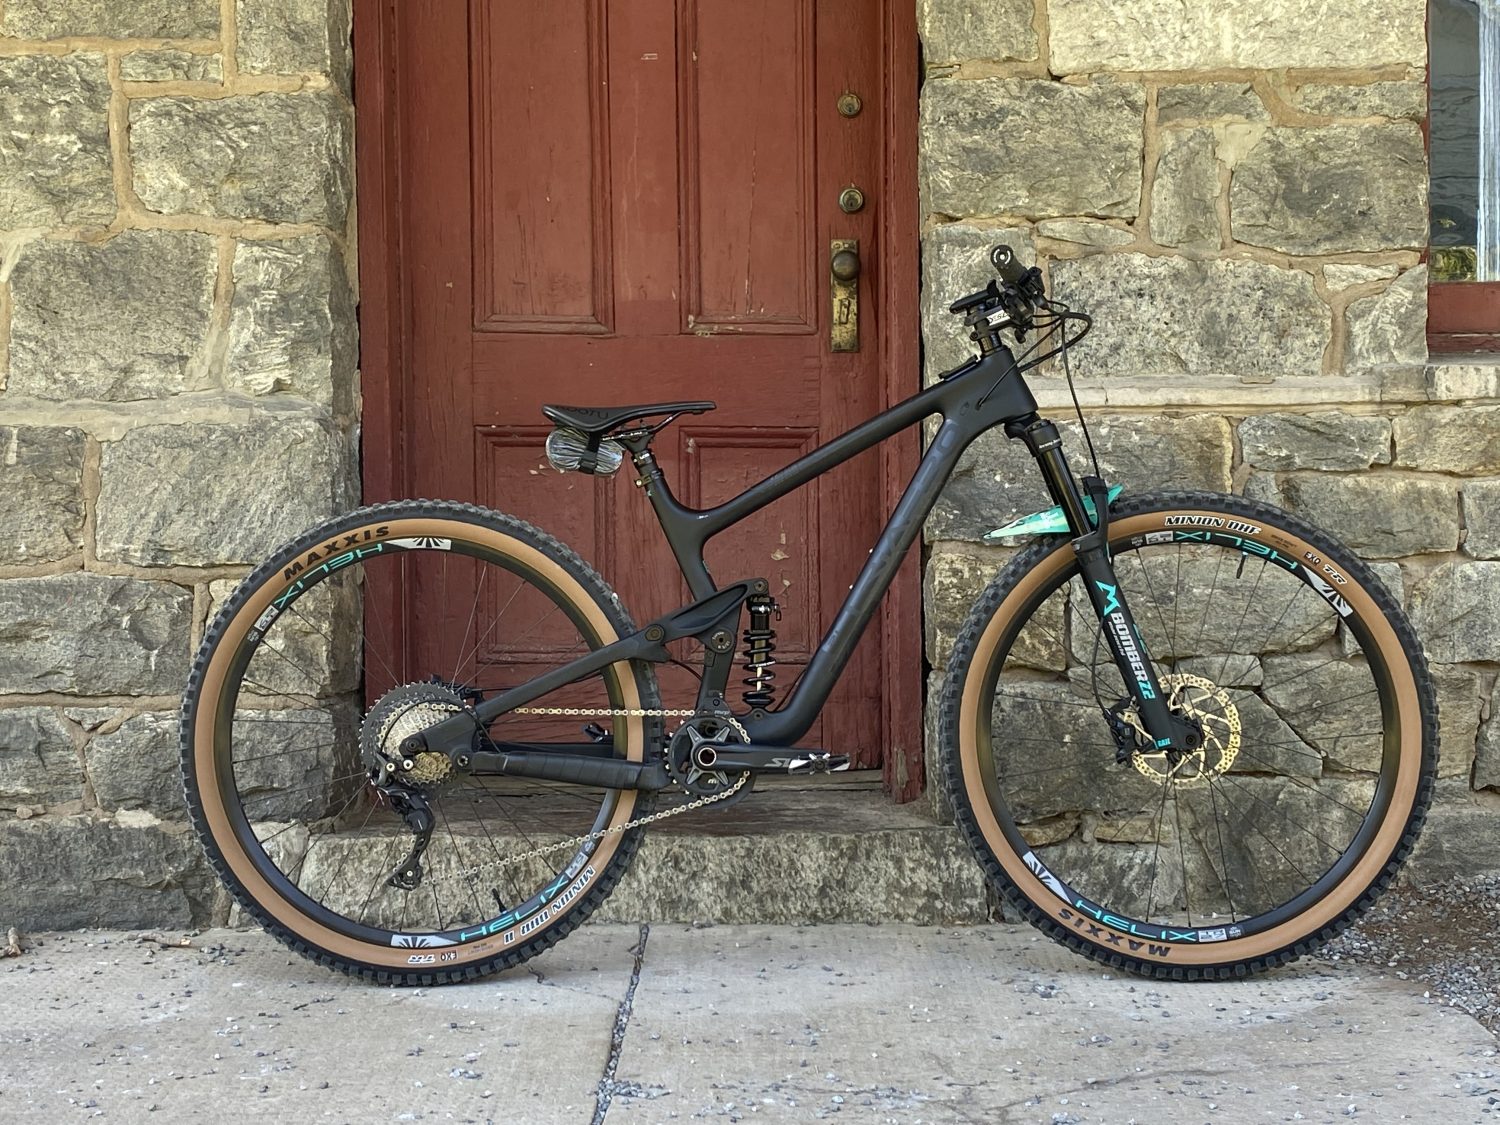
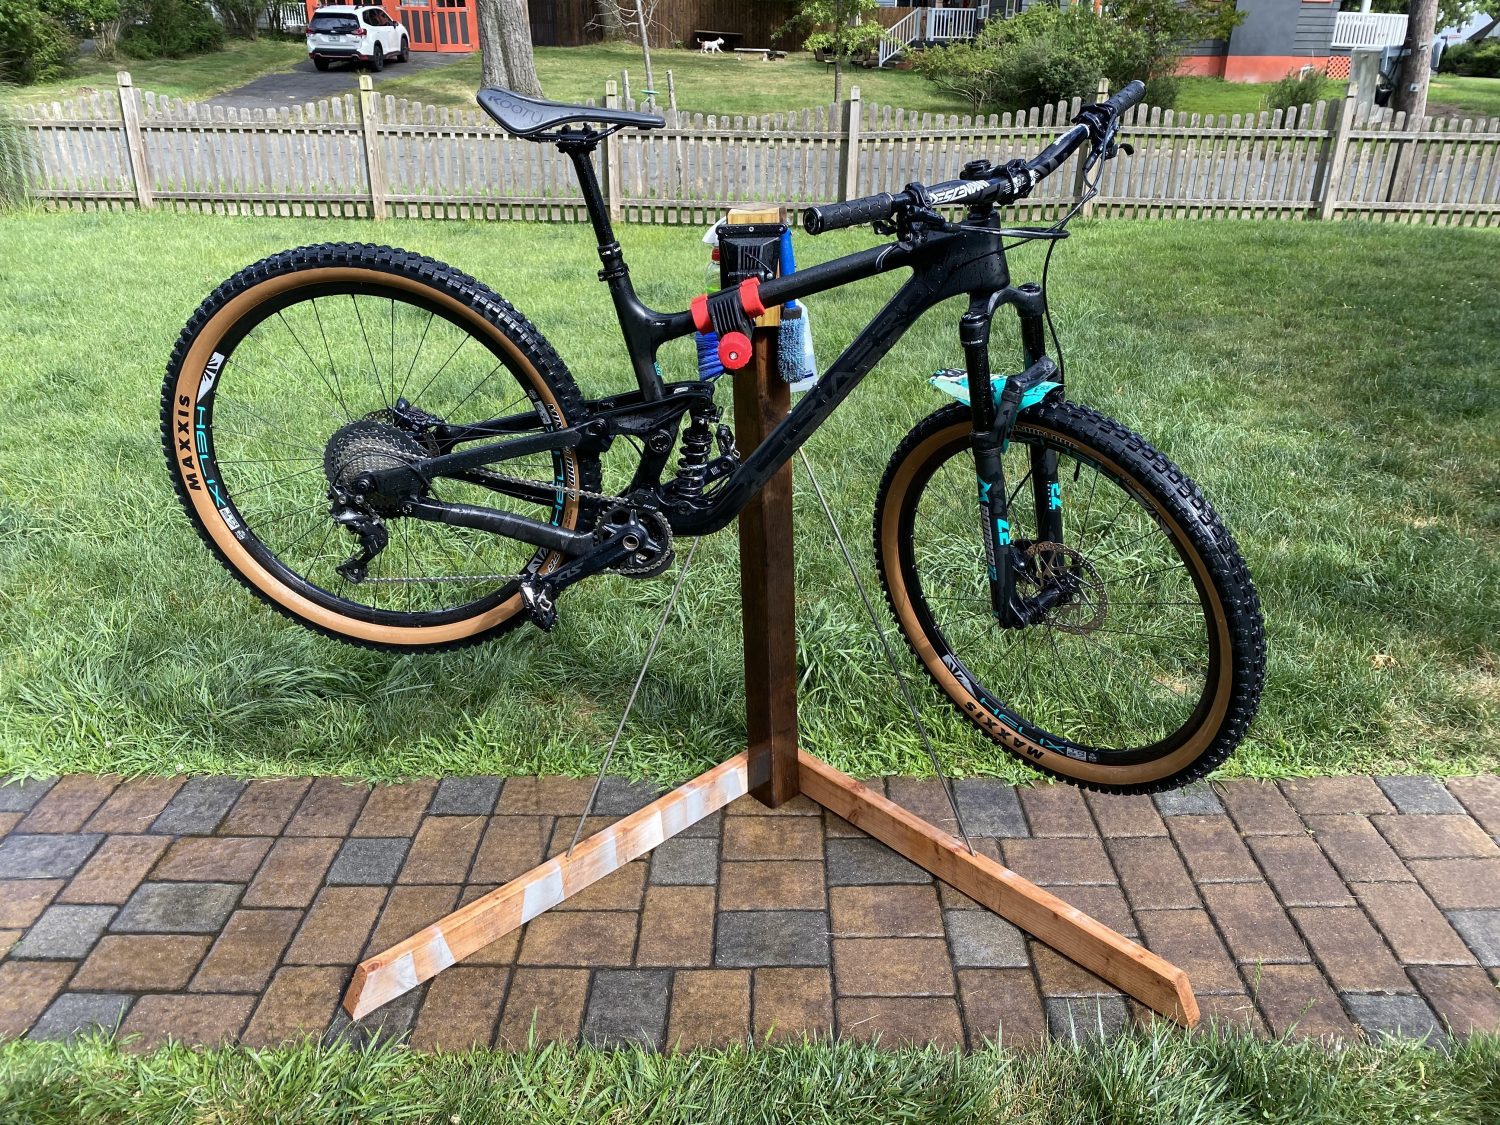
Boom! The completed build. I even cut my own black glossy vinyl decal so that the frame had a name, “TriAero”. Yes, my crank wasn’t in the correct position but to my defense, I didn’t know there was a correct position at this point:
Besides the rear coil issue, the build more or less went off without a hitch. It wasn’t until the first ride that I came across my one and only real big issue and it wasn’t frame related.
Obviously pretty dammed excited to get out on the new bike and all was well for the first mile. It took a little getting used to locking out the rear shock for climbing but enjoyed the new tires and suspension a lot. That was until the crank felt like it was skipping a tooth somewhat randomly on uphill areas. At first, I thought maybe the chain was skipping but as I pedaled I realized it was getting worse and ultimately to the point where I had no forward drive. The crank could spin freely forward and back. No freewheel ticking/clicking or anything. At this point, I figured the hub had failed. Of course, the first thing that came to mind was “these blasted cheap Chinese bullshit hubs!” Buying them in the first place was a gamble, I was aware but didn’t figure it would fail within the first mile.
Fortunately, I had done mostly uphill riding at this point so a lot of the trip back would be downhill. As I rolled back, the ticking/clicking of the freewheel came back and it seemed I had some forward drive again, albeit, sporadic.
The car ride home was painful. I imagined the worst. Figured the entire inside of the hub was nothing but metal shavings. Once I got home, I quickly took it apart and found nothing at all wrong with it… at least that I could see.
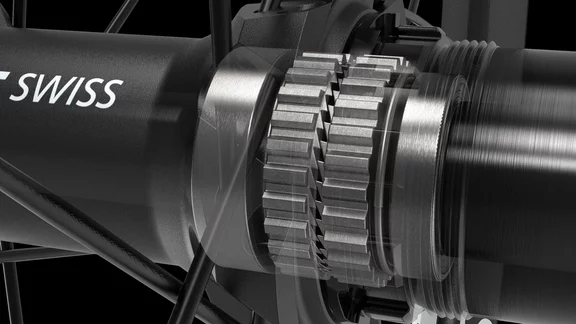
This style of hub has two metal rings (ratchet rings), each having 36-56 ramped/sloped teeth on them, depending on the version, and are pressed together with springs within the hub assembly. Based on my research, the rings float within the hub and during freewheel, they slip past each other making the clicking/ticking sound. Once you start pedaling, the flat 90-degree edges of the teeth catch each one another and provide forward drive. Somehow the teeth weren’t locking into each other which caused the skipping. I imagine that at some point, one ring must have gotten stuck in the hub and wasn’t touching the other ring at all which caused the period of time where the crank could move forward and backward freely without the ticking/clicking sound.
Needless to say, I was pretty crushed that my rear hub had failed and began the back and forth communication with the seller from AliExpress. My biggest fear was that the seller wasn’t going to help and could simply vanish and I would have no recourse. Fortunately for me, the seller and I had good back-and-forth communication, albeit a bit difficult because of the language barrier but we got through it. In the end, the seller agreed to send out upgraded rings but that of course took weeks to arrive. Even after all my tinkering with the rings that came with the hub, nothing was able to rectify the problem while I waited for the replacement parts. Back to the DiamondBack I went for a few more rides but at least I was able to ride. The rings arrived without issue and once installed, the hub has been rock solid since. 300+ miles of trail and a few downhill sessions later, the hub, the frame, and every other component have been great!
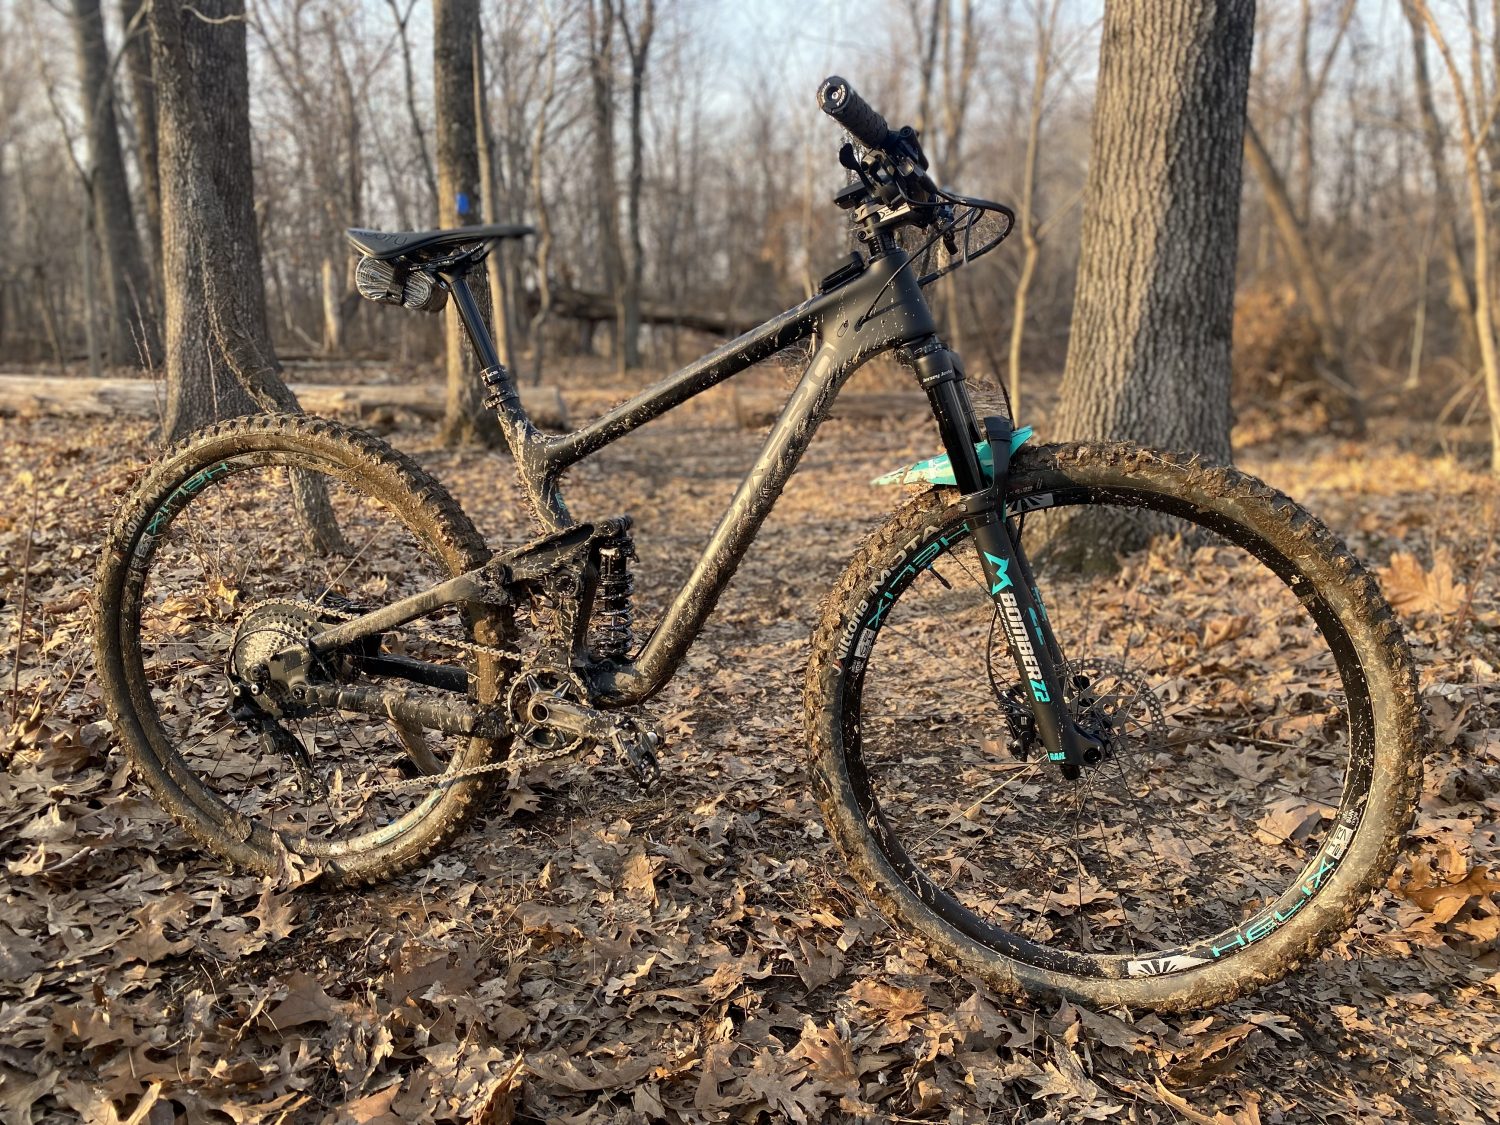
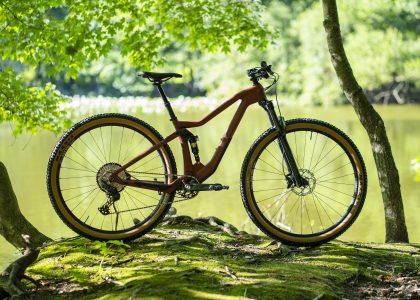
Here’s a series of photos/videos from the last year of riding the Chinese carbon frame.

One thought on “The Story of My First Chinese Carbon Mountain Bike”